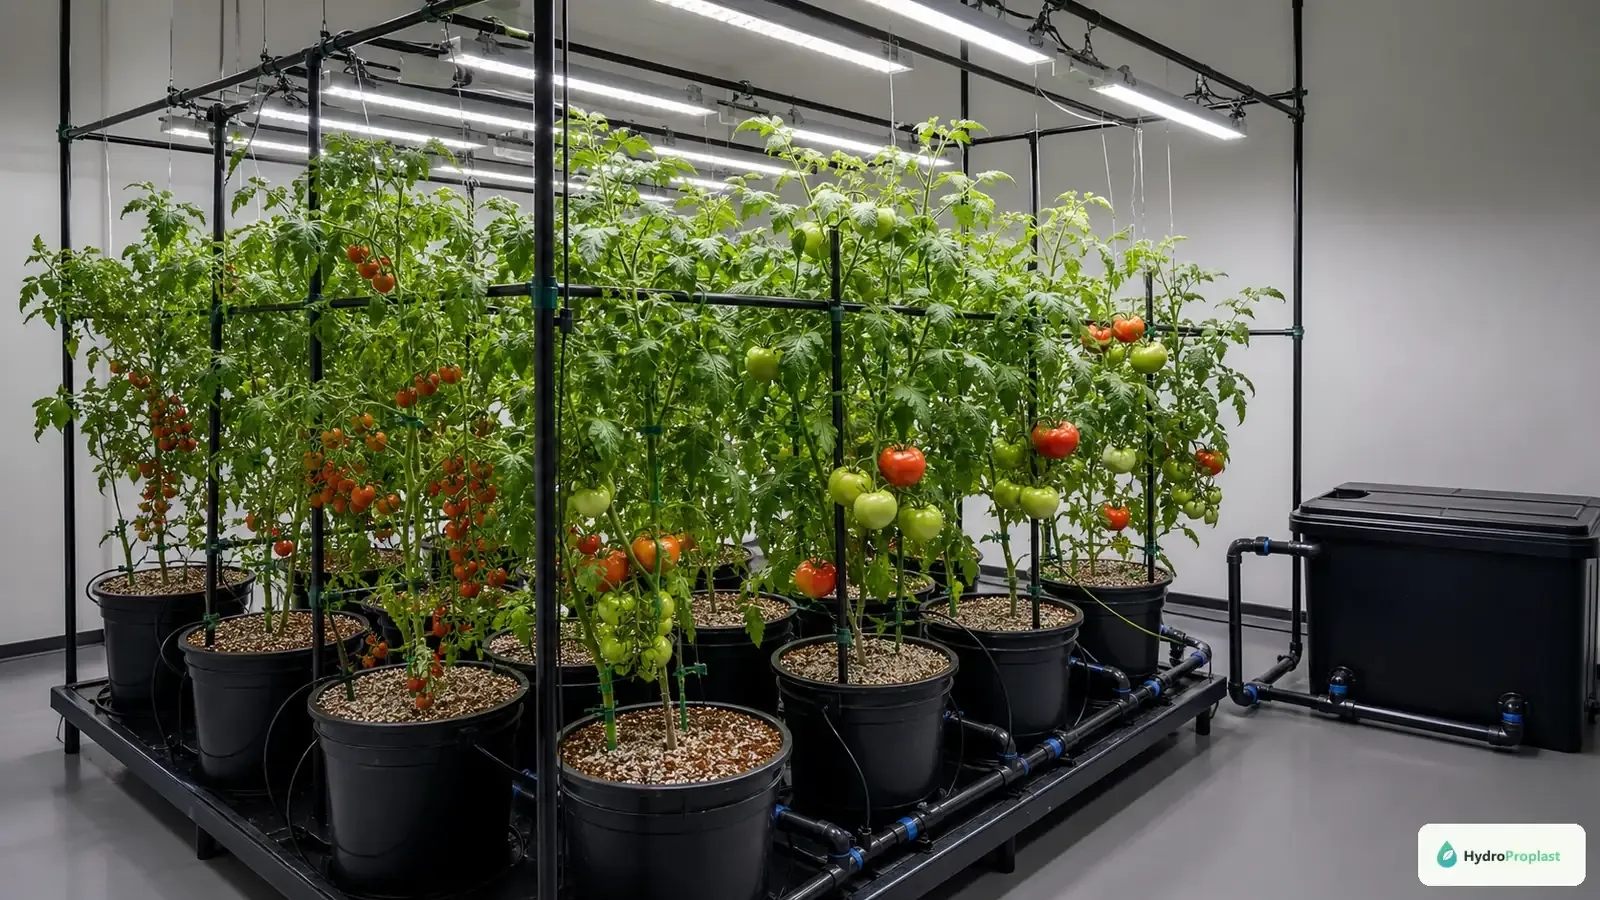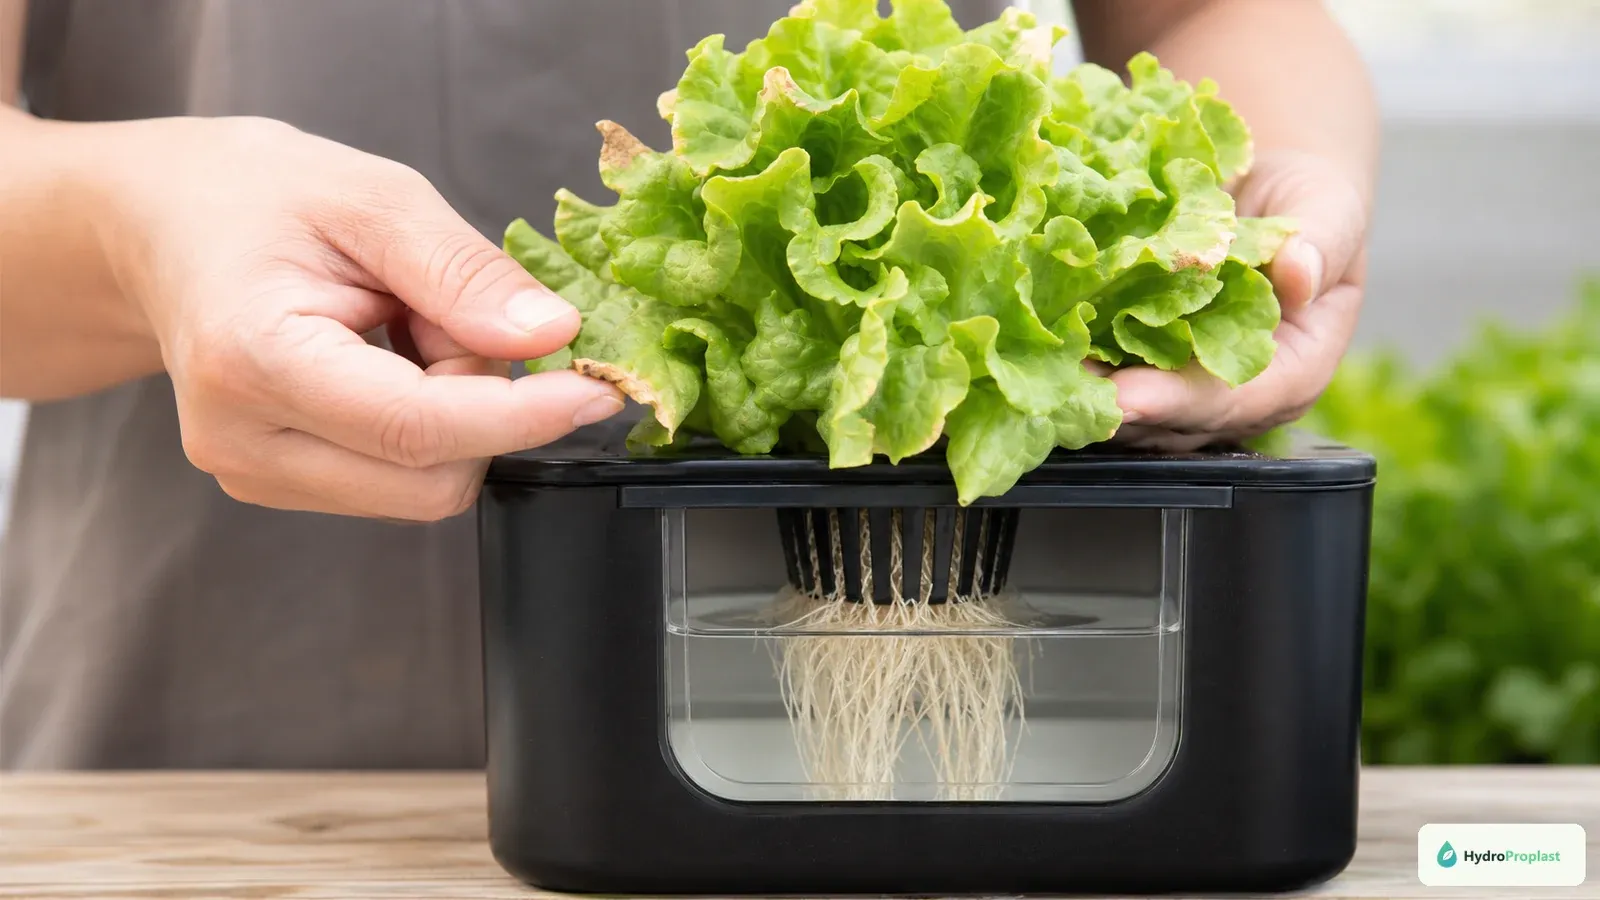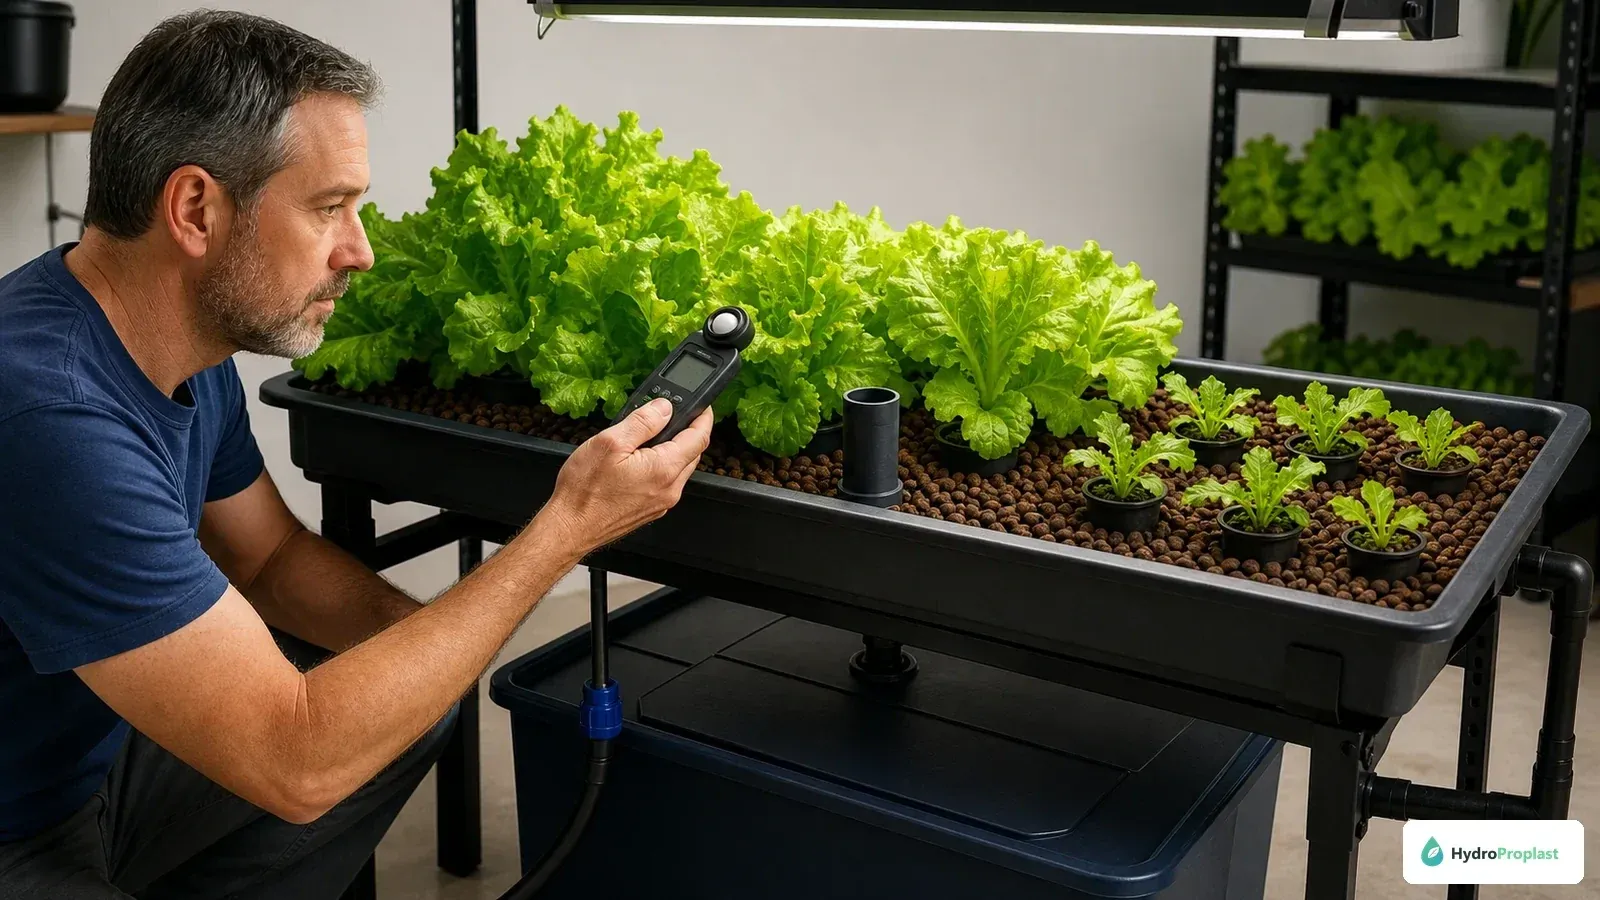
Yellow leaves, burnt edges, distorted new growth, and slow plants are often described as hydroponic nutrient deficiencies. Sometimes the nutrient solution really is too weak or incomplete. Just as often, the element is present but roots cannot use it because pH, temperature, oxygen, disease, salt concentration, water quality, or delivery is wrong. Adding more fertiliser before separating those possibilities can turn a manageable problem into nutrient burn.
This guide presents a diagnostic process for home and small-scale growers. It does not treat leaf colour as a laboratory result. Use plant patterns to decide what to measure next, correct the supported cause, and judge recovery from healthy new growth.
Deficiency, unavailability, and toxicity are different problems
A true deficiency means the plant is not receiving enough of an essential nutrient. The nutrient may be missing from the recipe, too dilute, depleted over time, or failing to reach part of the root zone.
An availability problem means the nutrient is present but difficult for roots to absorb. pH outside the crop-appropriate range can change nutrient solubility and availability. Damaged or oxygen-starved roots may also fail to take up nutrients from a chemically adequate solution.
Toxicity or excess salt can injure roots and produce symptoms that resemble deficiency. Oklahoma State University Extension notes that excessively high nutrient levels can cause osmotic stress, ion toxicity, and imbalance, while excessively low levels are associated with deficiency and reduced growth.
The correct response depends on which condition exists. More fertiliser helps only a limited subset of cases.
Why appearance alone is not enough
Many plant problems share the same visible vocabulary: chlorosis, spots, scorched margins, curling, stunting, and weak roots. University of Delaware Extension cautions that visual symptoms can be misleading because deficiencies resemble one another and can be confused with disease, insects, chemical injury, or environmental stress.
Use appearance to form hypotheses, not to select a bottle. Start with three questions:
- Where did the symptom begin: older leaves, new growth, roots, or the whole plant?
- What is the pattern: uniform, between veins, at margins, at tips, distorted, patchy, or one-sided?
- How is it distributed: one plant, one channel, one system zone, one cultivar, or the entire crop?
Take photographs under neutral light and mark the date. Comparing the same leaves over time is more reliable than relying on memory.
Old leaves versus new growth
Plants can redistribute some nutrients from older tissue to active new growth. Deficiencies of mobile nutrients therefore tend to appear first on older leaves. Nutrients that move poorly within the plant tend to show problems first in younger tissue.
As a practical first sort:
| Symptoms appear first | Nutrients sometimes associated | What to verify before concluding |
|---|---|---|
| Older leaves | Nitrogen, phosphorus, potassium, magnesium | Recipe strength, EC trend, crop age, light, root health, and normal leaf senescence |
| New growth | Calcium, iron, manganese, boron, zinc, copper | pH, root-zone oxygen, temperature, transpiration, root damage, and nutrient balance |
| All ages quickly | Severe root or delivery problem, extreme pH or EC, heat, chemical injury | Pump operation, water level, roots, recent additions, and source-water change |
This is a routing tool, not a final diagnosis. Mobility classifications and symptom expression can vary by crop and growing conditions. More than one problem may occur at once.
Common symptom patterns and competing causes
Uniform yellowing on older leaves
Nitrogen shortage is one possibility, especially when older leaves pale first and the entire plant becomes lighter and slower. But insufficient light, unhealthy roots, an overly dilute solution, natural ageing, or repeated plain-water top-ups can create a similar appearance.
Check crop-specific EC guidance, the nutrient recipe, top-up history, and roots before raising concentration. The yellow-leaf troubleshooting guide covers additional causes.
Yellowing between veins
Interveinal chlorosis means tissue between veins becomes pale while the veins remain greener. On older leaves it may suggest magnesium involvement; on new growth it may point toward iron or another relatively immobile micronutrient. High or low pH, nutrient imbalance, cold roots, and damaged roots can produce functional shortages even when the element is present.
Do not add magnesium or iron based on colour alone. Measure pH and EC, confirm the product is complete, and inspect root function first.
Brown tips and leaf margins
Dry tips or margins can be associated with potassium shortage, calcium transport problems, excessive EC, nutrient burn, low humidity, intense light, heat, or physical injury. Lettuce tipburn, for example, is not solved reliably by pouring extra calcium into every reservoir; rapid growth and poor calcium transport to young tissue can matter.
Look at new and old growth separately and compare plants across the canopy. The nutrient-burn guide helps distinguish excessive concentration from a simple shortage.
Distorted or damaged new growth
Calcium, boron, and several micronutrient problems can affect developing tissue, but mites, pesticide exposure, high heat, root injury, and unstable water delivery can also distort new leaves. Inspect growing points with magnification and check whether the pattern is symmetrical.
If only plants nearest a fan, heater, lamp edge, or blocked emitter are affected, the spatial pattern may be more informative than leaf colour.
Purple colour or very dark foliage
Phosphorus stress is one possible cause, but genetics, cool root zones, high light, plant age, and other stress can also increase purple pigmentation. Confirm the cultivar and temperature history before changing the nutrient formula.
Diagnose the system before the nutrient
Start with recent changes
Write down what changed during the week before symptoms appeared: nutrient brand or batch, mixing order, source water, top-up method, pH adjustment, reservoir temperature, light height, pump schedule, cleaning chemical, transplant, or weather.
A sudden crop-wide symptom after one change deserves more attention than a small difference between two old leaves.
Inspect roots and the crown
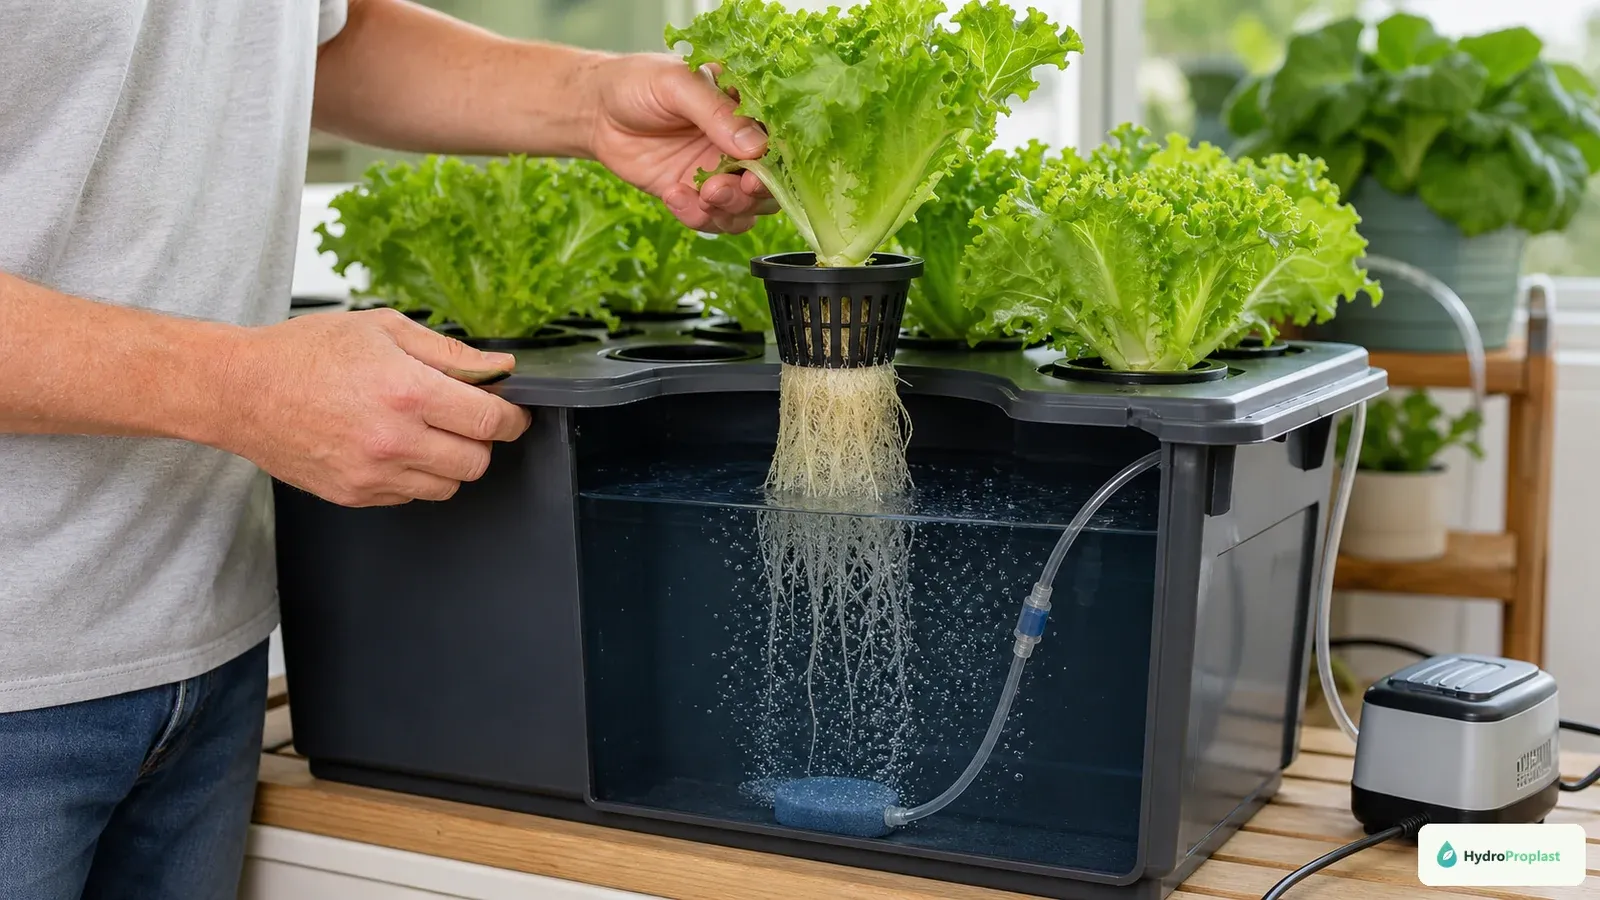
Root texture, colour, smell, crown position, water level, and aeration can reveal an uptake problem that extra fertiliser will not correct.
Healthy roots are normally firm and appropriately coloured for the crop and nutrient stain. Brown, translucent, slimy, easily separated, or foul-smelling roots cannot absorb nutrients normally. Check whether the crown is flooded, roots are dry, or media remains saturated without drainage.
Correcting root-zone oxygen, temperature, flow, or disease may be more important than changing the formula. Use the root-rot guide and dissolved-oxygen guide when roots are abnormal.
Verify delivery to every plant
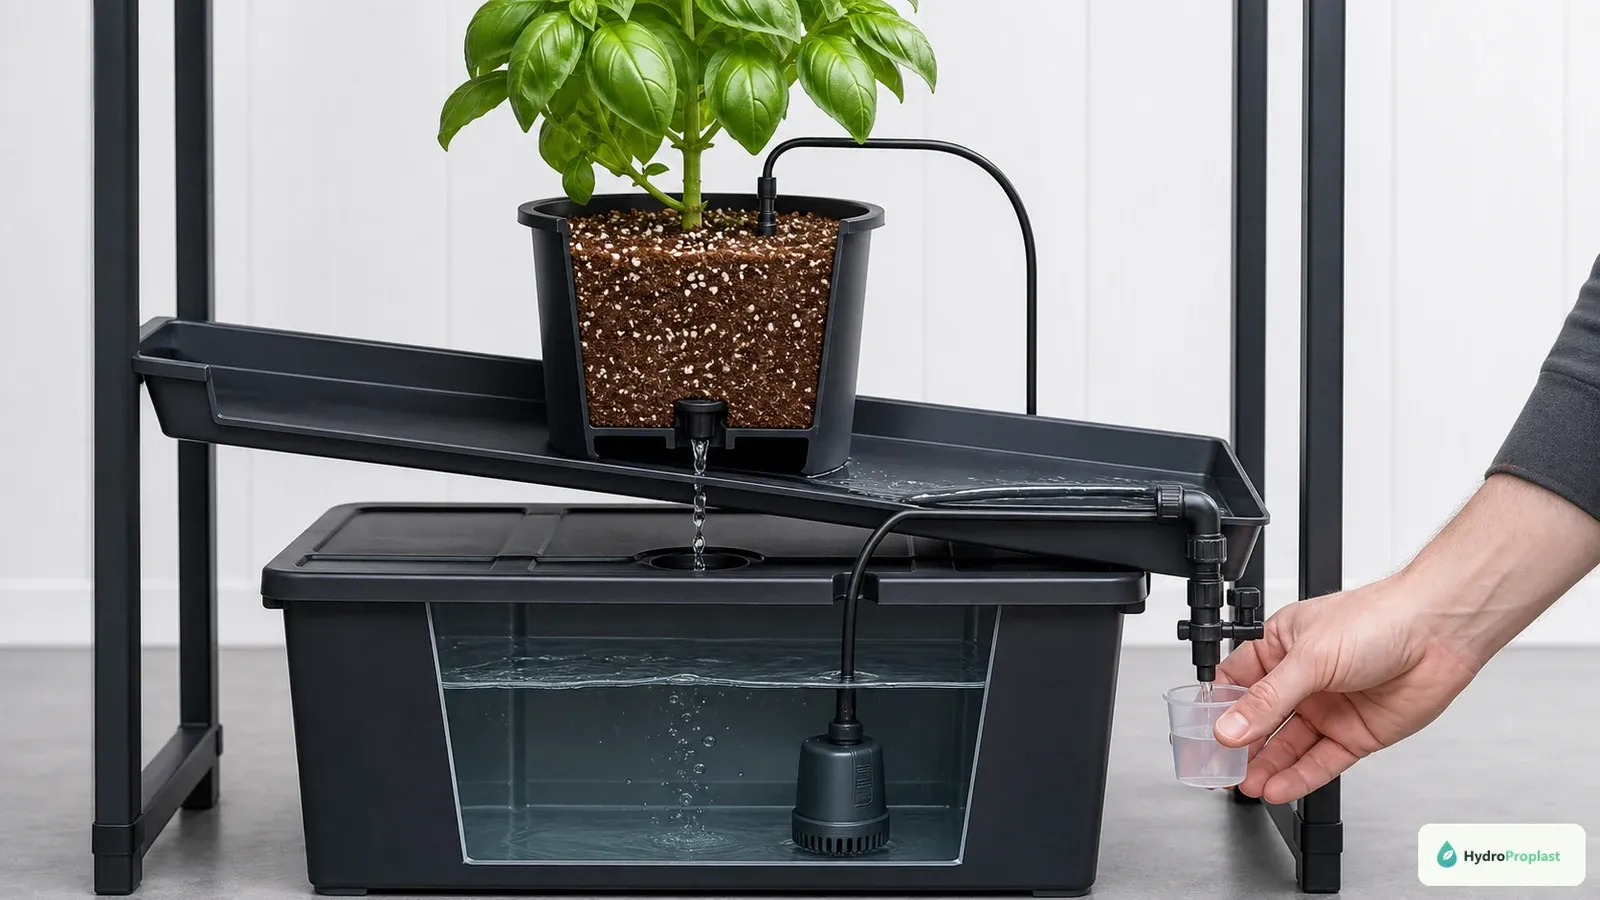
Compare delivery and drainage at affected and healthy plants; a local blockage can create deficiency-like symptoms while reservoir readings remain normal.
Confirm that pumps, emitters, channels, drains, and return lines work. Compare the affected zone with healthy zones.
In NFT, a root mat or uneven channel can redirect the nutrient film. In drip systems, a blocked emitter or poorly draining pot can affect one plant while the reservoir readings remain normal. In DWC, uneven aeration or a low water level can create local stress. In ebb and flow, incomplete flooding or drainage can leave one section too dry or too wet. In Kratky, overfilling can remove the air gap.
If symptoms follow plumbing rather than cultivar or leaf age, repair distribution before changing nutrients.
Calibrate before trusting pH and EC
A drifting or dirty meter can send troubleshooting in the wrong direction. Calibrate according to the manufacturer, rinse probes between solutions, use fresh calibration standards, and sample from a consistent, well-mixed location.
Measure pH, EC, and solution temperature together. Record reservoir volume and whether readings were taken before or after top-up. The pH and EC meter guide explains a repeatable sampling routine.
What pH can reveal
pH affects nutrient solubility and availability. University of Missouri Extension gives 5.5–6.5 as a rule-of-thumb optimum for most hydroponic crops while emphasizing that exceptions exist and crop-specific guidance should be used.
A pH reading outside the intended range does not identify which nutrient is deficient. It tells you that availability may be changing. Correct pH slowly in a well-mixed reservoir with a product intended for hydroponics. Never pour concentrated acid and alkali together, and keep them away from nutrient concentrates.
If pH repeatedly moves out of range, diagnose alkalinity, reservoir size, root activity, microbial growth, and mixing practices rather than making larger daily corrections. See the pH drift guide.
What EC can and cannot reveal
EC estimates the total concentration of dissolved ions. It cannot tell whether nitrogen, calcium, iron, or any other individual element is present at the correct level. A solution with the “right” EC may still have the wrong nutrient ratios or accumulated unwanted salts.
Interpret EC as a trend:
- Rising EC while water level falls may mean plants are taking proportionally more water than ions.
- Falling EC may indicate nutrient uptake, dilution, leakage, or an inaccurate meter.
- Stable EC does not prove that every nutrient remains balanced.
- Very high EC can restrict water uptake and damage roots, creating deficiency-like symptoms.
Use crop- and stage-specific targets. The hydroponic EC guide provides a more complete interpretation framework.
Check the nutrient recipe and mixing history
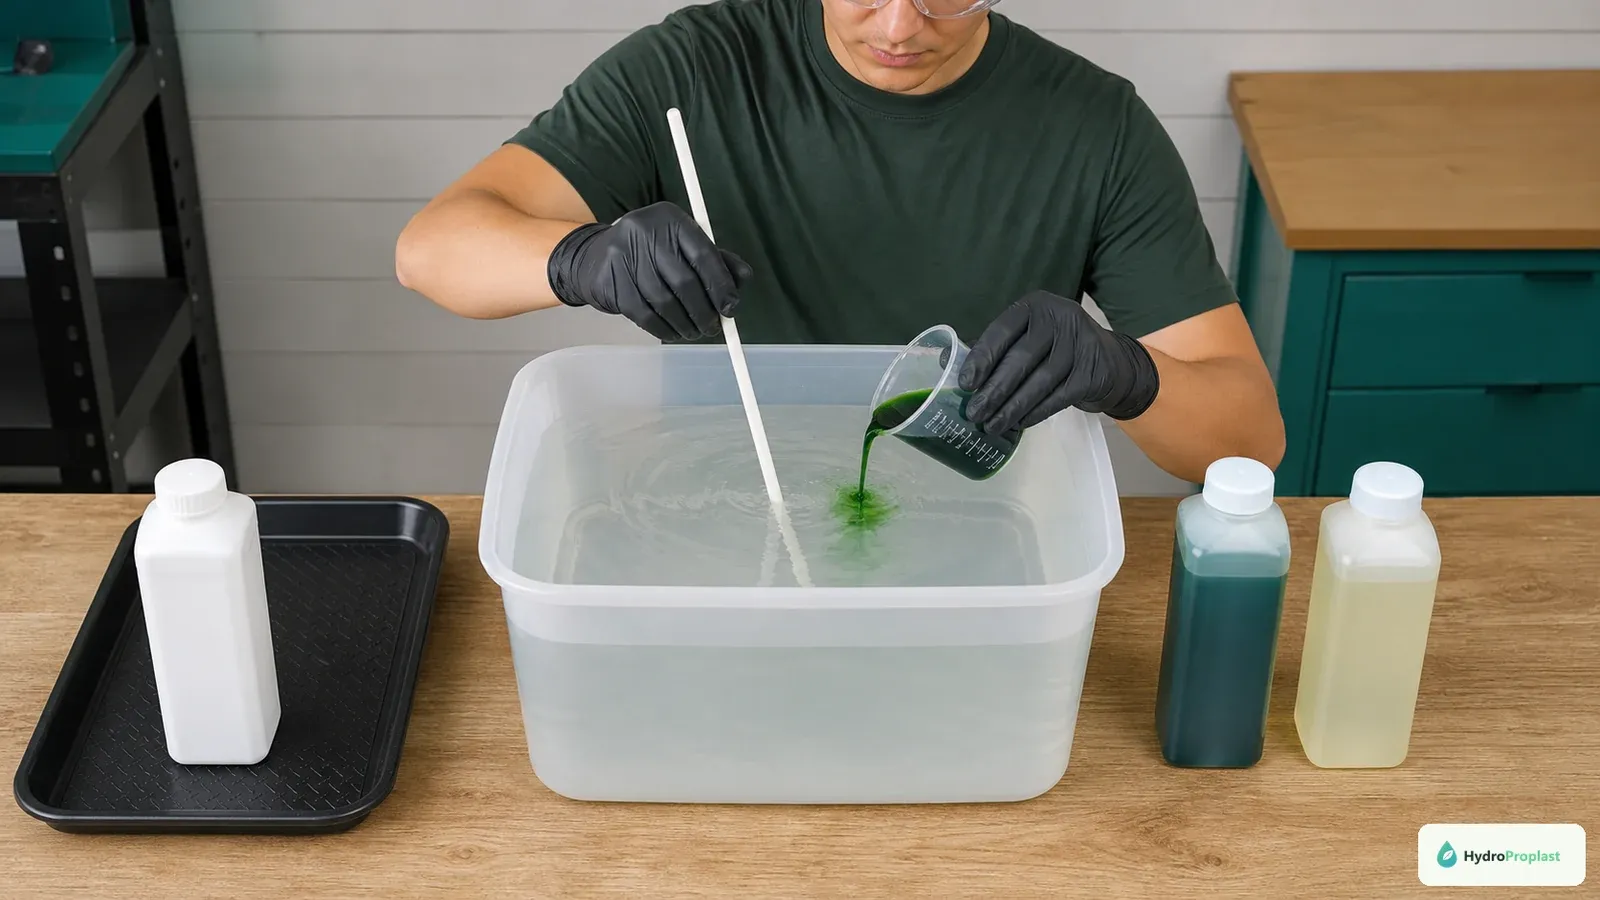
Add multi-part nutrients separately to the full water volume and mix between components; never combine concentrates directly.
Confirm that the fertiliser is complete and intended for hydroponic production and the crop type. Review the label dose, final reservoir volume, measuring units, concentrate dilution, and mixing order.
With multi-part nutrients, add each part separately to the full water volume and mix thoroughly before adding the next, following the manufacturer’s instructions. Do not combine concentrated parts directly; incompatible salts can precipitate and become unavailable.
Check whether a component was omitted, doubled, measured with the wrong unit, or added to a reservoir whose actual volume differs from its nominal size. The beginner nutrient guide covers safe mixing practices.
Evaluate source water and top-ups
Source water contributes minerals, alkalinity, sodium, chloride, and other ions before fertiliser is added. Oklahoma State University Extension recommends testing water because poor-quality water can cause deficiency or toxicity problems and influence both pH and EC.
Repeated top-ups can change nutrient ratios. Adding only water may gradually dilute nutrients in some situations; repeatedly adding full-strength solution can raise EC in others. Plants do not remove water and every ion at identical rates.
If the source changes seasonally or after installing filtration, retest it. The tap-water versus RO-water guide explains the trade-offs.
Use a controlled corrective sequence
When the evidence supports a root-zone or nutrient problem, change one major variable at a time when plant safety permits.
- Restore pump operation, aeration, drainage, water level, and safe temperature.
- Calibrate meters and recheck pH, EC, and temperature.
- Correct pH gradually if it is outside the crop’s intended range.
- If EC is dangerously high or the solution history is unknown, replace the solution using a clean reservoir and a correctly mixed crop-appropriate formula.
- If EC is clearly low because the solution was under-mixed or diluted, bring it toward the crop target in controlled steps.
- Remove severely decayed roots or plants according to the sanitation plan, without spreading contaminated solution.
- Record the action and watch new growth before adding a separate nutrient supplement.
Do not make simultaneous large changes to fertiliser strength, pH, light, and temperature unless an immediate safety problem requires it. Otherwise, you will not know which correction worked.
When a complete solution change is better
A fresh batch is often easier to interpret when the reservoir history is unclear, a part was omitted, concentrates were mixed incorrectly, EC has been repeatedly adjusted, unwanted salts may have accumulated, or root debris and contamination are present.
Use measured final volume and the manufacturer’s order. Match temperature reasonably to the existing root zone. After circulation and mixing, verify EC and pH before returning plants to normal operation.
Changing solution does not fix a blocked emitter, failing air pump, hot reservoir, or diseased root system. Correct those causes as well. The water-change guide covers timing and disposal.
When laboratory testing is worth it
For a valuable crop, recurring problem, or commercial system, visual diagnosis may not be enough. Useful tests can include source-water analysis, nutrient-solution analysis, and plant tissue analysis interpreted with crop stage and sampling instructions.
Contact a qualified agricultural laboratory or local extension service before sampling. Mixing old and young leaves, healthy and affected plants, or different cultivars can make results difficult to interpret. Record the nutrient product, source water, pH, EC, temperature, and recent corrections with the sample.
Penn State’s plant-nutrition guidance emphasizes that nutrient disorders are difficult to diagnose and combines visual inspection with root-zone and plant analysis rather than relying on one symptom.
Judge recovery from new growth
Damaged leaves may not become green or regain normal shape after the cause is corrected. Mark affected leaves and evaluate the next growth produced under the corrected conditions.
Improvement means new leaves emerge with normal colour and shape, roots stop deteriorating, and growth resumes. If symptoms continue, reassess the diagnosis instead of repeating the same supplement at a higher dose.
Prevent repeated deficiency problems
Use a complete crop-appropriate nutrient, measure actual reservoir volume, calibrate meters, keep roots oxygenated, control temperature, maintain reliable delivery, and replace solution according to system history and crop guidance.
Maintain a simple log of:
- date and crop stage
- source-water changes
- water added and nutrients added
- pH, EC, and solution temperature
- reservoir volume
- root appearance and smell
- pump, flow, and aeration status
- photographs of old and new growth
- corrective actions and response
Patterns become easier to see when readings and plant observations share one timeline.
Common questions
Should I add Cal-Mag whenever leaves look pale?
No. A calcium-magnesium supplement may be appropriate for a documented recipe or water-quality need, but pale leaves can result from pH, nitrogen, iron, light, roots, temperature, or excess salts. Adding it without evidence can raise EC and distort nutrient balance.
Can I diagnose a deficiency from one leaf photograph?
A photograph can help describe colour and pattern, but it does not show pH, EC, roots, water quality, delivery, temperature, crop history, or pests hidden under leaves. Use it as one piece of evidence.
Should I foliar-feed for a fast correction?
Foliar feeding is crop-, product-, and diagnosis-specific. It can damage leaves, create residues, or mask a root-zone problem. For edible crops, use only products labelled for the crop and application method, follow all safety and harvest restrictions, and obtain qualified guidance.
Why is only one plant affected?
One-plant symptoms often point toward a blocked emitter, root injury, transplant damage, pest, disease, cultivar variation, or local light and temperature rather than a reservoir-wide shortage. Compare its flow, roots, and position with a healthy neighbour.
Sources and further reading
- Hydroponics Systems and Principles of Plant Nutrition — Penn State Extension
- Hydroponic Nutrient Solutions — University of Missouri Extension
- Identifying Nutrient Deficiencies in Ornamental Plants — University of Delaware Extension
- Electrical Conductivity and pH Guide for Hydroponics — Oklahoma State University Extension
- Root Diseases of Greenhouse Crops — UMass Extension
The safest nutrient-deficiency correction begins with diagnosis. Observe where symptoms start, inspect roots and delivery, verify pH and EC with calibrated tools, review the recipe and source water, then make the smallest evidence-based correction. Healthy new growth—not a darker reservoir—is the result that matters.