Nutrient burn is plant injury associated with an overly concentrated root-zone solution or excessive accumulation of fertilizer salts. Brown tips can be one clue, but they do not prove the diagnosis. Heat, dry air, damaged roots, irregular flow, excessive light, disease, and prior stress can look similar. Diagnose the system before diluting or replacing nutrients.
First protect the plants and document the event
Check for an empty reservoir, failed pump, blocked emitter, hot solution, exposed roots, or a dosing mistake. Restore water delivery, aeration, and safe operating conditions. If concentrated fertilizer was just poured into the root zone, stop dosing and circulate only if doing so will not spread an obvious contaminant.
Photograph affected leaves and roots. Record pH, EC, solution temperature, water level, source-water EC, nutrient product, final volume, mixing order, plant age, and everything added since the last complete change.
Recognize the pattern without overdiagnosing
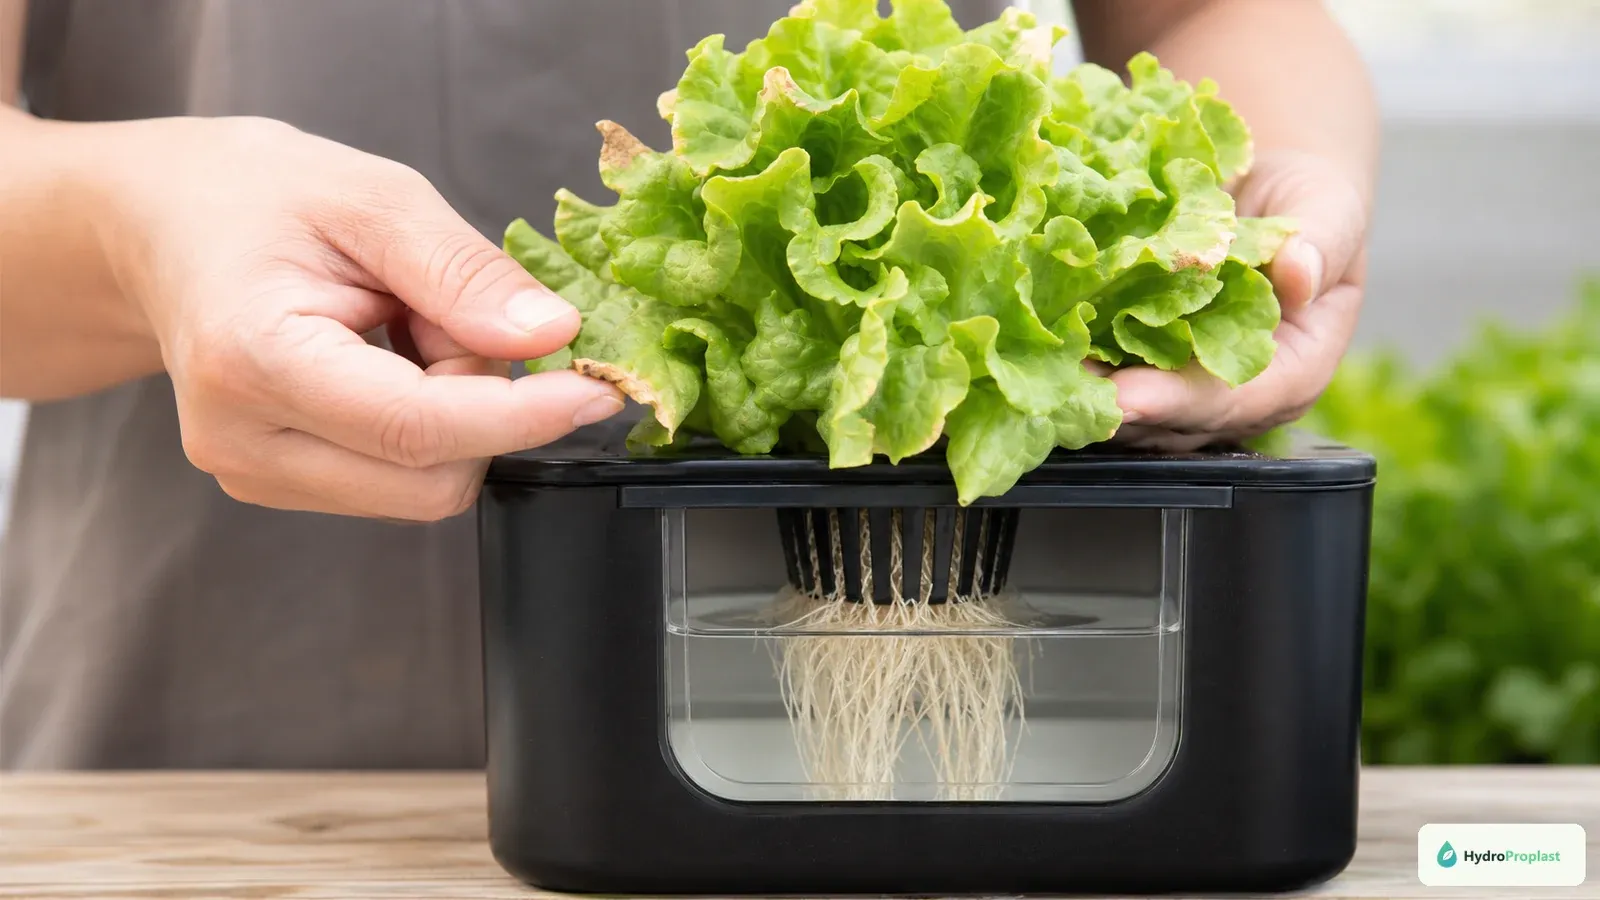
Possible nutrient-burn signs include browned leaf tips or margins, stalled growth, curling, unusually dark foliage, and root stress following an EC increase or mixing error. Severe exposure may cause rapid wilt despite available water. Symptoms commonly appear at exposed tips but vary by crop and stress duration.
Compare old and new leaves, plants at different system positions, and unaffected controls. One failing plant near a blocked dripper is not evidence that the shared reservoir is too strong. Damage beginning directly after a concentrated addition is more informative than appearance alone.
Verify the EC reading
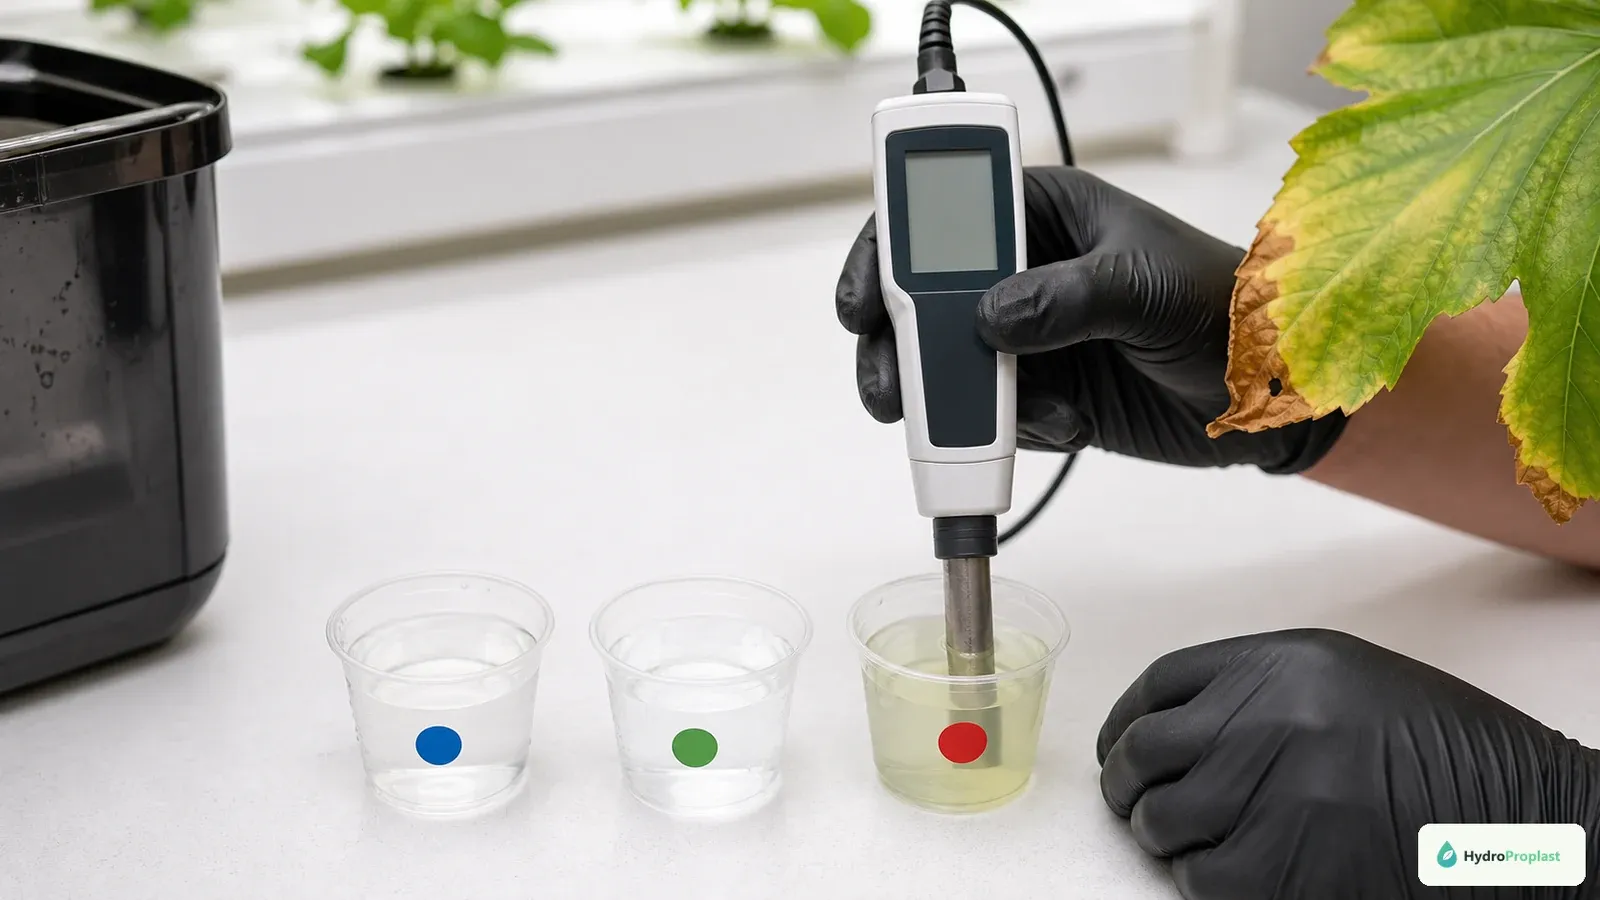
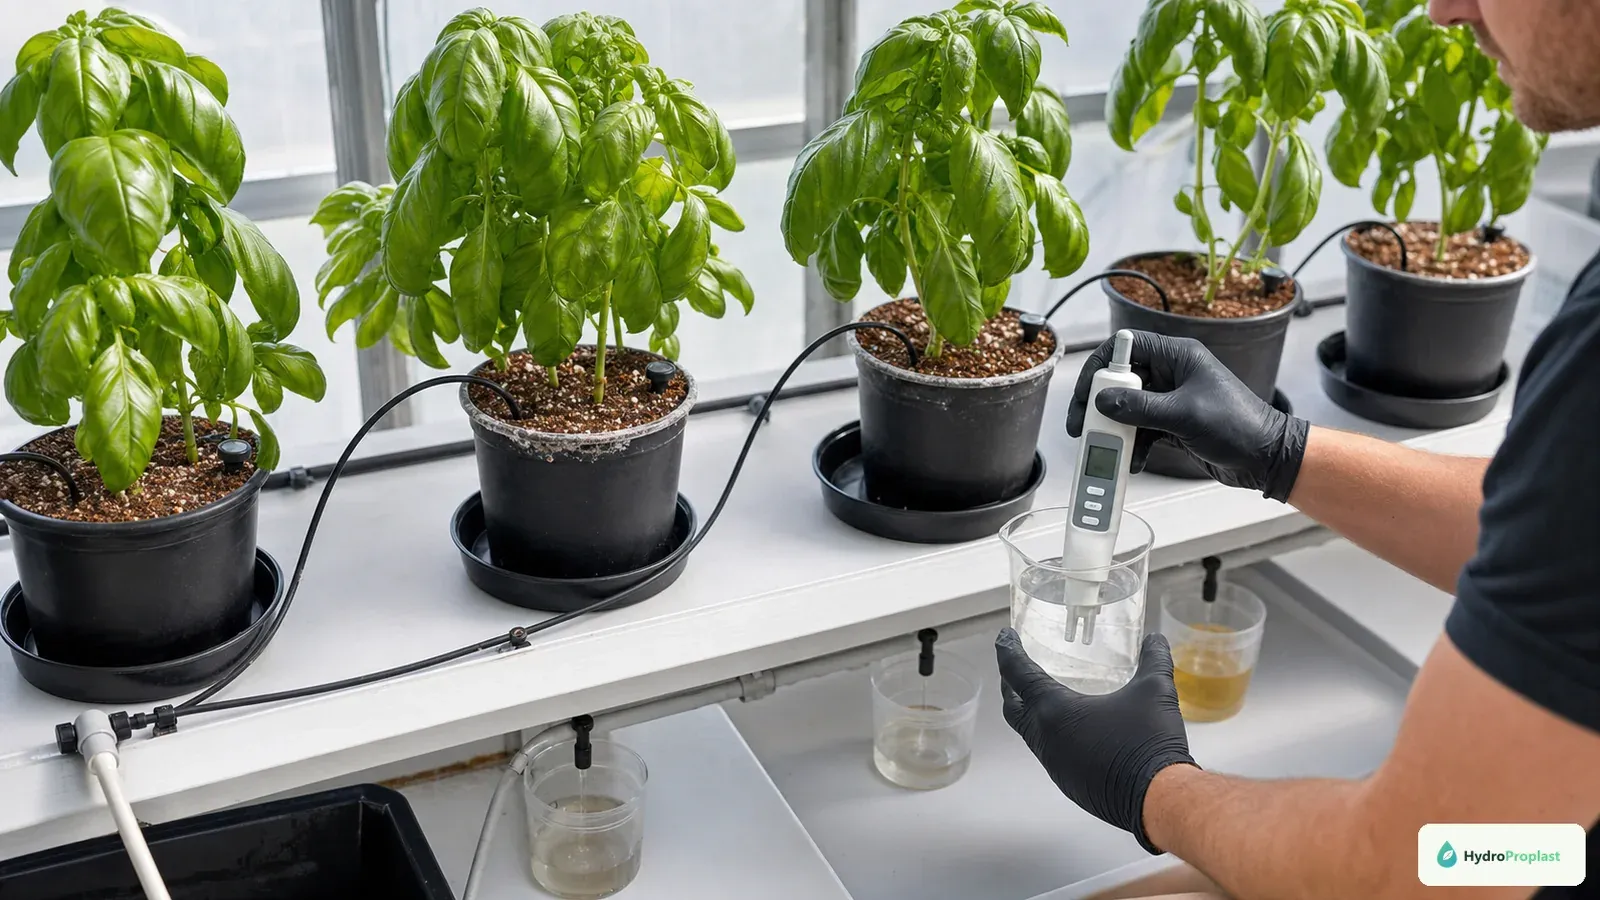
Confirm units, calibration, probe cleanliness, and sample quality before responding to a high reading.
Rinse and calibrate the EC meter according to its manual, then measure a well-mixed sample at a consistent temperature. Confirm units: mS/cm, µS/cm, and ppm displays are not interchangeable without knowing the meter’s conversion scale.
EC indicates total ionic concentration, not the identity or balance of individual nutrients. Oklahoma State University Extension’s EC and pH guide explains how crop uptake, source water, and solution management affect readings.
Compare the result with the nutrient manufacturer’s crop and growth-stage guidance, the freshly mixed solution, and the reservoir’s trend. A single generic internet target cannot diagnose every crop.
Audit nutrient mixing
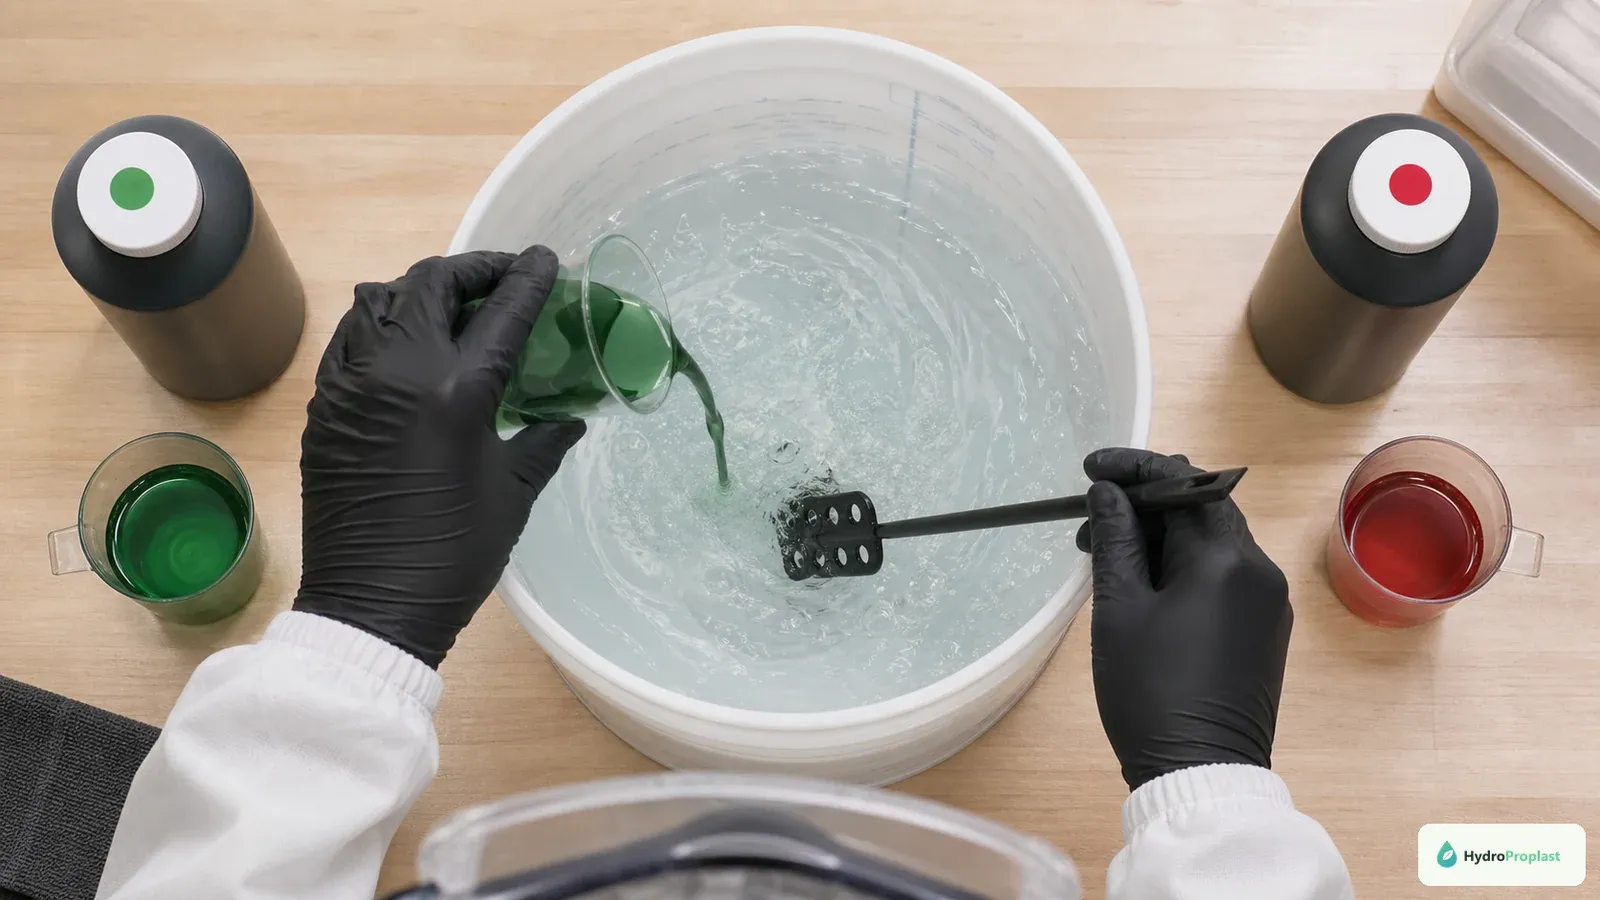
Add each concentrate to water separately and mix thoroughly; never combine stock concentrates directly.
Confirm the true reservoir volume and measuring units. Check whether a stock concentrate was mistaken for a ready-to-use product, whether both parts of a two-part formula were dosed correctly, and whether an automatic doser ran twice.
Add concentrates separately to water in the order and dilution directed by the manufacturer. Never mix concentrated parts together; precipitation or intense local concentrations can result. Do not estimate from capfuls when the label specifies volume or mass.
Account for source-water EC before fertilizer. A high starting value reduces the usable margin and may warrant a water analysis or a nutrient program intended for that source.
Distinguish burn from pH-related uptake trouble
Unsuitable pH can make nutrients less available even when EC is high. Plants can therefore look deficient in a concentrated solution. Verify pH with a calibrated instrument and use the crop and product range.
Read the hydroponic pH adjustment guide before making small, diluted corrections. Never add acid and alkali together or pour either concentrate beside roots. Wear the protection stated on the product label.
Repeatedly increasing fertilizer to correct a pH-driven symptom can create genuine salinity injury.
Inspect roots and water delivery
Lift representative plants. Healthy roots are firm and normally fresh-smelling, though nutrient dyes may stain them. Slime, tissue breakdown, sour odor, or poor new tips points toward root disease or oxygen stress rather than a simple concentration problem.
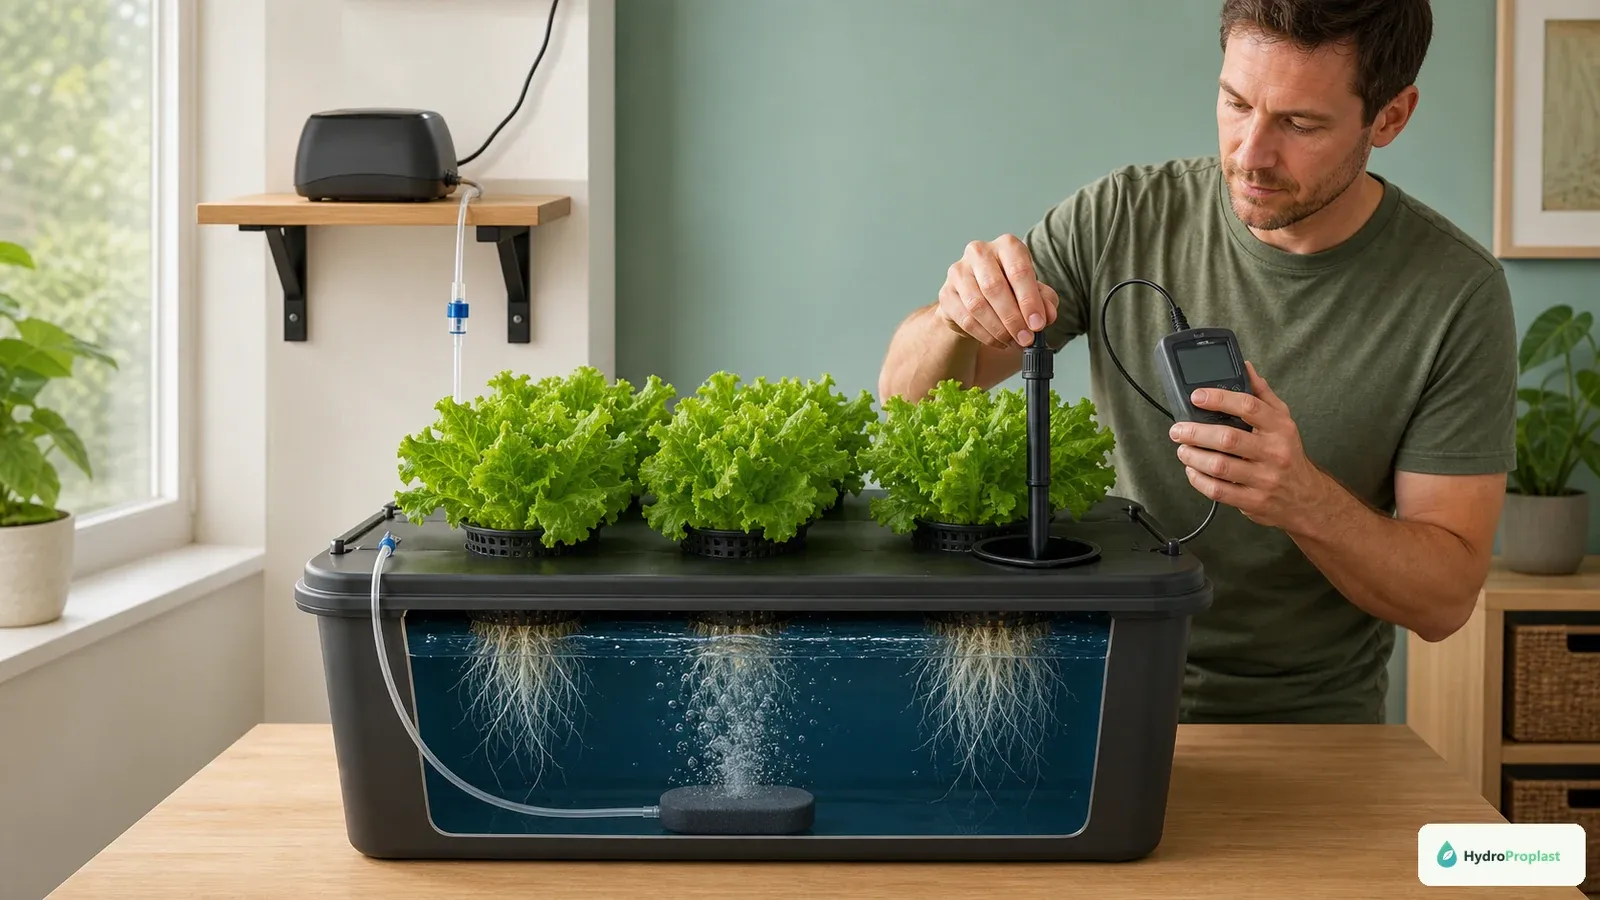
Check pump flow, air delivery, solution temperature, channel slope, emitter output, and whether roots remain submerged or dry unexpectedly. The root-rot diagnosis guide covers these distinctions.
A damaged root system cannot regulate water and ions normally. Correcting root-zone conditions may matter more than changing the nominal nutrient strength.
Decide whether to dilute or replace
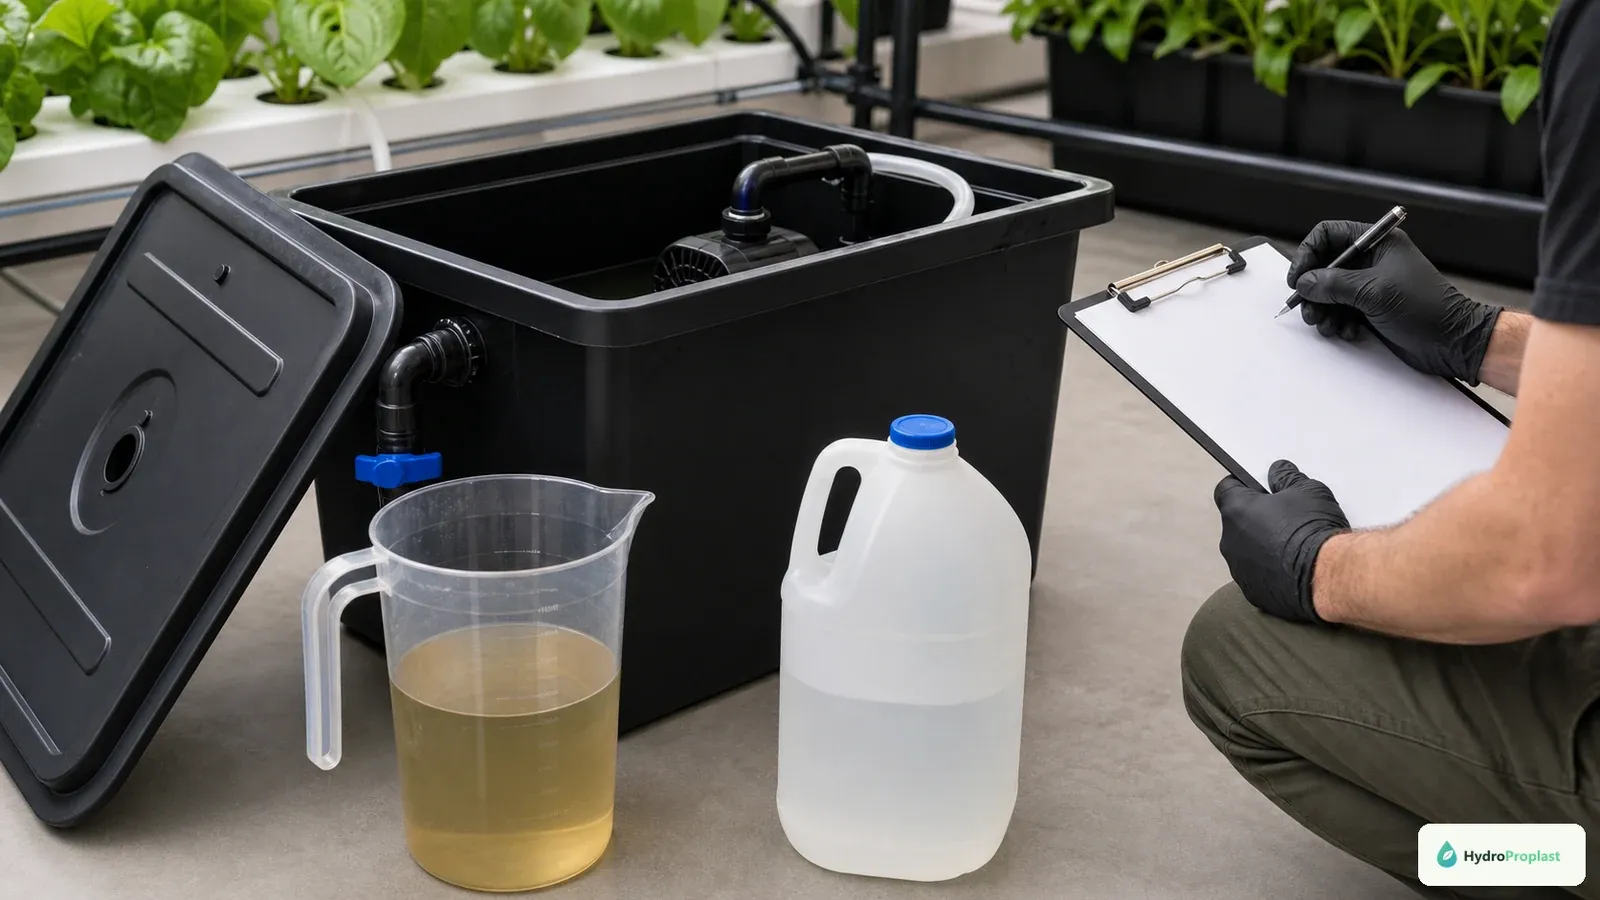
Choose measured dilution only when the solution history is known; replace it when composition or contamination is uncertain.
If records show a modest, uncomplicated overconcentration and the solution is otherwise clean, adding measured source water may return EC toward the product’s appropriate range. Mix, wait, and remeasure. Account for the source water itself.
Replace the solution when the recipe is unknown, the wrong concentrate was used, contamination is possible, precipitation is visible, repeated corrections have obscured composition, or EC is far outside the intended range. Prepare a correctly measured fresh batch in a clean vessel.
The hydroponic water-change guide explains how reservoir history changes the decision. Dispose of old solution in accordance with local rules and away from waterways.
Avoid a sudden second shock
Do not swing from an excessive solution to an extremely weak one without considering crop condition and product instructions. Severely stressed plants may need a carefully managed transition, stable temperature, and suitable light rather than multiple abrupt changes.
After correction, keep other variables steady. Monitor pH, EC, water uptake, roots, and the newest leaves. Existing brown tissue will not become green again; judge recovery by fresh roots and undamaged new growth.
Check light, heat, and humidity
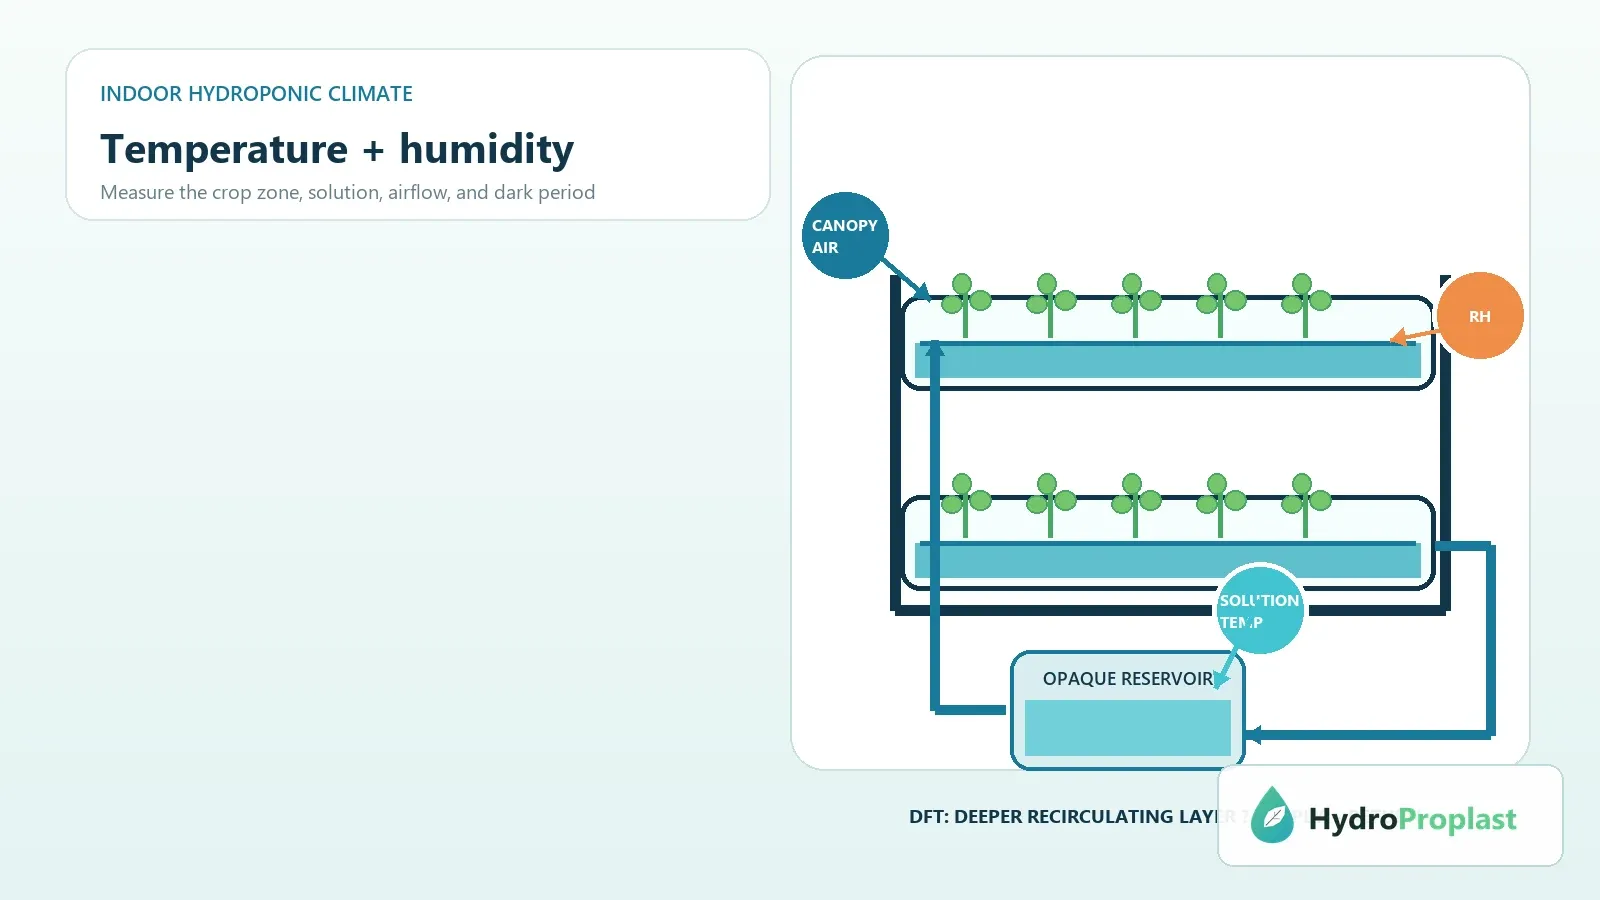
Intense light and high leaf temperature can scorch exposed tissue. Very dry air or strong airflow increases water loss, making concentration stress more visible at margins. A hot reservoir also holds less oxygen and increases root stress.
Measure canopy delivery and temperature across the full cycle. Compare affected positions with shaded or cooler plants. Do not lower nutrients automatically when the actual cause is a failed fan, lamp moved too close, or localized dry airflow.
Separate nutrient burn from deficiencies
A deficiency and toxicity can coexist, especially when high EC or poor roots limits selective uptake. Lower leaves paling, interveinal chlorosis, spots, and distorted new growth overlap across causes. Color charts cannot account for root condition, cultivar, light, or the previous environment.
Use the yellow-leaf diagnostic guide to map leaf age and pattern. Correct verified pH, roots, water delivery, and recipe errors before adding supplements.
A 24-hour response checklist
Immediately record readings and stop unverified additions. Confirm pump and aeration operation, solution level, temperature, and root access. Recalibrate meters and review the label and mixing calculation.
If the diagnosis supports excessive concentration, dilute or replace as appropriate. Recheck after complete mixing. Mark damaged leaves, then inspect new growth at the same time each day. Keep a control plant or unaffected system position for comparison.
Escalate when plants continue to wilt, roots deteriorate, or EC rebounds unexpectedly. A leak, evaporation, dosing fault, or measurement error may still be active.
Common mistakes after suspected burn
Flushing with unmeasured water can produce a new pH or temperature shock. Adding a “recovery” supplement raises EC and complicates the recipe. Cutting away every damaged leaf reduces remaining photosynthetic area. Raising the reservoir to soak a plug may deprive the crown of oxygen.
Do not use foliar fertilizer as a shortcut without crop-specific professional guidance. It can scorch leaves, leave residues, and hide the root-zone cause.
Automatic dosing safeguards
Calibrate dosing pumps by measured output, not only their displayed setting. Use maximum daily limits, separated injection points, adequate mixing time, and alarms where the controller supports them. Store concentrates clearly labeled and physically separated from look-alike containers.
Verify the reservoir manually after maintenance, firmware changes, empty stock tanks, or power interruptions. Automation repeats errors efficiently when a probe drifts or a tube siphons.
Crop-stage considerations
Seedlings and newly transplanted plants usually tolerate less concentrated solution than mature fruiting crops. Mixing plants with very different stages in one reservoir creates compromises. Follow product guidance for the actual crop and stage, and transition gradually when moving plugs into the main system.
Fast water loss during hot weather can concentrate a small reservoir quickly. A larger stable reservoir and scheduled top-up observations reduce surprises. Review reservoir sizing when EC swings recur.
Prevention records
For each batch, log source water, final volume, product lot, dose of every part, starting pH and EC, and the person who mixed it. Mark the reservoir at known volumes. Use dedicated measuring tools with readable units and rinse them as the manufacturer directs.
Trend daily water level, EC, and pH. A rising EC combined with falling level suggests a different action from falling EC during rapid growth. Replace guesses with the actual direction of change.
When to seek laboratory help
Recurring injury despite verified meters, recipe, temperature, oxygen, and light may require source-water, tissue, or nutrient-solution analysis. Contact a local extension service or qualified laboratory before collecting samples so the method and container are appropriate.
Provide the fertilizer label, cultivar, crop stage, symptom timeline, photographs, and complete readings. Penn State Extension’s plant nutrition guidance describes why deficiency and toxicity diagnosis requires more than visual symptoms.
The safe sequence is to stabilize equipment, verify measurements, audit the recipe, inspect roots, correct one supported cause, and watch new growth. Nutrient burn is managed with evidence and a known solution—not by adding another bottle.
A worked diagnosis example:
Suppose lettuce develops brown tips two days after a reservoir top-up. The EC is higher than the freshly mixed baseline, but the room also became hotter. First verify the meter and actual reservoir volume. Inspect roots and check whether water flow reaches every plant. Review exactly how much concentrate and water were added. If the verified EC is outside the product’s suitable crop range and no contamination is present, measured dilution may be justified. If the recipe cannot be reconstructed, replace it with a known batch.
Now consider the same tips on only the plants beneath the center of a recently lowered fixture. Reservoir EC is stable, roots are healthy, and edge plants remain normal. That spatial pattern makes light or heat more plausible than nutrient burn. Measure canopy delivery and leaf-zone temperature before changing the shared solution.
Recovery scoring:
Use four observations: new leaf condition, new root tips, water uptake, and stable pH/EC trends. Score them at the same time daily. Old necrotic margins are historical evidence and may remain visible through harvest. A plant is recovering when new tissue develops normally and the root system resumes growth under stable conditions.
If EC falls rapidly after correction, do not automatically add fertilizer the same day. Confirm water level, evaporation, crop demand, and meter accuracy. Small reservoirs change quickly and deserve more frequent observation, not more aggressive dosing.
Source-water troubleshooting:
Measure source water before every major batch and obtain a laboratory analysis when recurring issues suggest alkalinity, sodium, chloride, or mineral imbalance. Home EC meters cannot identify which ions are present. Reverse-osmosis water also changes buffering and may require a nutrient program designed for it.
Keep nutrient concentrates closed, labeled, within their storage temperature range, and away from light as directed. Crystallized, frozen, overheated, or expired products should be handled according to the manufacturer, not corrected with homemade additions.
Final release checklist: verified meters, known final volume, correct product and stage rate, separate concentrate addition, complete mixing, suitable pH, normal temperature, working flow and aeration, clean roots, and a written baseline. When all are true, future symptoms can be compared with evidence instead of memory.
Before returning a corrected plant to normal management, verify that the reservoir remains stable through at least one full light cycle. Check the warmest-period water level and EC, inspect the newest root tips, and confirm that no automatic doser or top-up valve is recreating the problem. Review all handwritten calculations independently; decimal and unit errors are common.
If only one cultivar repeatedly shows marginal injury under a shared recipe, record it rather than forcing every crop to that plant’s response. Separate reservoirs or crop-stage groupings may be the durable solution. The final goal is not the lowest possible EC, but a verified crop-appropriate concentration that remains stable as plants use water and nutrients.