Hydroponic root rot is not one single disease and brown roots are not automatic proof of infection. Nutrient dyes, old root tissue, low oxygen, heat, physical damage, and several microorganisms can create similar appearances. Diagnose texture, smell, plant behavior, water conditions, and system history before treating anything.
Triage the system first
Check whether pumps and air equipment are running, roots have water access, return lines flow, and solution temperature is safe for the crop. Restore failed circulation or aeration immediately. Isolate a severely collapsing plant when it can be removed without spreading root debris through the system.
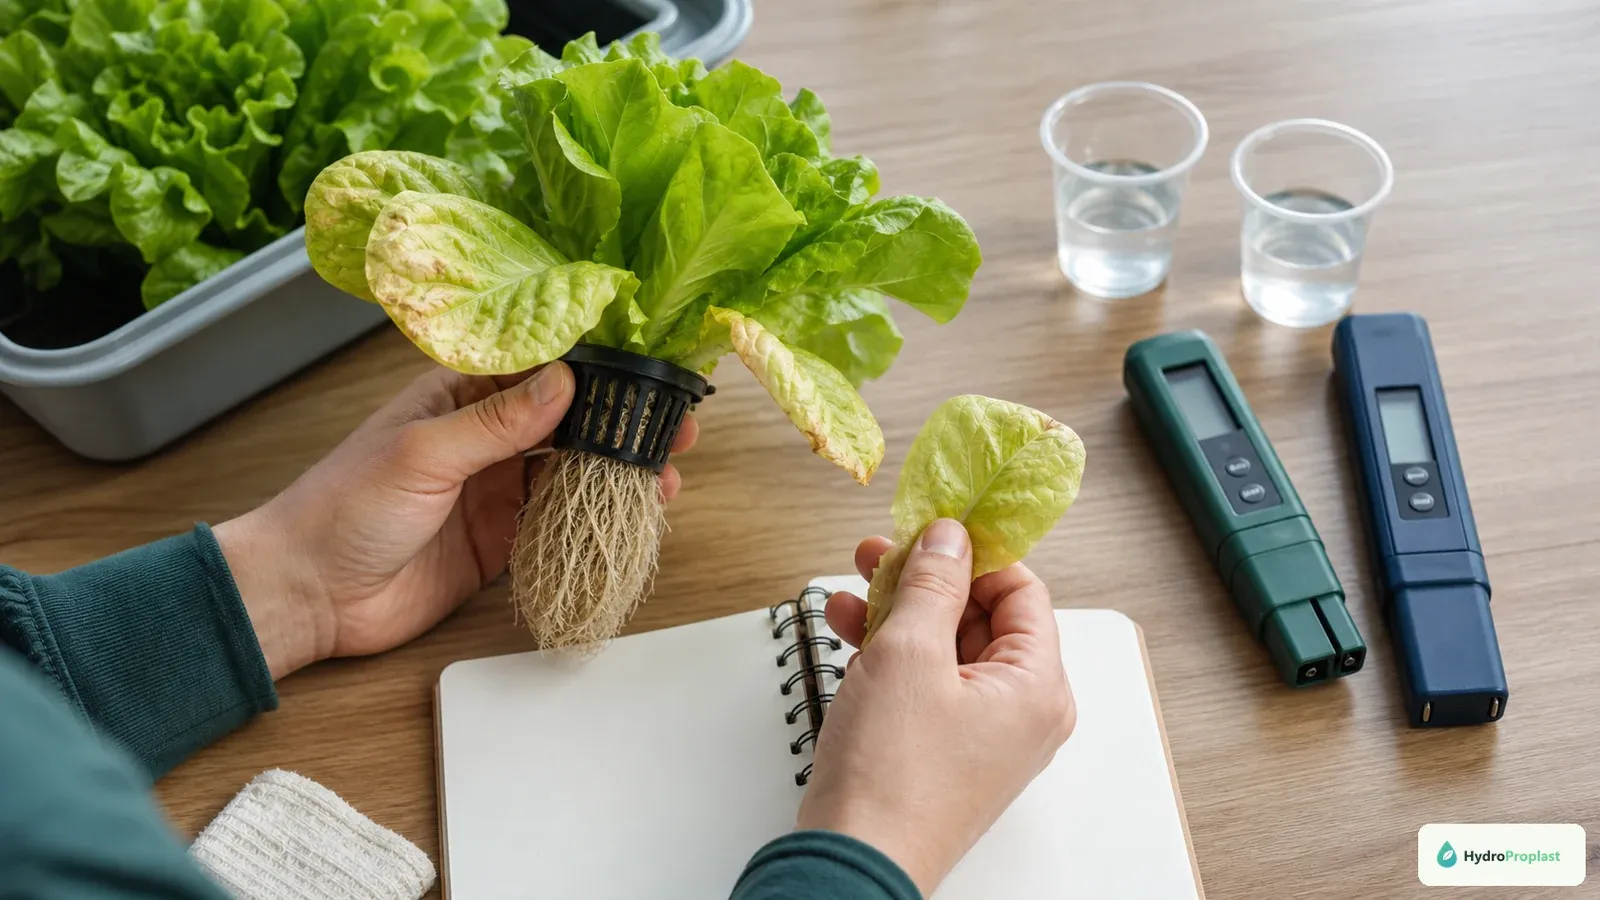
Photograph roots in neutral light and record pH, EC, temperature, water level, dissolved oxygen if available, plant positions, recent outages, and every additive. Do not pour disinfectant into an occupied reservoir as an improvised cure.
Healthy staining versus decaying roots
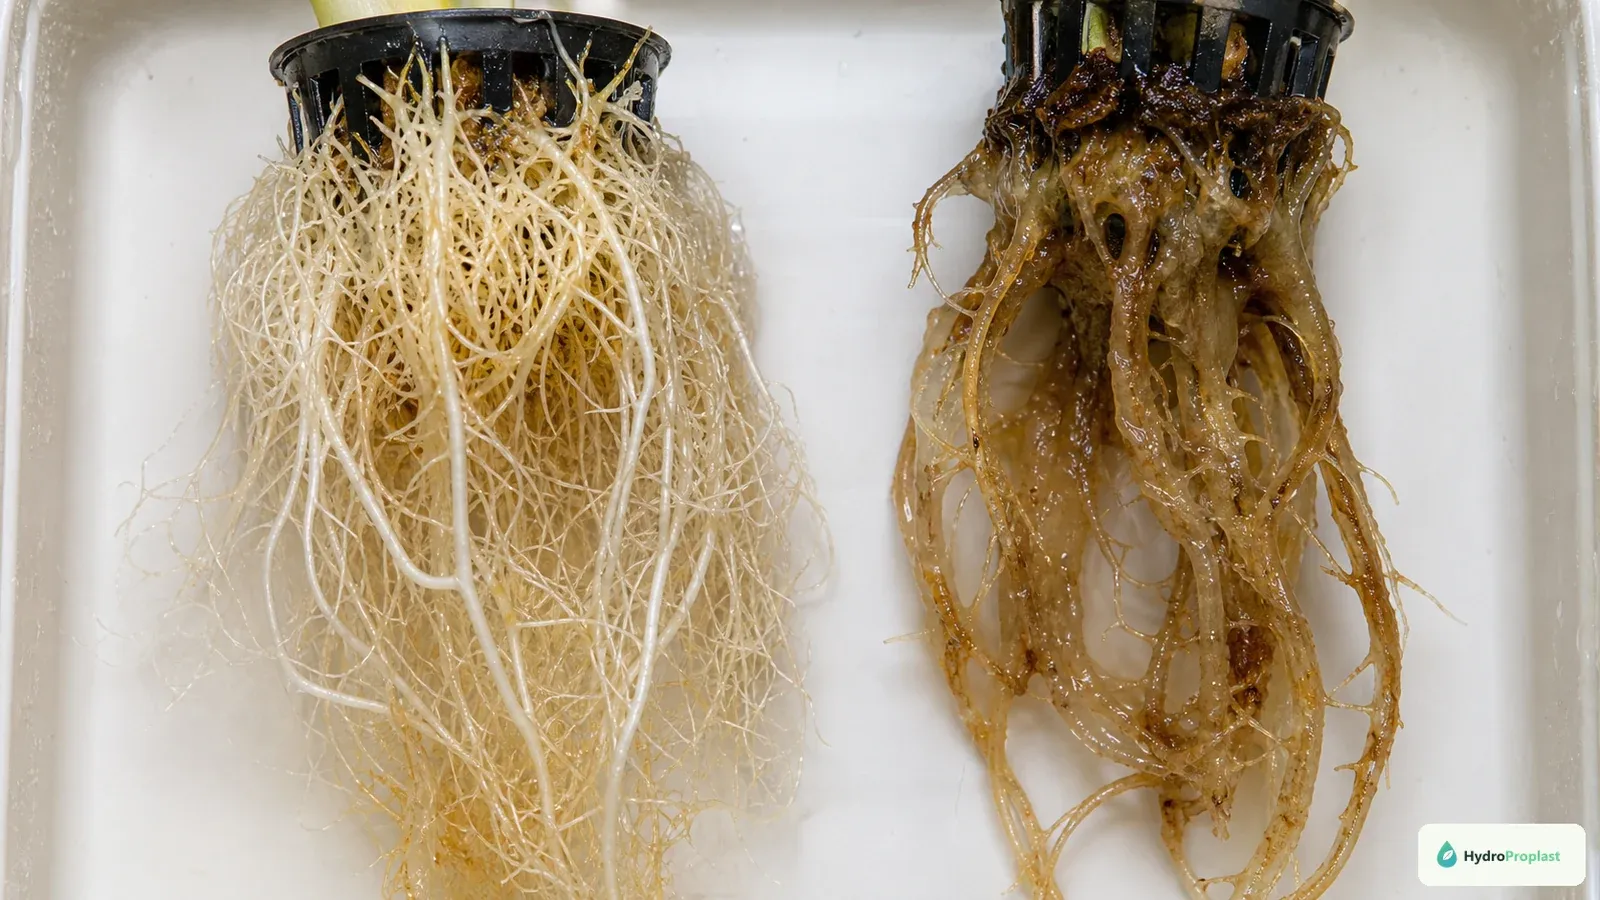
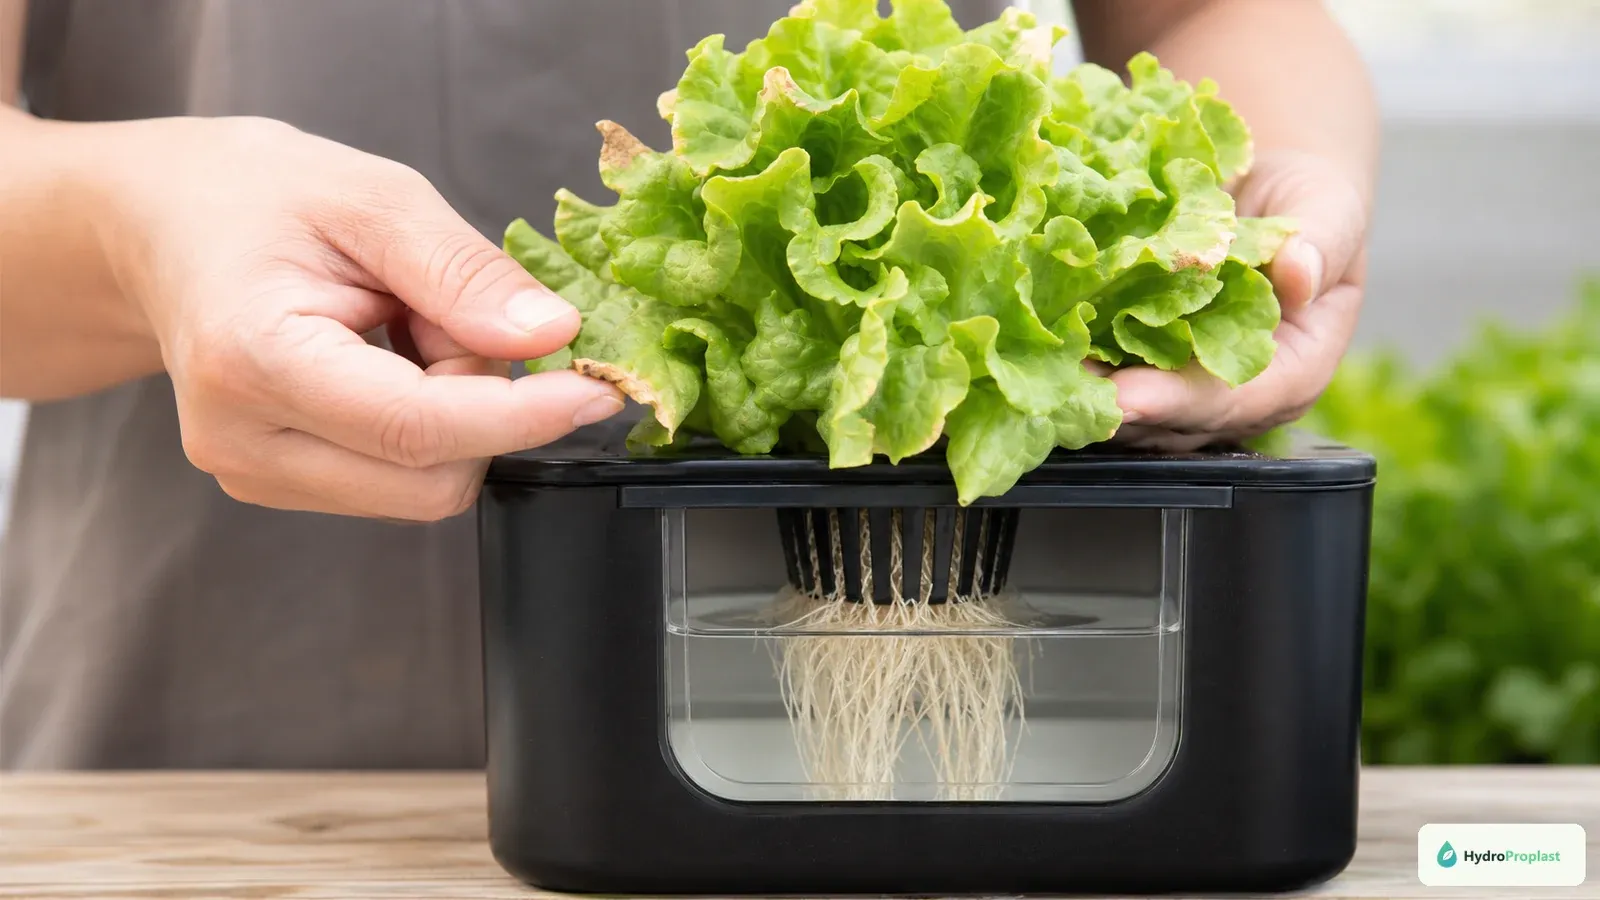
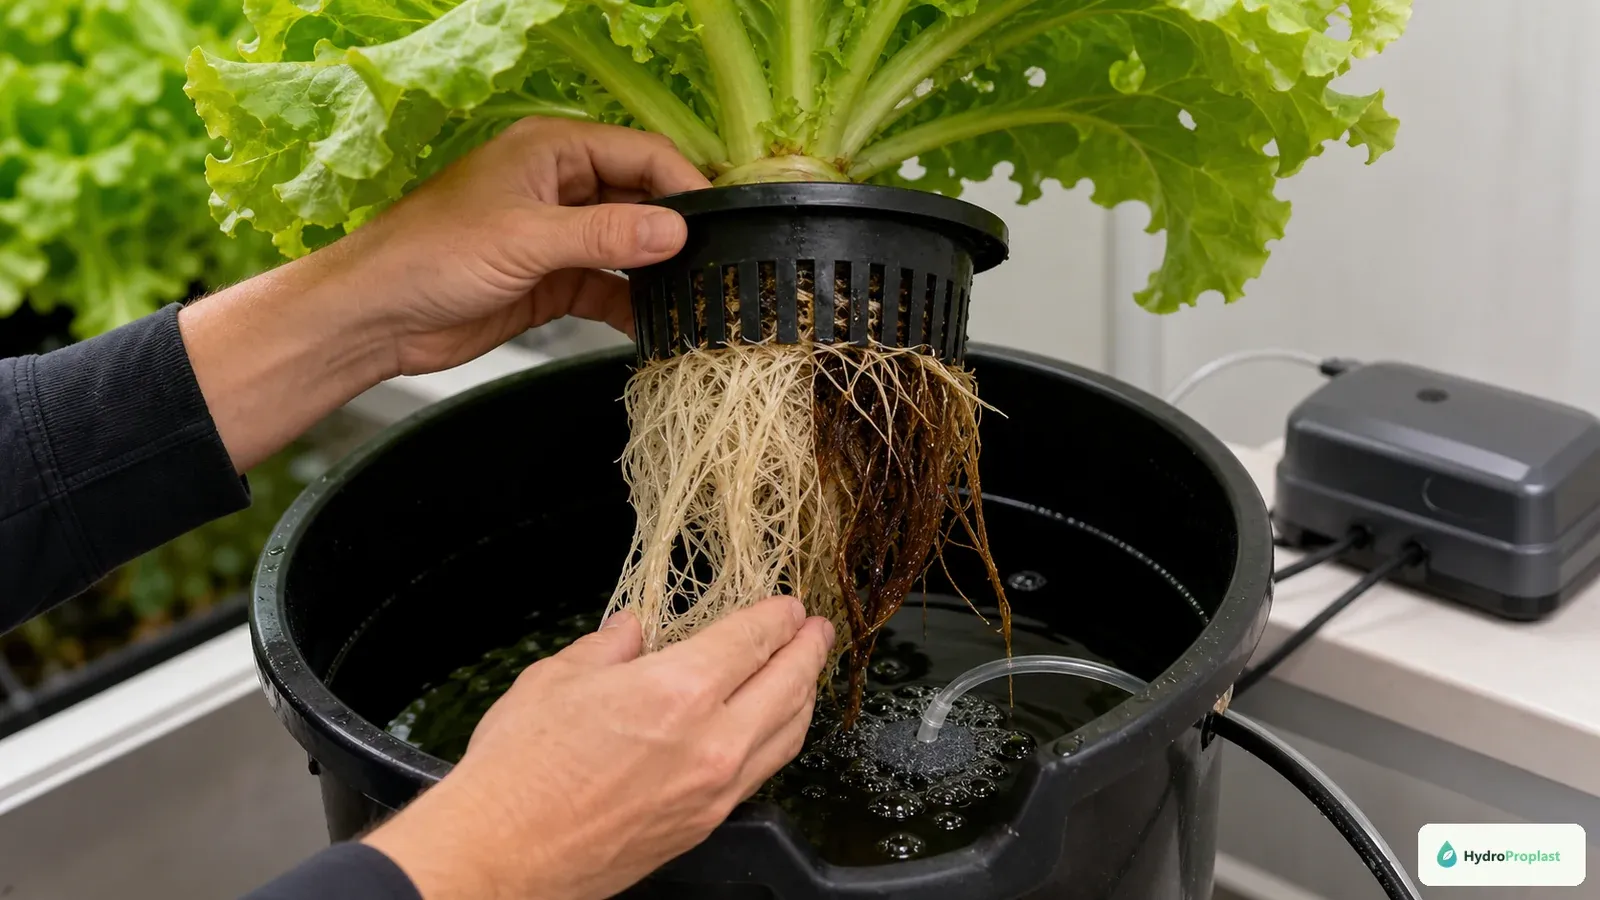
Healthy nutrient staining remains firm; root rot typically brings soft, collapsing, slimy tissue and loss of fine roots.
Healthy roots are generally firm and have fresh growing tips. They may be white, cream, tan, or stained by nutrients. Staining that does not alter texture or smell can be harmless.
Concerning signs include slime, tissue that slips off when gently handled, sour or swampy odor, rapidly darkening roots, stalled new tips, crown softening, and wilt despite available solution. Compare a symptomatic plant with a healthy plant from the same nutrient batch.
Some root pathogens require laboratory confirmation. Use “suspected root rot” when the evidence is visual only.
Map where the problem occurs
Every plant affected at once suggests shared temperature, oxygen, contamination, or solution trouble. One channel, bucket, or emitter points toward local flow, light leak, trapped debris, or mechanical injury. Symptoms strongest near the warm return or pump reveal a different cause from those beside a blocked air stone.
Map affected sites on the lid or channel plan. This prevents a local plumbing fault from being treated as a reservoir-wide disease.
Measure solution temperature over time
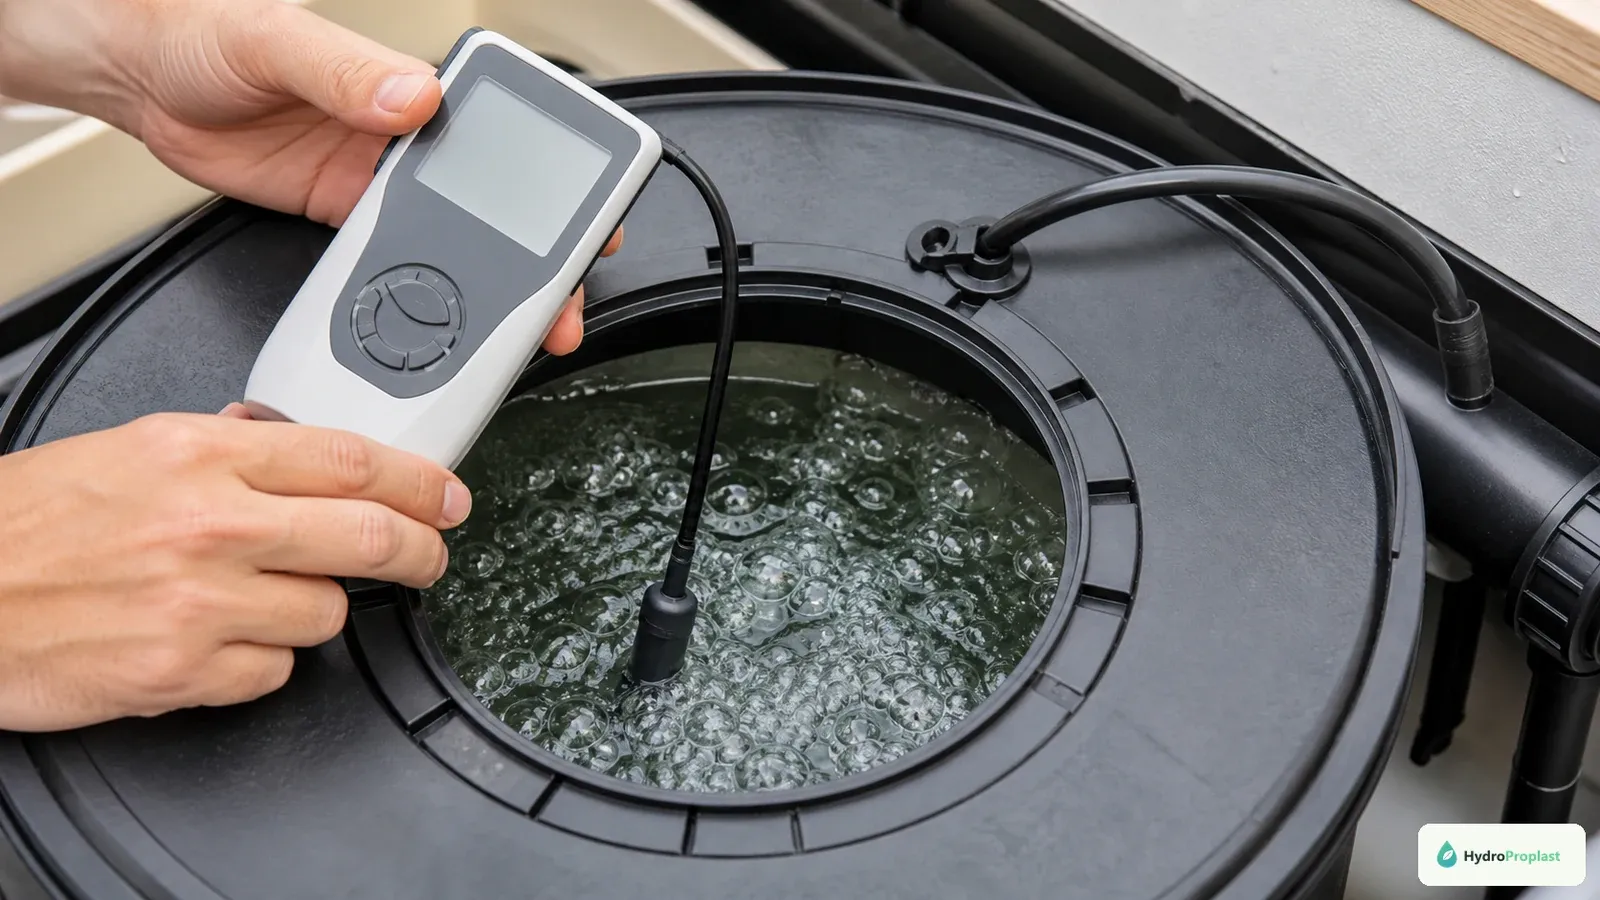
Log solution temperature across the day because brief checks can miss warm periods that reduce oxygen availability.
Warm solution holds less dissolved oxygen and can favor rapid biological growth. One morning reading may miss afternoon peaks caused by lights, pumps, sunlight, or hot room air.
Measure at the root zone before lights, during the warmest part of the cycle, and near heat-producing equipment. The hydroponic water-temperature guide explains monitoring and passive control.
Use crop-specific targets from reliable guidance. Avoid sudden chilling, frozen bottles that contact roots, or unclean cooling items placed in the reservoir.
Verify oxygen and circulation
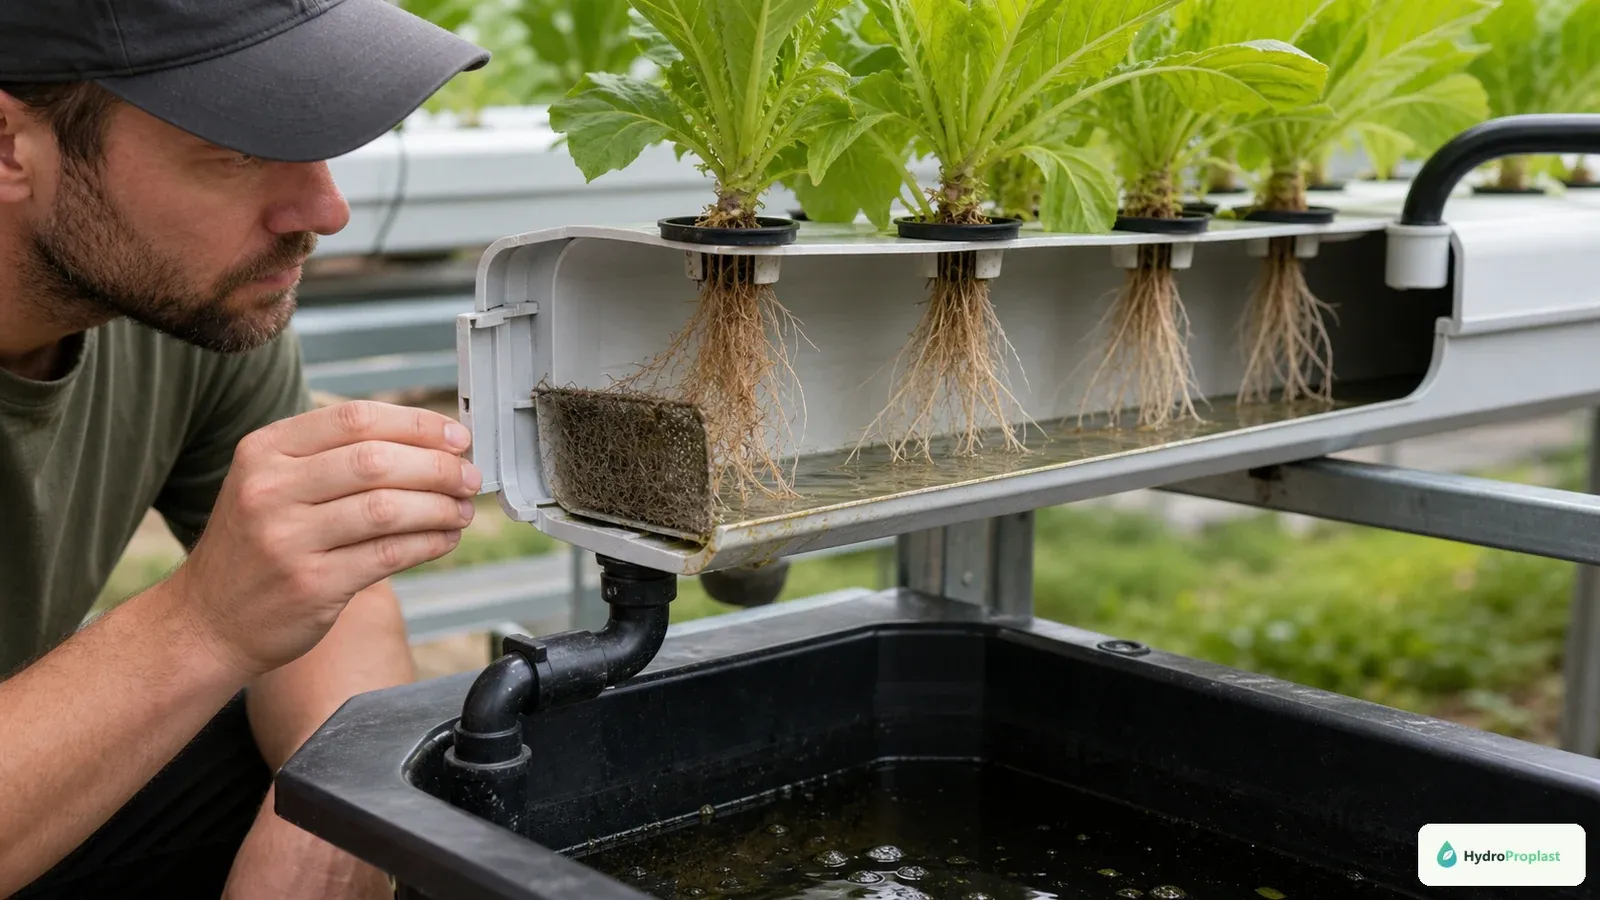
Restricted delivery or return flow can create a local low-oxygen zone even when the main reservoir appears normal.
In DWC, inspect the air pump, tubing, check valves, manifold, and bubble distribution. An operating pump may still have a cracked tube or clogged stone. In NFT and drip systems, confirm actual delivery and return flow at every position.
Water movement is not identical to adequate root oxygen, and bubbles alone do not prove dissolved oxygen. Plant load, temperature, root mass, biofilm, and reservoir geometry all influence conditions. The air-pump versus water-pump guide separates their roles.
Keep air pumps where they draw reasonably clean, cool air and above water level or protected by correctly oriented check valves according to manufacturer instructions.
Inspect crowns, plugs, and media
A permanently saturated propagation plug can suffocate young roots even when the reservoir is aerated. Keep the crown above persistent moisture and ensure the medium drains as designed. In passive systems, preserve the intended air gap instead of repeatedly topping to the original high level.
Look for compacted media, trapped organic debris, roots wrapped around inlets, and light entering wet surfaces. The net-pot guide covers pot height and establishment.
Do not pull healthy roots through narrow slots simply to make them look tidy.
Review recent contamination routes
Root trouble often follows a warm outage, unwashed transplant, dirty tool, reused porous medium, dead root accumulation, algae, or an untreated leak from outside the system. Track the timeline rather than assuming the nutrient brand caused it.
Keep hands and tools clean, avoid moving from a suspect system to a healthy one, and do not return runoff or inspection samples to the reservoir. Remove fallen leaves before they decompose.
Decide whether a plant is recoverable
A plant with some firm roots, a sound crown, and active new tips may recover after environmental correction. Remove only loose dead tissue that can be taken without tearing healthy roots, using clean tools and gentle handling.
Discard a plant whose crown is collapsing, root system is extensively decomposed, or presence threatens a shared crop. Bag waste according to local practice and clean the vacated site. Do not compost confirmed diseased material unless local guidance says the composting process is appropriate.
Correct the environment, not just the color
Restore reliable flow and oxygen, reduce preventable heat, exclude light, remove debris, and correct pH or EC only when verified. Avoid adding extra nutrients to a plant with impaired roots. Stable, suitable conditions allow new roots to show whether recovery is occurring.
Existing roots may remain stained. Judge progress by firm pale new tips, improved leaf posture, resumed water use, and lack of odor or slime.
About peroxide and other treatments
Hydrogen peroxide and disinfectants can injure roots, react with organic material, interfere with beneficial organisms, and create worker hazards when misused. Product concentration and legal crop use vary. Do not recommend a universal reservoir dose.
Use only products labeled for the crop, system, and purpose, exactly at label directions, with required protective equipment. Never mix peroxide, bleach, acids, ammonia, or other cleaners. If treatment is necessary, obtain local extension or qualified crop-adviser guidance.
Environmental correction and sanitation between crops are safer foundations than improvised chemical rescue.
Reservoir-change decision
Replace solution when it contains extensive root debris, odor, visible contamination, an unknown additive, or a composition made uncertain by repeated correction. Prepare a clean replacement with verified source water and nutrient measurements.
If changing solution, avoid spreading contaminated water to drains, soil, or waterways contrary to local rules. Clean external spills promptly and keep electrical equipment isolated.
Use the system-cleaning guide for an empty-system turnover rather than applying between-crop concentrations to living roots.
A 72-hour recovery log
At correction time, mark water level and document roots. Check equipment several times during the first day, especially after lights warm the room. Recheck pH and EC only after complete mixing and allow sensible time between adjustments.
Daily, photograph the same roots and newest leaf, note odor and texture, and record water use. Do not add several remedies at once. If deterioration continues or neighboring plants develop symptoms, remove the worst source and seek diagnostic help.
Preventing recurrence
Keep reservoirs opaque and covered, size them for crop demand, maintain pumps and air components, and monitor temperatures across the light cycle. Inspect roots weekly without damaging them. Clean debris traps, filters, channels, and inaccessible corners between crops.
Quarantine new plants and use clean propagation materials. Do not share wet tools between systems without cleaning and appropriate sanitizing. Replace cracked tubing and porous components that cannot be restored.
Power and equipment failures
Plan for outages appropriate to the system and crop value. A battery air pump, alarm, spare pump, or documented manual procedure may reduce risk. Test backups; owning an unopened device is not the same as having a working plan.
After an outage, record duration, peak solution temperature, plant response, and equipment restarted. Inspect roots for several days because injury may appear later.
Algae and biofilm relationship
Algae do not automatically equal root rot, but light leaks and organic buildup create unstable conditions, consume oxygen during dark periods, and complicate sanitation. Remove the light source and physical buildup rather than relying on algaecide around edible crops.
See the algae prevention guide for source control. Slippery clear biofilm can exist even without green algae and deserves cleaning between crops.
Diagnostic checklist
Ask: Are roots firm or decomposing? Is there an odor? Did temperature rise? Did flow or air delivery fail? Is one position or every plant affected? Did the problem follow transplant, outage, additive, or top-up? Are pH and EC meters verified? Is light entering the reservoir? Is debris accumulating?
Answering these questions narrows the problem more reliably than root color alone.
When to seek expert testing
Contact a local plant diagnostic laboratory when losses are valuable, recurring, rapidly spreading, or unexplained after equipment and environment are verified. Ask how to package root and water samples; incorrect storage can ruin a diagnosis.
The University of Minnesota Extension’s small-scale hydroponics guide covers oxygen, cleaning, light exclusion, and routine monitoring. Oklahoma State University’s hydroponics overview provides complementary system context.
Root-rot prevention is operational discipline: cool and oxygenated conditions appropriate to the crop, reliable flow, clean transplants, light exclusion, inspection, and complete between-crop sanitation. Treat the cause that evidence supports and measure recovery in new roots.
A position-by-position investigation:
Begin at the reservoir and follow the water path. Note temperature and odor, inspect the pump intake, then check the first and last plant positions. In channels, compare inlet and outlet flow and confirm that roots do not create dams. In buckets, compare bubble distribution and water level. In drip systems, collect emitter output for a fixed time where practical.
This route often reveals that “root rot everywhere” is actually one warm, poorly supplied branch. Conversely, similar decay across independent positions suggests a shared solution, propagation, temperature, or sanitation event.
Recovery trial design:
Select only plants with a firm crown and meaningful healthy root tissue. Correct the environment and label them. Keep a healthy control when possible. Photograph the same roots each day without leaving them exposed to light for long. Record solution temperature at its warmest point, pH, EC, water level, and equipment status.
Do not combine pruning, a new nutrient brand, chemical treatment, major pH correction, and light changes in one trial. If recovery occurs, you will not know which action helped; if it fails, you will not know which action harmed the plant.
Design improvements after a loss:
Increase inspection access, remove dead plumbing legs, shade every wet opening, and make drains reach the actual low point. Size pumps for the required flow at real head height, not only the box rating. Provide a way to verify air or water delivery without dismantling the crop. Add temperature logging or alarms when heat events have occurred.
Keep propagation and production tools separated or sanitize them between zones. Label reusable media batches and discard material from confirmed disease when it cannot be reliably processed. Store clean components dry and protected.
A post-incident report should include the first symptom, positions affected, equipment and power events, temperature history, root photographs, lab result if any, crop disposition, cleaning record, and preventive change. This record turns a crop loss into a system correction rather than a repeated mystery.
New roots are the final test. A treatment claim, clearer water, or disappearance of odor is not enough if the plant produces no firm new tips. Continue monitoring beyond the first visual improvement.
Plant spacing also affects the root zone. An overcrowded canopy raises humidity, reduces inspection access, and can hide failing plants until roots are extensively damaged. Excessive root mass can block channels and surround air stones. Plan harvest timing and thinning so plumbing remains functional.
During weekly inspection, use a consistent sequence and avoid touching every root system with the same wet glove. Observe first, then handle only when necessary. Work from apparently healthy systems toward suspect ones, changing or cleaning tools according to the sanitation plan.
If a recovered plant remains far behind its neighbors, consider removal even after decay stops. A weak plant can occupy light and plumbing capacity while contributing little yield. Recovery decisions should protect the shared crop, not merely preserve every individual.