Net pots are slotted containers that hold a plant at the top of a hydroponic system while allowing roots to grow into the nutrient zone. They look simple, but pot diameter, depth, slot design, support material, and water level all influence plant stability and crown health.
A net pot does not create hydroponics by itself. It is one component in a system that must also deliver water, nutrients, oxygen, light, and physical support. This guide explains how to choose and use net pots without turning a small purchasing decision into a recurring root-zone problem.
How net pots work
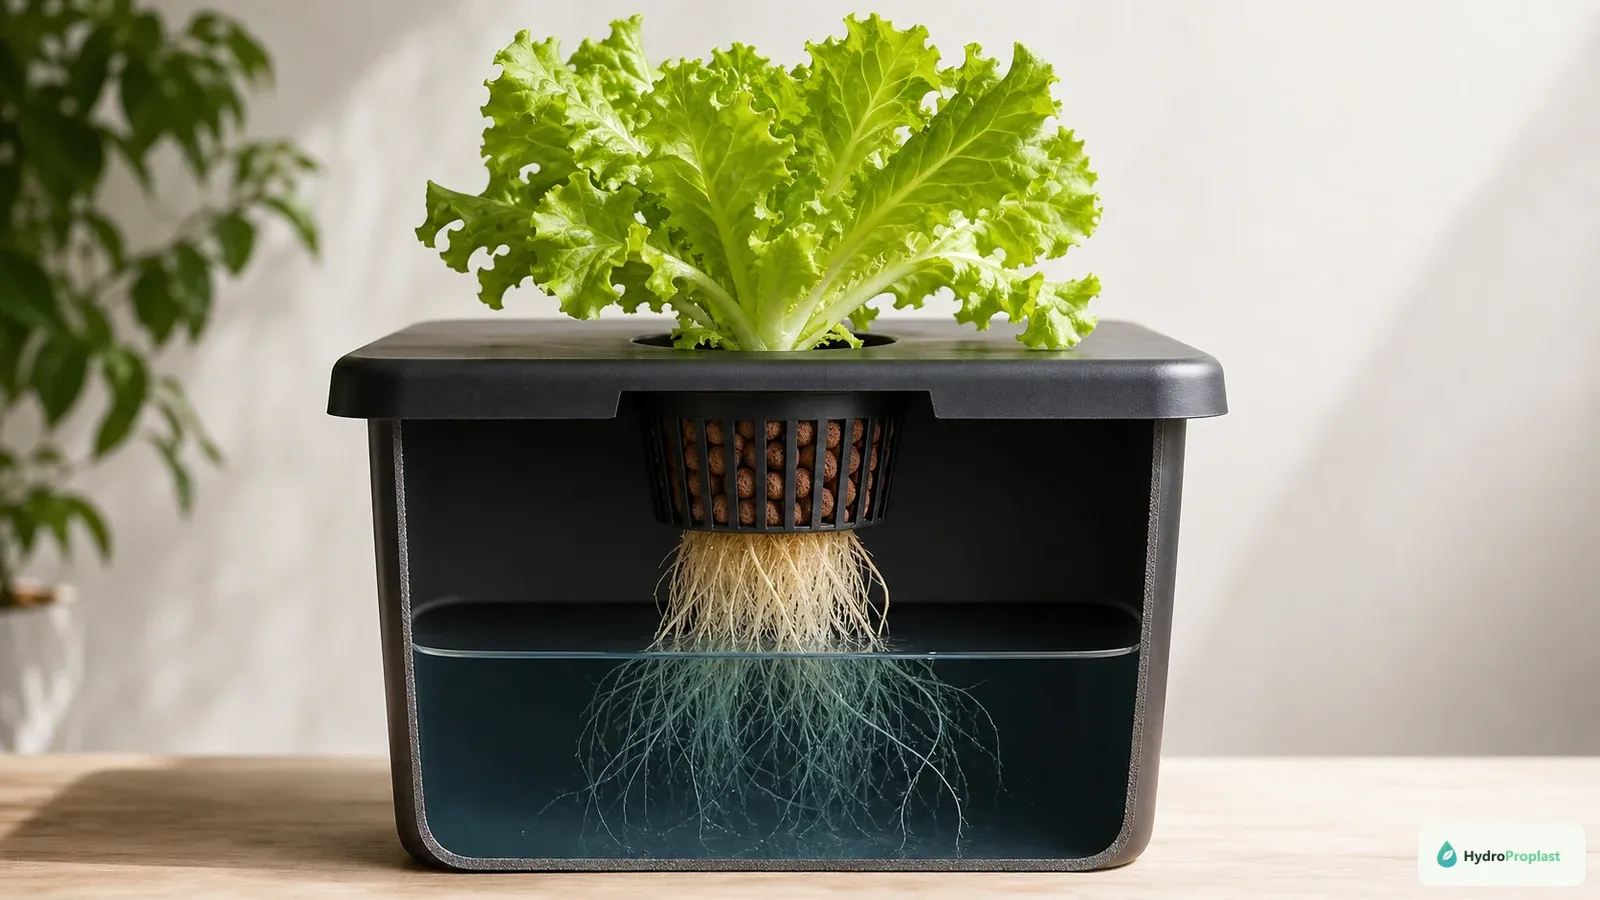
A conventional nursery pot confines roots inside a container filled with substrate. A net pot has openings around its sides and base. Roots pass through those openings toward a nutrient film, aerated reservoir, spray chamber, or periodically flooded zone.
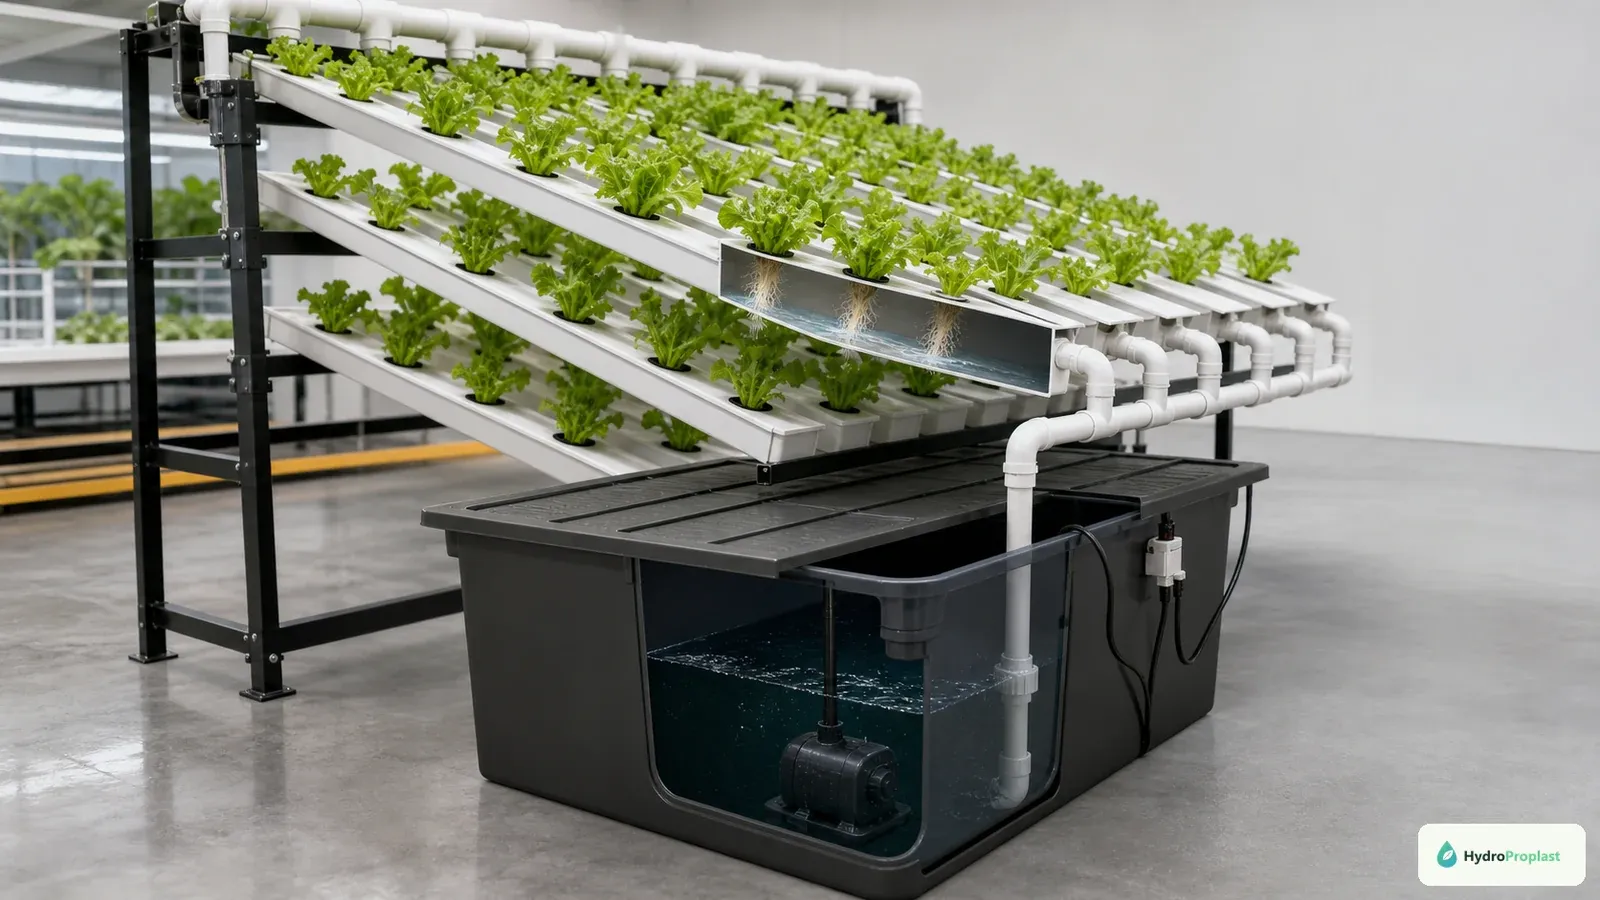
The pot holds a seedling plug and, when needed, a coarse support medium. In DWC or Kratky systems, the young plant begins near the solution. As roots lengthen and the solution level changes, part of the root system remains moist while another part receives oxygen. In NFT, a small pot or collar positions the plant over the channel while roots enter the moving film.
The crown—the transition between stem and roots—should remain supported and should not be continuously submerged. Persistent crown moisture can encourage decay even when the lower roots are healthy.
Choose size from the mature plant
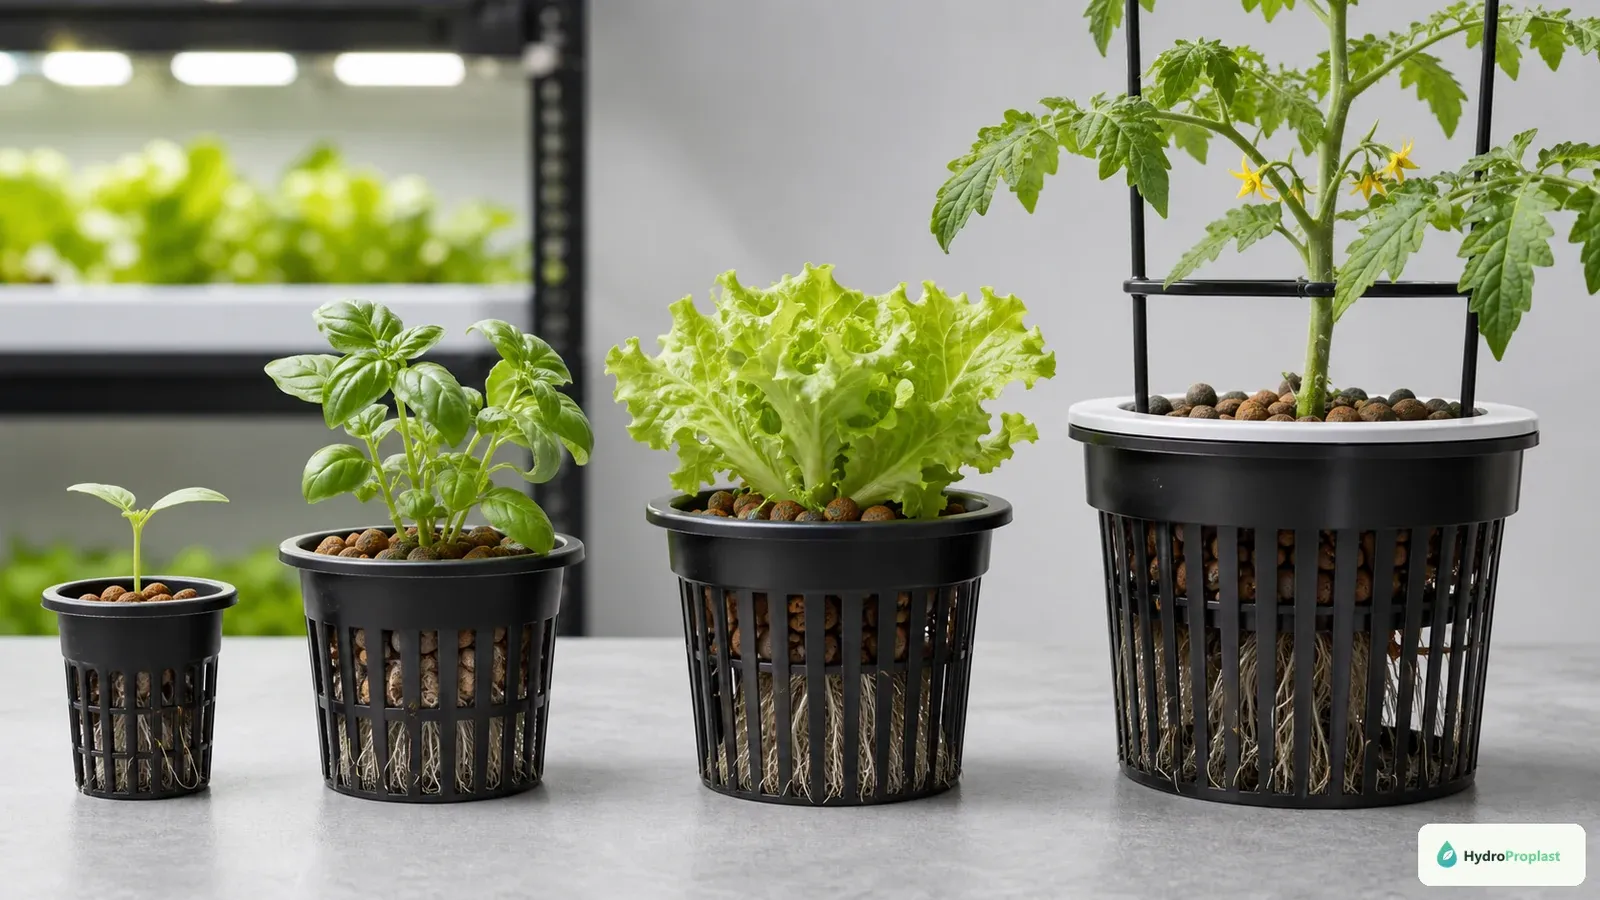
Choose net-pot diameter and depth for the mature plant, root mass, and support it will eventually need.
Net-pot size should reflect the mature plant, lid opening, and support plan, not merely seedling size. Small cups are efficient for lettuce, basil, and compact herbs. Larger cups hold more media and resist tipping, which can help strawberries or young fruiting crops. Very large plants still need trellising or external support; a bigger pot alone cannot safely carry a mature tomato or cucumber.
Common product labels use nominal diameters, but actual rim and body dimensions vary by manufacturer. Measure the hole and ledge in the real lid or channel. The rim must rest securely without falling through, while the body must not obstruct flow or collide with nearby plumbing.
Before cutting multiple holes, test one pot in the assembled system. Check clearance below the lid, access for cleaning, root space, and whether the lid flexes under load.
Diameter, depth, and slot pattern
A wider rim distributes load and may be easier to lift. A deeper basket holds more support medium but can extend too far into a shallow channel. Dense narrow slots retain smaller particles, while large openings let roots emerge freely and make cleaning easier.
There is no universally superior slot pattern. For clay pebbles, openings must be small enough to prevent most particles from dropping into the reservoir. For a bonded propagation plug, the basket may need little additional medium. Flexible roots usually navigate either round or rectangular slots, but sharp molding flash can damage them and should be avoided.
Dark, opaque plastic helps limit light at the wet root zone. Transparent cups expose moisture and nutrients to light and can encourage algae.
Match the pot to the system
In deep water culture, the pot sits in a lid above an aerated reservoir. Early roots need access to moisture, but the crown should stay above the solution. Review the Kratky versus deep water culture comparison when deciding whether active aeration fits the crop and maintenance routine.
Kratky systems depend on a developing air space as solution is consumed. Do not keep topping the container to the original crown-level depth without understanding that root architecture. In NFT, avoid baskets so deep that they block the channel or create dams. Small plugs or cups should allow the nutrient film to move freely.
Ebb-and-flow systems wet roots and media during each flood, then drain to refill pores with air. Pot openings must permit quick filling and complete drainage. In aeroponics, specialized collars or small baskets are often used because loose medium can interfere with nozzles.
What to put inside a net pot
A net pot commonly holds a propagation plug surrounded by rinsed expanded-clay pebbles. The plug keeps fine young roots intact; the pebbles stabilize it and shade the opening. Use only enough medium to support the plant and block excessive light.
Coir, perlite, and other fine loose particles can escape through slots, cloud reservoirs, clog pumps, or stay too wet around the crown. They require a compatible liner or container design. The guide to hydroponic grow media compares water retention, aeration, and system compatibility in more detail.
Do not pack pebbles tightly against a tender stem. Support the plug, leave room for growth, and add a separate stake or trellis when the crop requires it.
Setting the initial water level
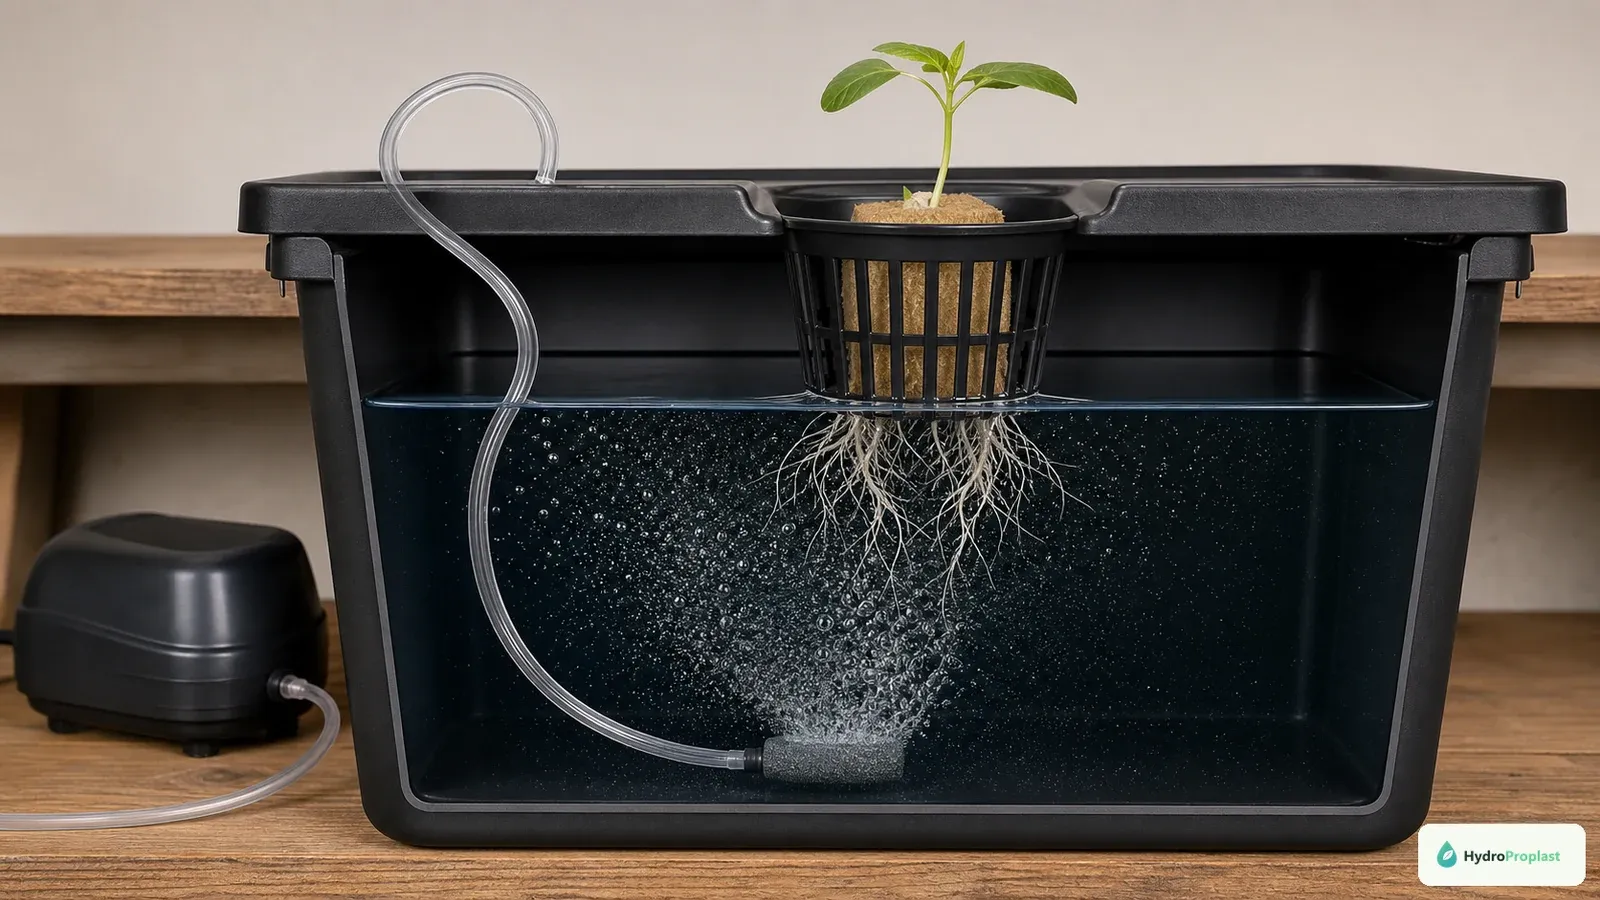
For a young DWC plant, keep the starter cube above the solution while aerated water reaches the net-pot base and early roots.
Initial water level depends on the system, plug, and root length. A newly transplanted seedling must not dry out before roots reach the nutrient zone. At the same time, submerging the entire plug can exclude oxygen and keep the crown wet.
In an aerated DWC setup, growers often position solution close enough that bubbles and splashing moisten the lower medium while the upper plug can breathe. In a passive system, a small lower portion of the pot or wick may contact solution during establishment. These are starting points, not fixed measurements for every pot.
Inspect the plug directly. If it is saturated and the stem base is soft, lower the solution or improve support and airflow. If the plug is light, roots are short, and leaves wilt, carefully top-water with appropriate solution until roots establish. Never let runoff contaminate a clean reservoir with loose debris.
Starting seedlings for net pots
Germinate one or more seeds in a clean, appropriately moist plug, then select a healthy seedling according to the crop. Roots should be visible but need not be tightly bound before transfer. Handle the plug, not the stem, and avoid tearing new roots through narrow slots.
For detailed temperature, moisture, light, and transplant guidance, follow how to germinate seeds for hydroponics. Seedling quality matters more than filling every hole on a fixed date.
After transfer, label the plant and record the date. Check daily until roots extend beyond the pot and the plant resumes active growth.
Spacing is determined by the canopy
Net-pot holes are often placed too close because seedlings look small. Mature leaves then overlap, reduce airflow, shade lower growth, and make inspection difficult. Root systems can also intertwine, complicating harvest and system cleaning.
Use mature canopy width, crop duration, pruning method, and light footprint to choose spacing. Leaf lettuce can be grown closer than tomatoes, but exact spacing varies by cultivar and harvest size. Staggered holes may improve use of a rectangular lid, provided the lid remains structurally sound.
Do not cut so many holes that the lid bends or allows light into the reservoir. Every unused opening should be covered with an opaque cap.
Light exclusion and algae prevention
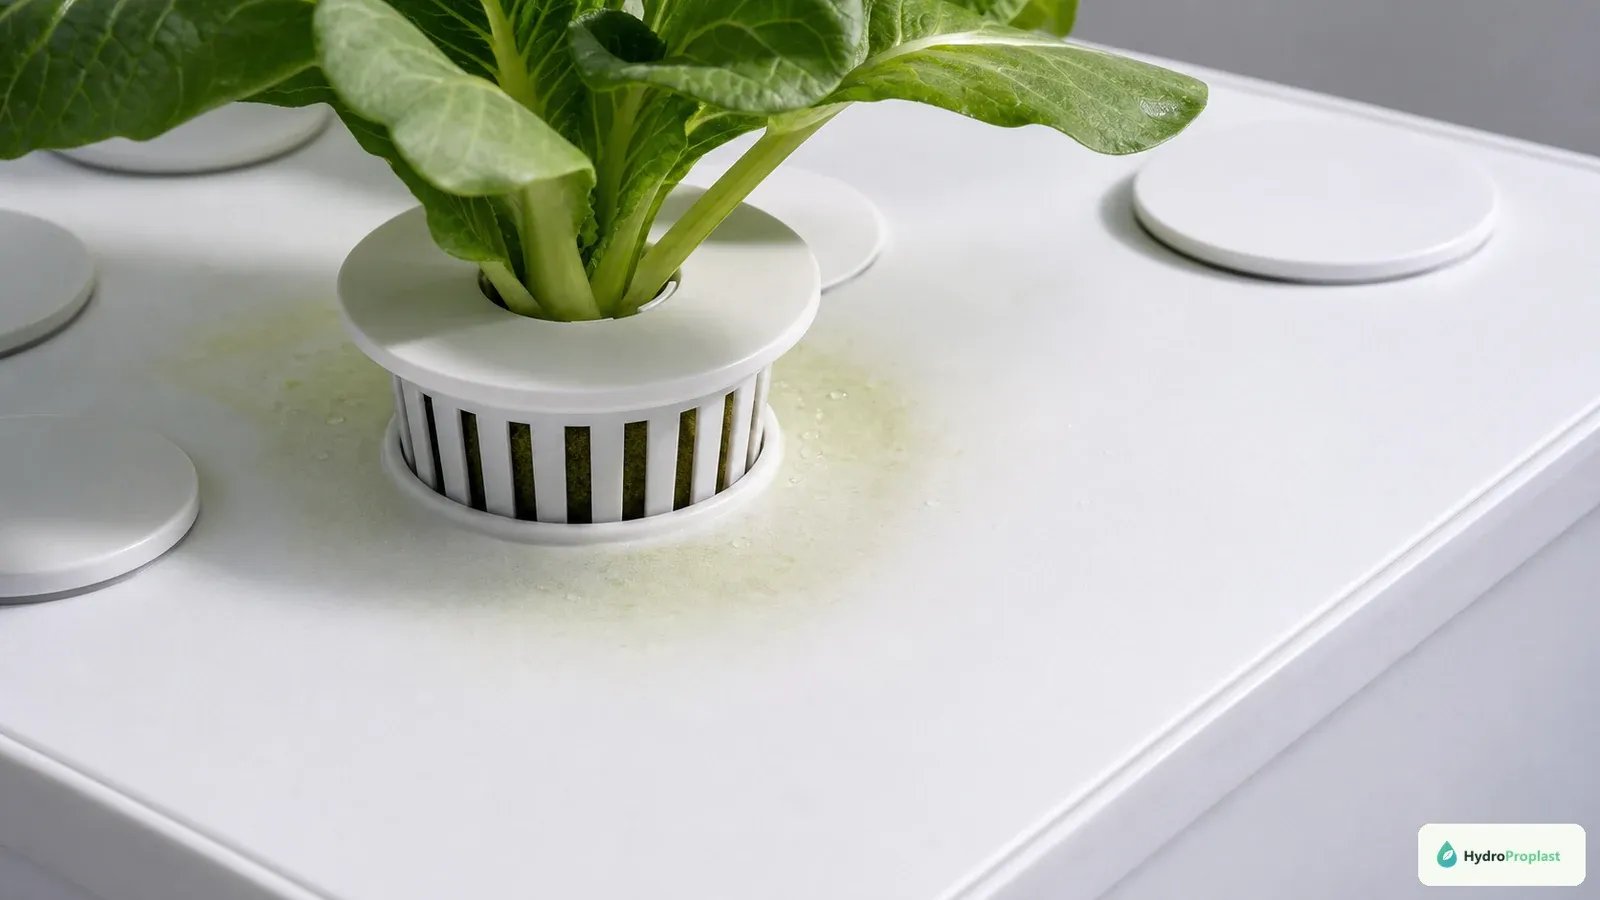
Opaque collars and fitted hole caps keep light away from wet surfaces where algae would otherwise grow.
Algae require light, moisture, and nutrients. Wet clay pebbles exposed under a bright grow light create a favorable surface. Algae can form slippery films, compete for oxygen at night, attract pests, and make equipment harder to clean.
Use an opaque reservoir and lid, cover gaps around pots, and keep the upper medium as dry as the crop permits. Do not solve the problem by pouring unapproved chemicals around roots. The broader algae prevention guide explains how to remove the environmental cause.
Lift one pot periodically and inspect the underside. Green growth around the rim usually indicates a light leak or persistently wet surface.
Supporting heavy plants
Net pots anchor roots; they are not structural trellises. Fruiting crops become top-heavy, especially after pruning or when fans move the canopy. Support tomatoes, cucumbers, and peppers from a stable frame or overhead line that does not load the reservoir lid.
Keep stems from rubbing against a hard pot rim. A correctly placed plug or collar should hold the plant upright without squeezing it. Check ties as stems expand, and make sure support structures cannot fall into water or electrical equipment.
If a lightweight lid flexes, reinforce or replace it rather than using a deeper pot as a patch. Structural failure can expose roots to light, spill solution, and damage pumps.
Cleaning and reuse
After harvest, remove roots while they are still pliable. Dried roots become difficult to pull from narrow slots. Wash away organic debris before sanitizing; disinfectants work poorly through a film of roots and biofilm.
Inspect for cracks, warped rims, sharp edges, and embedded material. Replace damaged pots that cannot seat safely or be cleaned completely. Keep equipment from diseased crops separate until it has been properly processed.
Use the full hydroponic system cleaning procedure for crop turnover. Follow product labels for sanitizers, wear required protection, and never combine cleaning chemicals.
Common net-pot problems
A seedling that wobbles usually needs better plug support or external staking, not a submerged crown. A plug that stays soaked may sit too low, contain an overly retentive medium, or receive unnecessary top watering. A dry plug may sit too high before roots establish.
Roots trapped inside the basket can indicate a dense liner, compacted medium, or restricted openings. Roots growing normally through slots but changing color require a broader diagnosis: nutrient staining can be harmless, while slime, odor, and tissue breakdown suggest root-zone trouble.
Pots falling through lids usually result from mismatched nominal sizes or flexible material. Measure actual dimensions and test load before planting. Pebbles dropping into reservoirs mean the particle size and slot pattern are incompatible.
Buying checklist
Before ordering net pots, confirm:
- the measured lid or channel opening and supporting rim width;
- clearance below the lid and above pumps or air stones;
- mature crop size and independent support needs;
- compatibility with the plug and medium particle size;
- opaque, durable, food-growing-appropriate material from a traceable seller;
- access for lifting, root inspection, harvest, and cleaning;
- availability of replacement pots with the same real dimensions.
The Oklahoma State University hydroponics overview provides system context, while its guide to soilless growing media explains why pore space and water retention matter inside containers.
A simple setup sequence
Assemble the reservoir, lid, aeration or irrigation, and support structure before introducing plants. Test for leaks and confirm that each pot seats securely. Rinse appropriate media, place the rooted plug at a height that keeps the crown dry, and fill around it loosely for stability.
Set the initial solution level for the system and root length. Cover unused openings, start circulation or aeration, and observe the plug for the first several days. Once roots reach the intended nutrient zone, reduce temporary top watering and let the system perform its designed function.
A suitable net pot disappears into a well-run system: it supports the plant, excludes light, releases roots, and remains easy to inspect. Choose it from actual dimensions and crop needs, then manage water level and support with equal care.
Commissioning and weekly inspection:
During the first week after transplanting, lift each pot carefully enough to confirm that roots are extending toward the intended water zone. Check that the plug is moist but not saturated, the crown is clean, and no pebble or liner has fallen into plumbing. Correct a height or support problem before roots become heavily intertwined.
Once established, inspect representative pots every week. Look at both the shaded underside and the upper medium. Healthy roots may be white, cream, or stained by nutrients; texture and smell are often more informative than color alone. Slimy tissue, a sour odor, persistent crown wetness, or rapid wilting requires investigation of temperature, aeration, pathogens, and solution conditions.
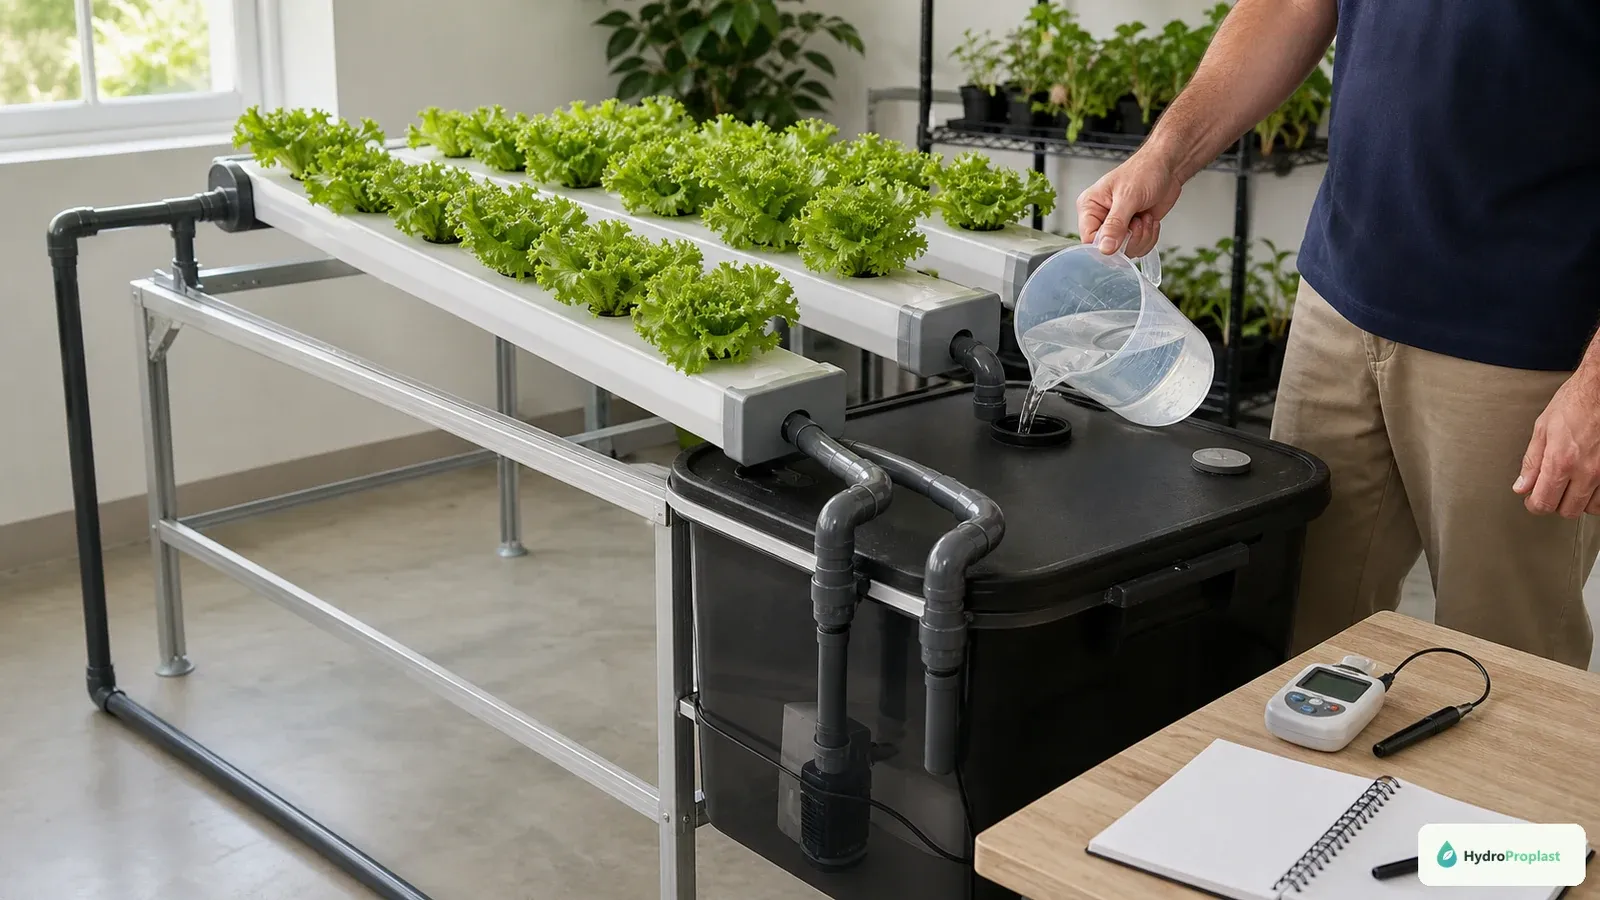
Measure water level at the same reference point. A marked reservoir or sight tube makes trends easier to interpret. Sudden consumption changes may reflect plant growth, a leak, room conditions, or measurement error. Do not top up automatically to the seedling level in a passive system whose air gap is part of the design.
Design details for DIY lids:
Lay out holes only after placing pumps, air lines, access ports, and support frames. Leave enough solid material between openings to maintain stiffness. Cutting tools can produce sharp edges; deburr and clean the lid thoroughly before it contacts the system. Do not cut a container that held unknown chemicals or a plastic not intended for the use.
Make at least one access point for solution sampling and cleaning that does not require disturbing a large plant. Covers should be opaque and secure. If a net pot rotates or lifts easily, add an appropriate non-constricting retainer rather than wedging material against the stem.
Keep spare pots from the same model. Nominal sizes do not guarantee interchangeability, and replacing a cracked cup during a crop is much easier when the rim and depth match exactly.
End-of-crop records:
Note which pot sizes, plugs, and media combinations were easy to clean and which trapped roots or algae. Record any lid deformation and whether plant support transferred load away from the reservoir. These observations turn an inexpensive component into a repeatable specification for the next build.
The best net pot is correctly measured, sufficiently opaque, compatible with its support medium, easy to inspect, and strong enough for its limited role. Plant health still depends on the complete root-zone design.