Algae in hydroponics appears when light reaches water or a continuously wet surface that also contains nutrients. A thin green film around a planting hole may look minor, but recurring growth usually reveals a light leak, exposed media, or a cleaning gap that should be corrected before it affects maintenance and root conditions.
The durable solution is not to keep adding treatments. Remove the algae that is present, block the light that supports it, restore clean operating conditions, and monitor the system long enough to confirm it does not return.
Quick response checklist
- Confirm that the growth is algae rather than stained roots, mineral residue, or root disease.
- Locate every place where light reaches nutrient solution, moist media, tubing, or channels.
- Remove loose algae without pushing it deeper into the system.
- Clean affected components and replace solution when contamination is established.
- Cover openings, seal light leaks, and keep the root zone opaque.
- Verify circulation, aeration, water temperature, and equipment operation.
- Recheck the same surfaces daily until new growth stops.
Why algae grows in hydroponic systems
Algae needs light, moisture, and available nutrients. Hydroponic systems intentionally provide water and dissolved minerals, so light exclusion becomes the main practical control. Spores and microscopic cells are common in the environment; trying to create a permanently sterile grow room is less realistic than designing surfaces that stay dark and easy to clean.
An opaque reservoir can still develop algae if the lid has gaps, unused planting holes remain open, transparent tubing carries nutrient solution through bright light, or starter plugs stay wet and exposed. Small leaks matter because algae can begin on one illuminated rim and then spread fragments through recirculating water.
Find where light reaches moisture
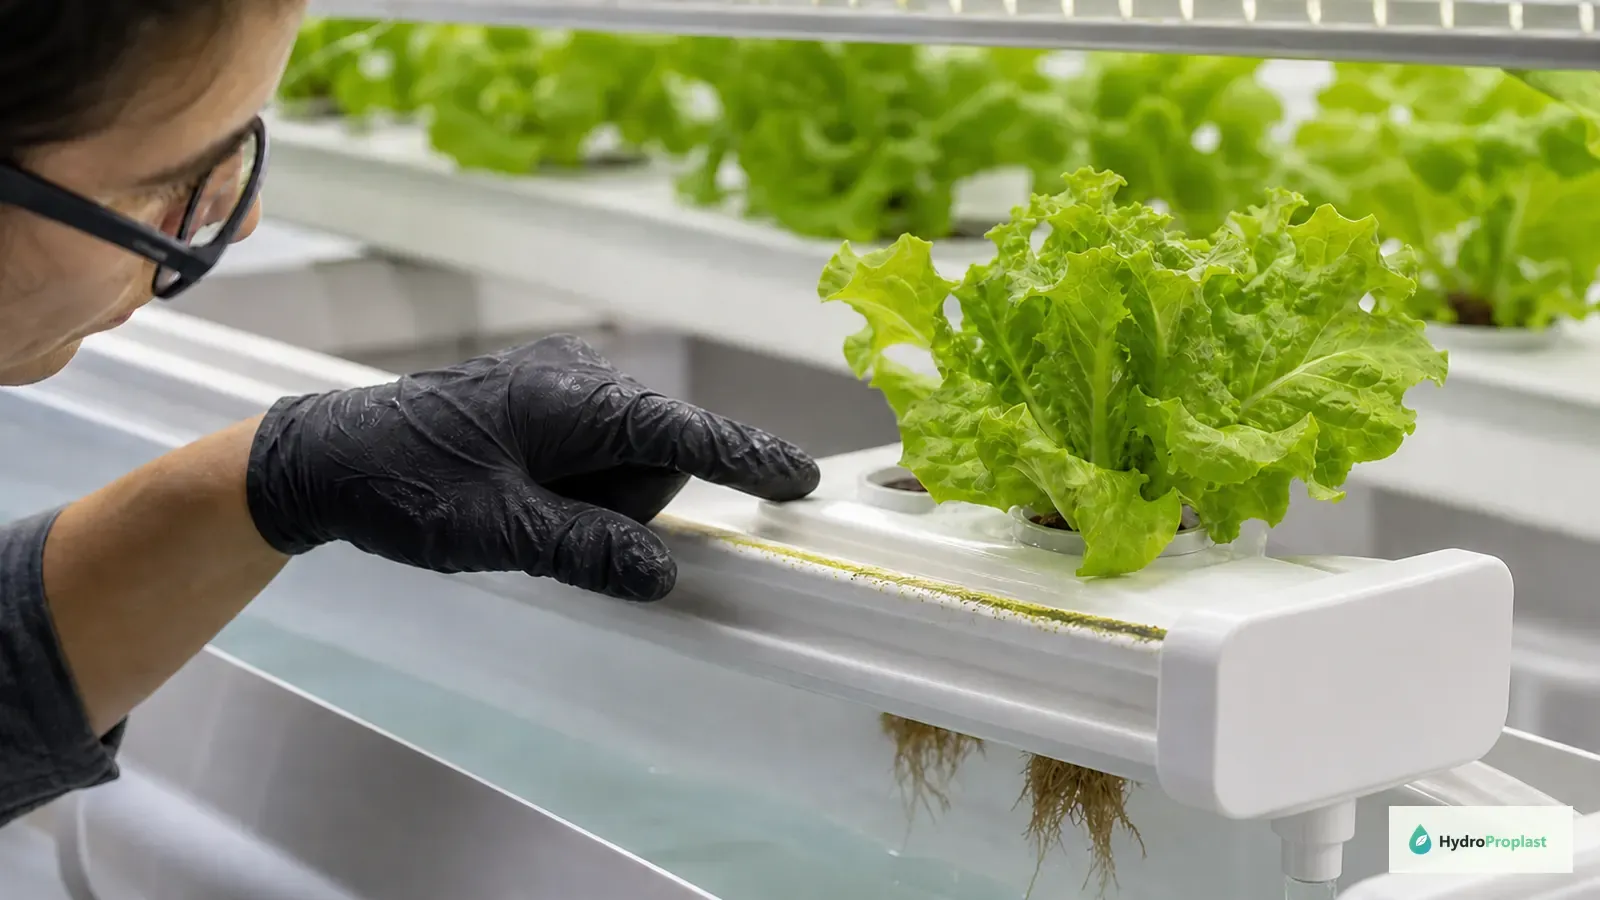
Inspect the system while the grow lights are on. Look around net cups, collars, lid seams, sight tubes, return openings, drain fittings, clear hoses, thin plastic walls, and gaps created when plants lean. Lift covers carefully and check whether a bright glow is visible from inside the reservoir.
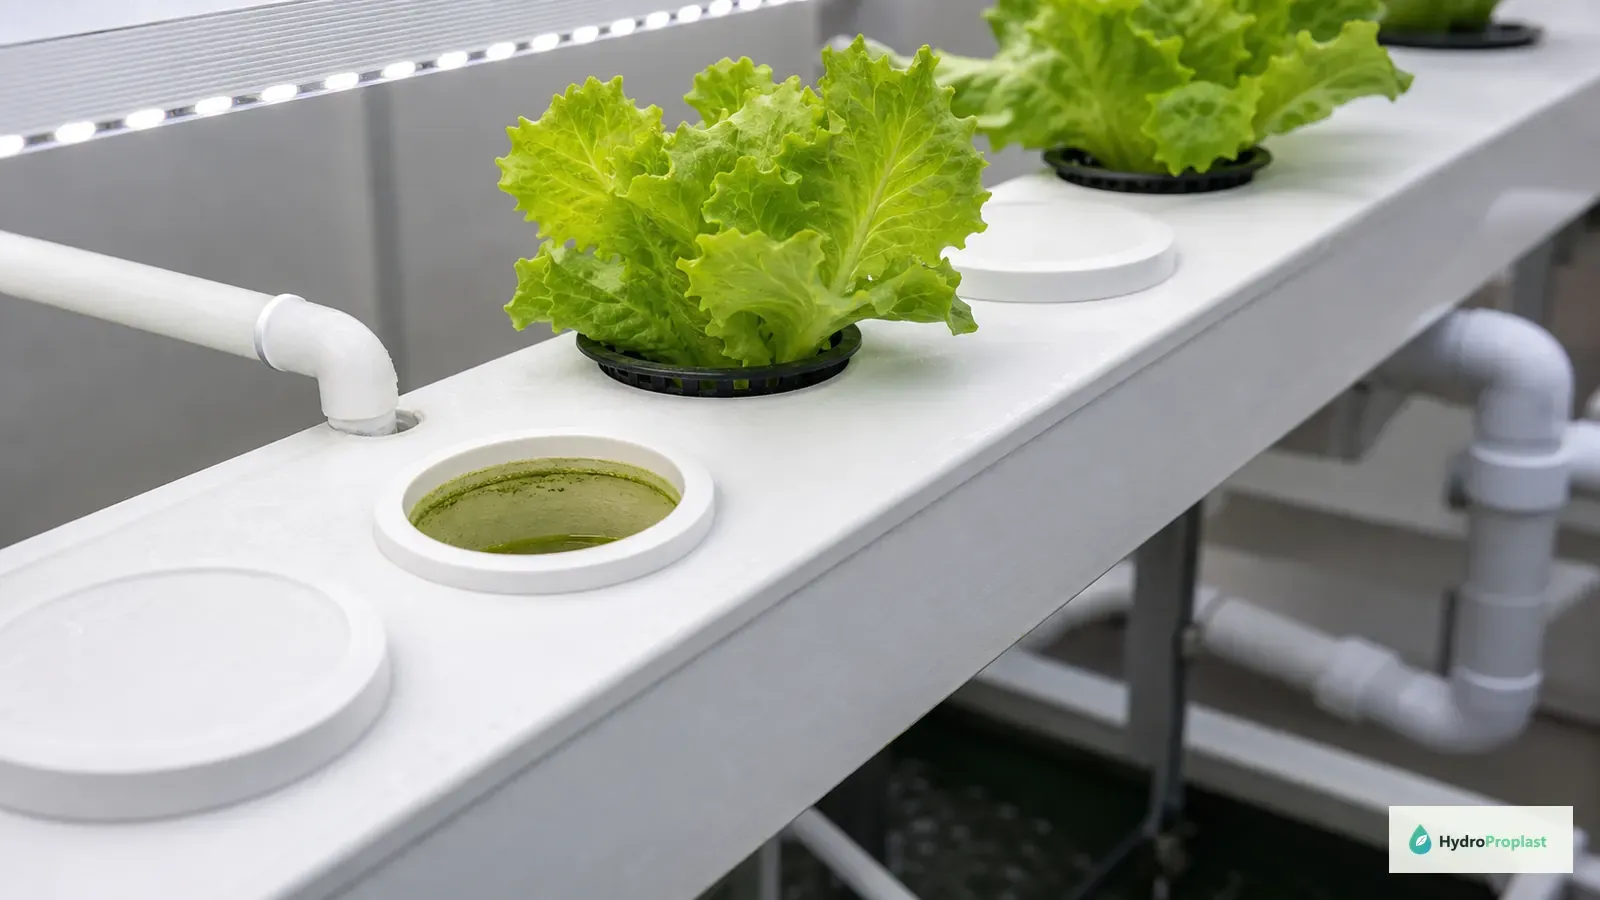
Also inspect the surface of starter plugs. A plug can grow algae even when the reservoir is dark if its top remains continuously wet under strong light. Lowering an unnecessarily high water level, improving drainage, or using a light-blocking collar can address the cause without burying the plant crown.
Distinguish algae from other root-zone problems
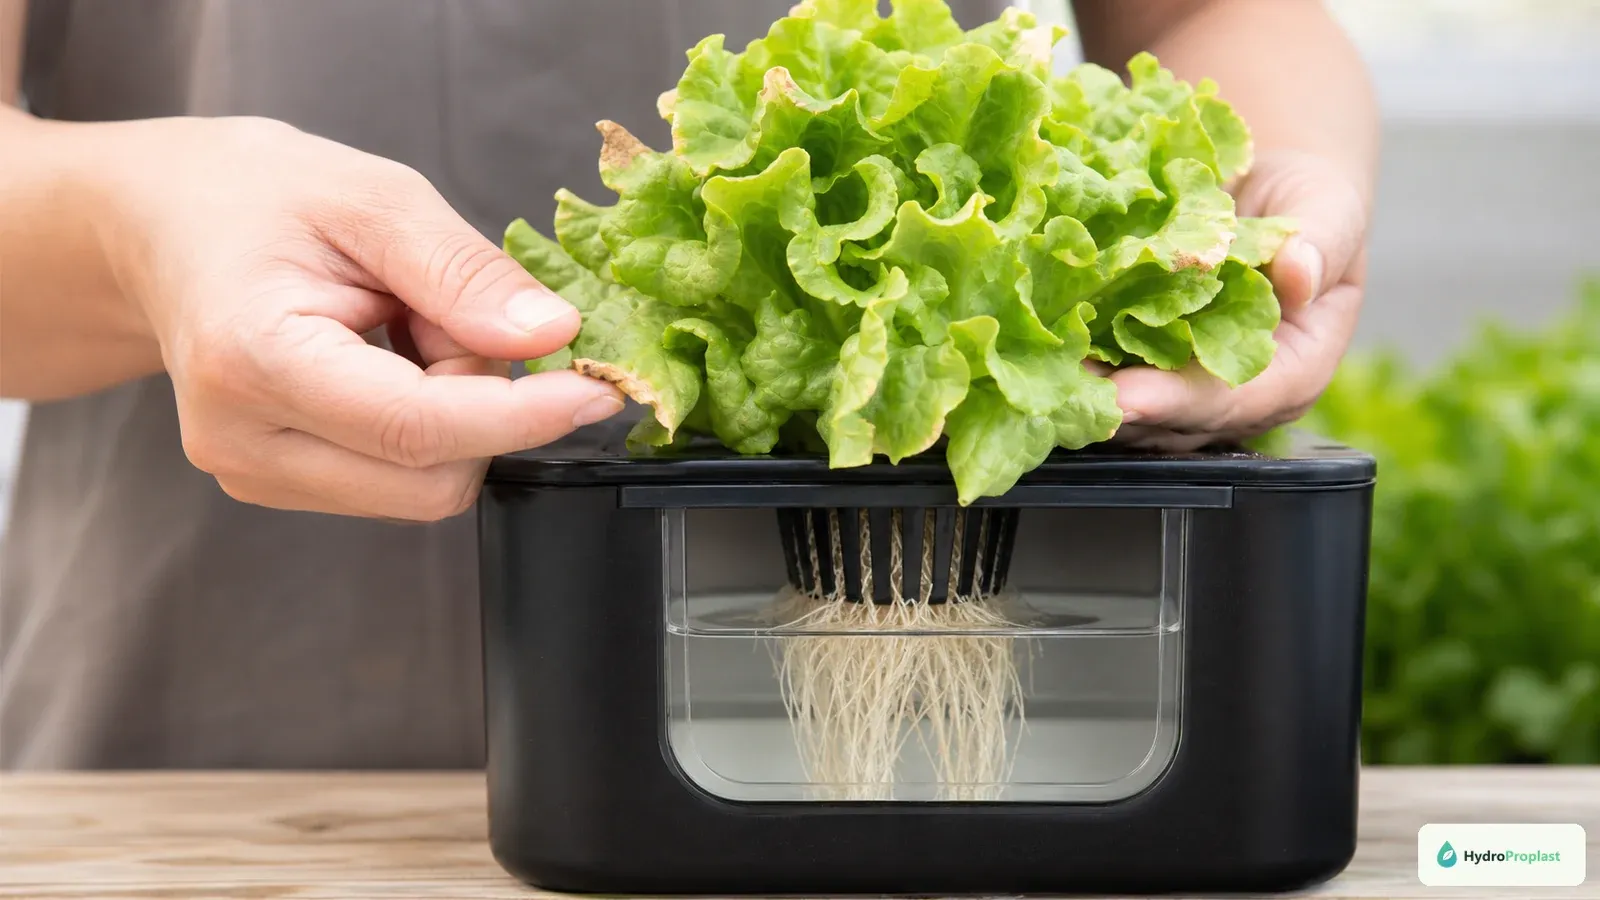
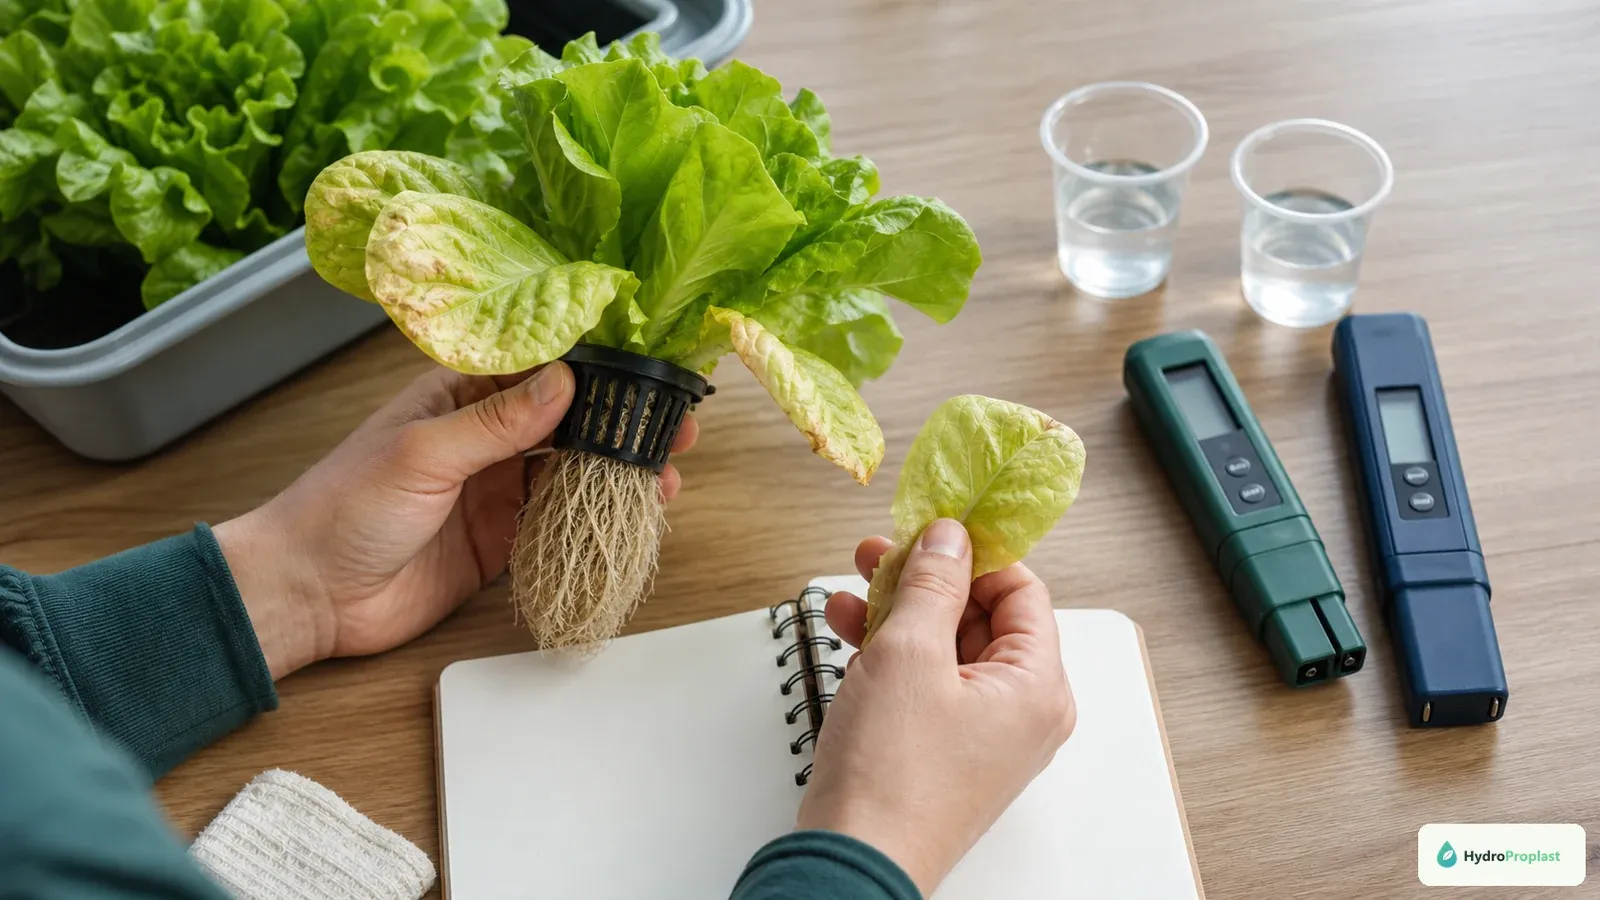
Algae is commonly green, but it can also appear brownish or form a slippery film on illuminated surfaces. Mineral deposits are often pale, crusty, or crystalline. Healthy roots may be cream-colored or lightly stained by nutrients, while root disease is more concerning when roots become soft, dark, slimy, and foul-smelling.
Do not diagnose from color alone. Note where the material occurs, whether it is exposed to light, how it feels, whether odor is present, and whether roots remain firm. Algae on a lid and damaged roots in warm, poorly aerated water can occur at the same time and require separate corrections.
How serious is the problem?
A small surface patch caught early is usually a maintenance warning, not a crop emergency. Heavy growth can consume oxygen during dark periods, trap debris, clog emitters or narrow passages, interfere with equipment, and make pH behavior harder to interpret. Decaying algae also adds organic material that other microorganisms can use.
Escalate the response when algae returns quickly after wiping, floats throughout the reservoir, blocks flow, covers roots, creates odor, or appears together with wilting and root damage. In those cases, cleaning only the visible surface is unlikely to be enough.
Remove a small early patch
Turn off or isolate equipment as needed for safe access. Wipe the affected surface with a clean dedicated cloth or brush, capture loosened material, and avoid dropping fragments into the reservoir. Cover the light leak immediately, then watch the location for several days.
If the nutrient solution remains clear, roots look healthy, and the patch was limited to an external rim, a complete teardown may not be necessary. The key test is recurrence: if new green film forms, the light or moisture condition has not actually been corrected.
Clean an established algae problem
- Prepare a clean temporary location for plants and keep roots protected from drying and light.
- Disconnect power safely before draining or opening equipment.
- Drain contaminated solution according to local requirements and remove loose debris.
- Disassemble accessible lids, collars, tubing, channels, filters, pumps, and air stones as appropriate.
- Scrub surfaces and crevices with tools reserved for the hydroponic system.
- Use only a system-compatible cleaner or sanitizer according to its label, and never mix cleaning chemicals.
- Rinse or neutralize exactly as the product instructions require.
- Reassemble, leak-test, refill with fresh solution, and confirm flow and aeration before returning plants.
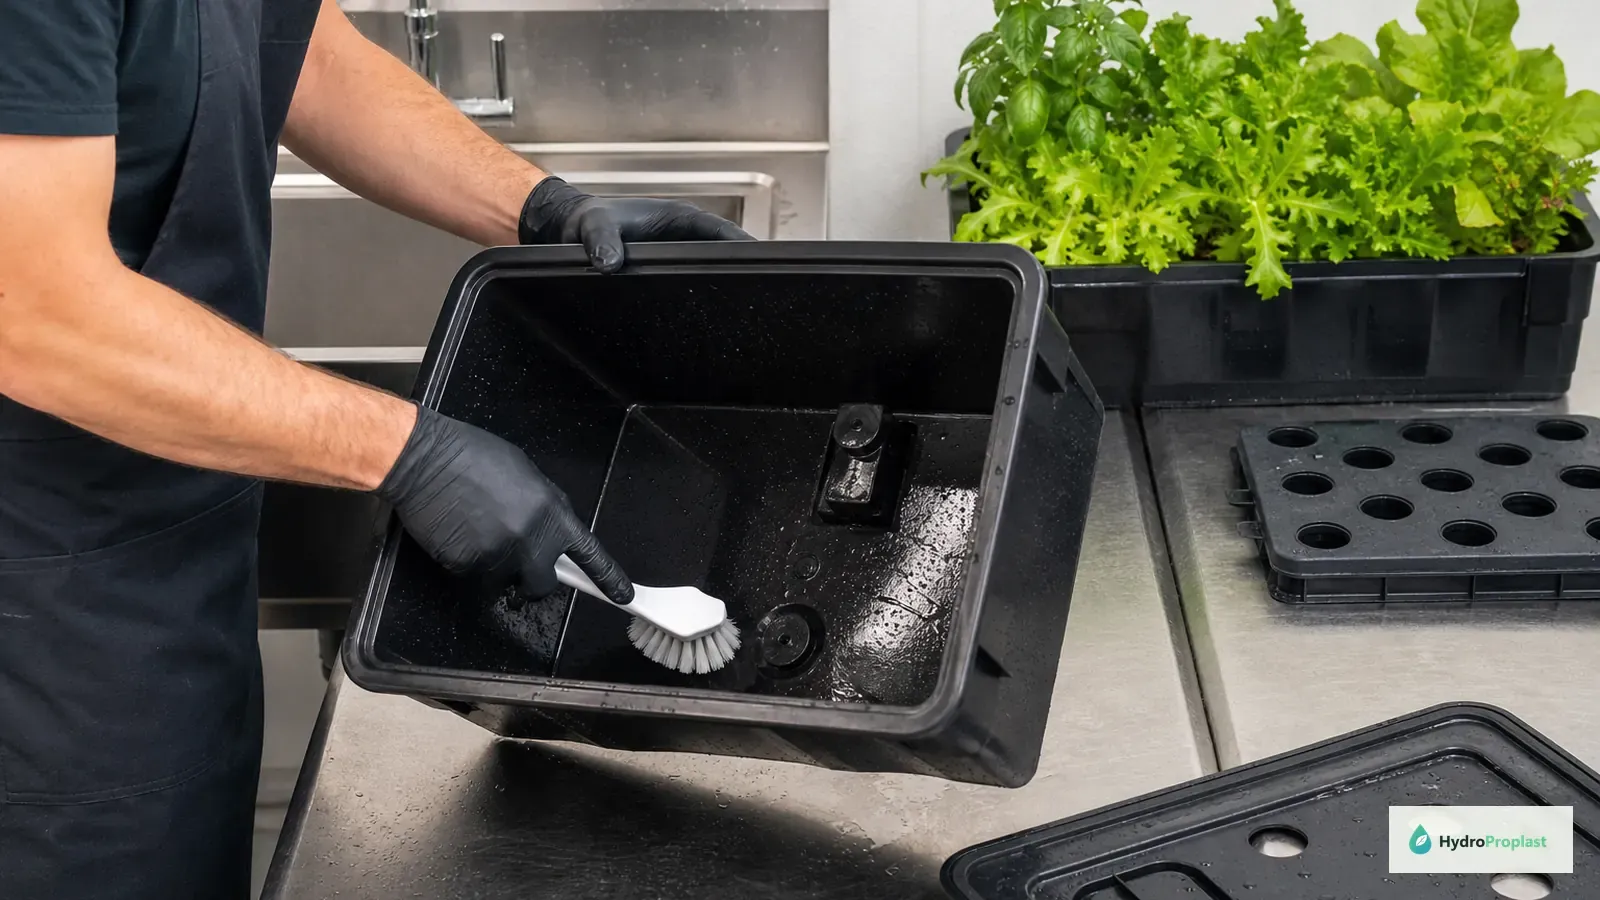
Cleaning is most effective when every wet component is included. A spotless reservoir can be reseeded immediately by an algae-coated return hose or lid. Replace components that cannot be cleaned internally, have become permanently translucent, or contain inaccessible buildup.
Protect plants during cleaning
Keep healthy root systems moist, oxygenated when practical, and shaded from direct light. Do not scrub living roots simply because they are stained. Remove only clearly dead, detached, or decaying tissue with clean tools and minimal handling.
If plants show severe root damage, isolate them from a freshly cleaned system until you understand the cause. Returning compromised roots without correcting heat, low oxygen, or circulation problems can contaminate the clean setup and hide whether the algae control worked.
Make prevention structural
The best prevention does not depend on remembering to apply a treatment. Use opaque reservoirs, tight lids, removable covers for unused planting sites, dark collars around net cups, and opaque or sleeved tubing. Design every cover so it can still be removed for inspection and cleaning.
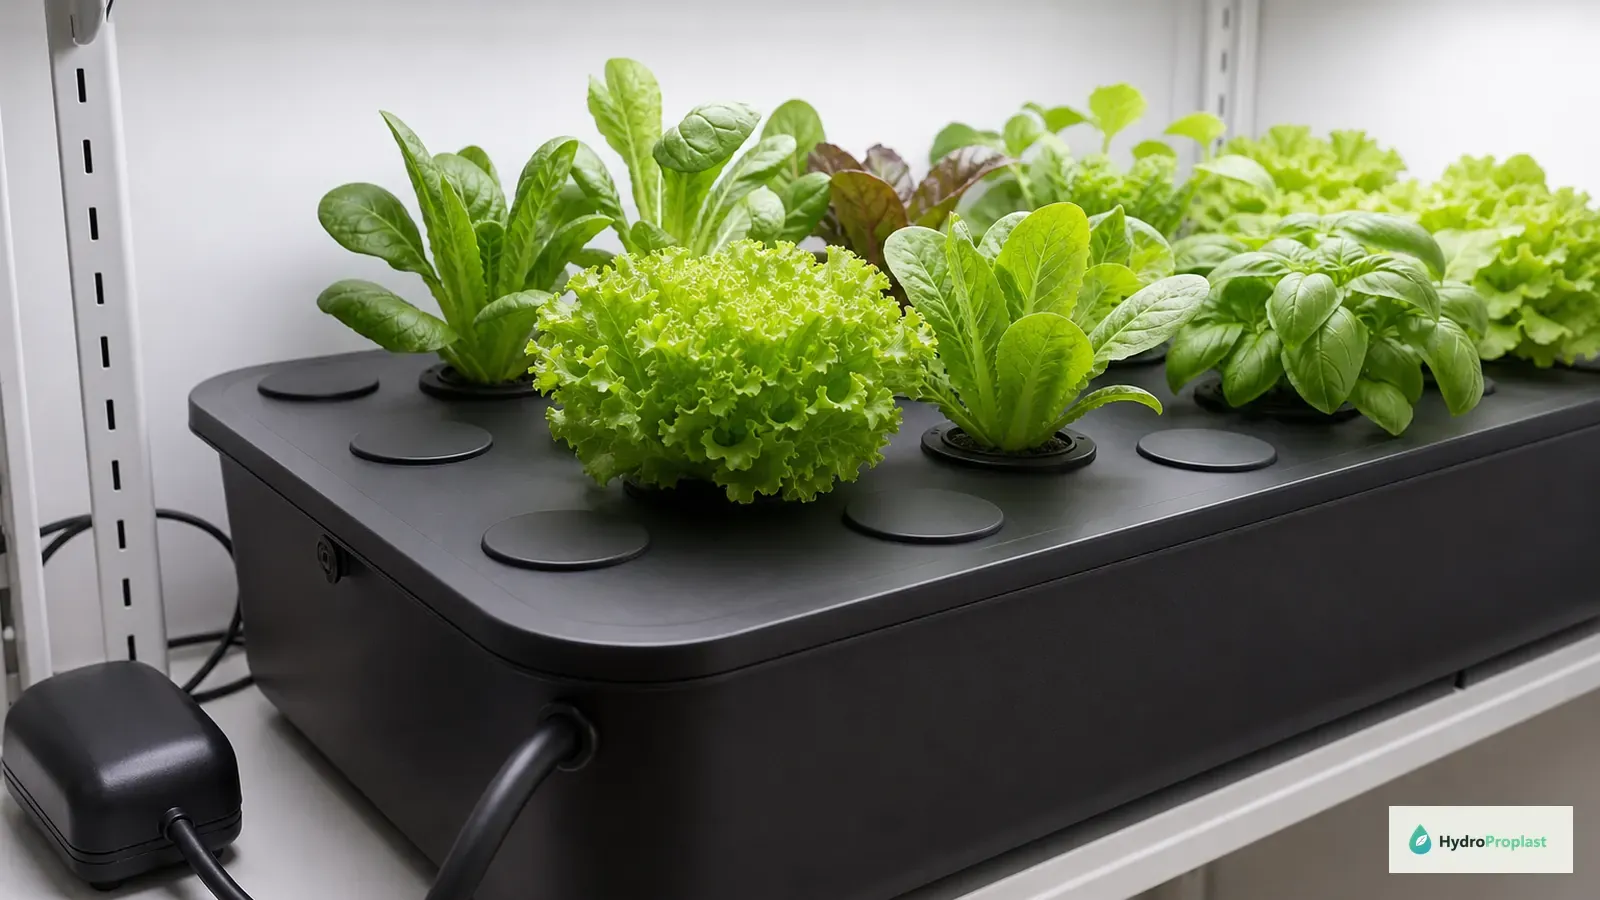
Check improvised covers for water resistance and heat. Thin tape may peel, cardboard can absorb moisture, and reflective material can create hot spots if installed carelessly. Durable fitted plastic or another cleanable opaque material is usually easier to maintain.
Control moisture at the plant surface
Do not keep the top of every starter plug saturated after roots have reached the solution. In drip systems, position emitters so they support roots without continuously wetting the exposed crown. In deep water culture and Kratky systems, maintain the intended relationship between solution level, roots, and air space.
A dry-looking plug surface does not mean all roots are dry. Judge moisture by the root zone and plant response, not only the top color. Avoid raising the reservoir level until the crown is flooded just to hide an algae patch.
Maintain oxygen, flow, and temperature
Blocking light prevents new algae, but healthy operating conditions reduce the consequences of contamination. Confirm that pumps deliver their expected flow, air stones are not clogged, returns are unobstructed, and roots are not packed into narrow passages.
Warm water holds less dissolved oxygen and can accelerate biological activity. Shade the reservoir from heat sources, avoid placing it directly on a hot surface, and track solution temperature rather than guessing from room temperature. For the broader system principles, review how hydroponics works.
Adapt the fix to the system
- DWC: inspect lid openings, air lines, collars, and the reservoir wall; keep the air pump outside the water.
- NFT: check channel covers, end caps, net-cup gaps, supply tubing, and return paths; remove growth before it restricts the thin nutrient film.
- Drip systems: inspect exposed media, emitters, catch trays, and runoff lines; reduce unnecessary surface wetting.
- Kratky: use an opaque container and fitted lid while preserving the correct developing air gap.
- Ebb and flow: clean trays, standpipes, and drains, and confirm that the bed drains fully between cycles.
Avoid common algae-control mistakes
- Treating the water repeatedly while leaving the light leak open
- Using an unverified chemical concentration around edible crops
- Mixing cleaners or sanitizers
- Covering the plant crown so tightly that moisture and heat are trapped
- Ignoring algae inside hoses, pumps, filters, or return fittings
- Assuming every brown root is algae or every green surface is harmless
- Making several changes at once and losing track of what solved the problem
Additives can have a role in some managed programs, but compatibility depends on the nutrient strategy, crop, equipment, and product label. Physical light exclusion and mechanical cleaning remain the most universal starting points.
Monitor after the cleanup
Record the date, affected location, solution appearance, odor, pH and EC trend, temperature, and the correction made. Reinspect daily at first, then include those points in the normal maintenance schedule. Photographs taken from the same angle make slow regrowth easier to detect.
If algae returns only at one spot, improve that cover. If it appears throughout the system, look for a broader light-transmission or sanitation issue. Persistent recurrence after correct light blocking may justify replacing porous or inaccessible components and rebuilding the system in clean stages.
Final prevention checklist
- No light reaches nutrient solution or continuously wet surfaces
- Unused holes and lid gaps are covered
- Reservoirs and tubing are opaque and cleanable
- Starter plugs are not kept wetter than the plant requires
- Flow, aeration, and drainage operate as designed
- Water temperature is monitored and kept stable
- Tools and components are cleaned between crop cycles
- New growth is investigated at its source instead of hidden with repeated treatments
Algae control becomes straightforward when you treat it as a design signal. Remove the current growth, deny it light, and keep the system easy to inspect. A dark, clean, well-aerated root zone protects both plant health and the time you spend maintaining the garden.