Cleaning a hydroponic system between grows removes roots, salts, algae, biofilm, and crop debris before they become the starting conditions for the next crop. The empty-system window is the best time to reach pumps, tubing, channels, net cups, and lid seams that are difficult to service while plants are growing.
A reliable reset follows a fixed order: remove organic material, wash visible dirt away, apply a compatible sanitising step when needed, rinse as directed, dry, reassemble, and test. Skipping the cleaning stage and going straight to a disinfectant leaves residue that can shield microorganisms.
Cleaning, sanitising, and sterilising are different
Cleaning physically removes deposits and debris. Sanitising or disinfecting uses a suitable product and process to reduce microorganisms on an already clean surface. True sterilisation means eliminating all viable microorganisms and usually requires controlled equipment and validated procedures that most home growers do not have.
Although growers often say “sterilise the system,” the practical goal between crops is thorough cleaning followed by label-directed sanitation of compatible components. This article uses that safer, more accurate approach without assuming one chemical, concentration, or contact time fits every material and crop.
Between-grow reset checklist
- Finish harvest and remove every plant, root fragment, plug, and support tie.
- Disconnect power before draining, opening pumps, or handling wet equipment.
- Drain the old solution through an appropriate disposal route.
- Photograph connections, label reusable hoses, and disassemble accessible components.
- Wash away visible residue before applying a sanitising product.
- Follow the product label for dilution, contact time, protective equipment, rinsing, and crop use.
- Dry components, inspect wear, reassemble, leak-test, and run with clean water.
- Mix fresh nutrient solution only after the system passes its test.
Gather tools before you start
Prepare dedicated soft brushes, a narrow tubing brush, non-shedding cloths, buckets or basins, gloves, eye protection when required by a product label, and clean drying racks or towels. Keep these tools for the hydroponic system rather than sharing them with bathrooms, floors, or food preparation.
Check the equipment manuals before opening a pump or soaking a component. Some housings and removable impellers are washable, while motors, plugs, controllers, and certain seals must stay dry. Have replacement tubing, cracked net cups, worn seals, and clogged air stones available if inspection shows they cannot be restored.
Remove the crop and gross debris
Take out plants, trellis clips, roots, starter plugs, fallen leaves, and loose media. Capture root pieces before they enter drains or pumps. Do not compost material that shows a serious disease unless your local waste and composting practices make that appropriate.
Wipe or vacuum dry debris from shelves and the outside of equipment before working with water. This reduces the chance that dust and dead leaves fall back into clean components later.
Drain and disassemble safely
Switch off and unplug pumps, lights, heaters, chillers, fans, and controllers as appropriate. Confirm that plugs and connections remain dry. Drain the reservoir through a controlled outlet instead of lifting a heavy full container or allowing solution to spill.
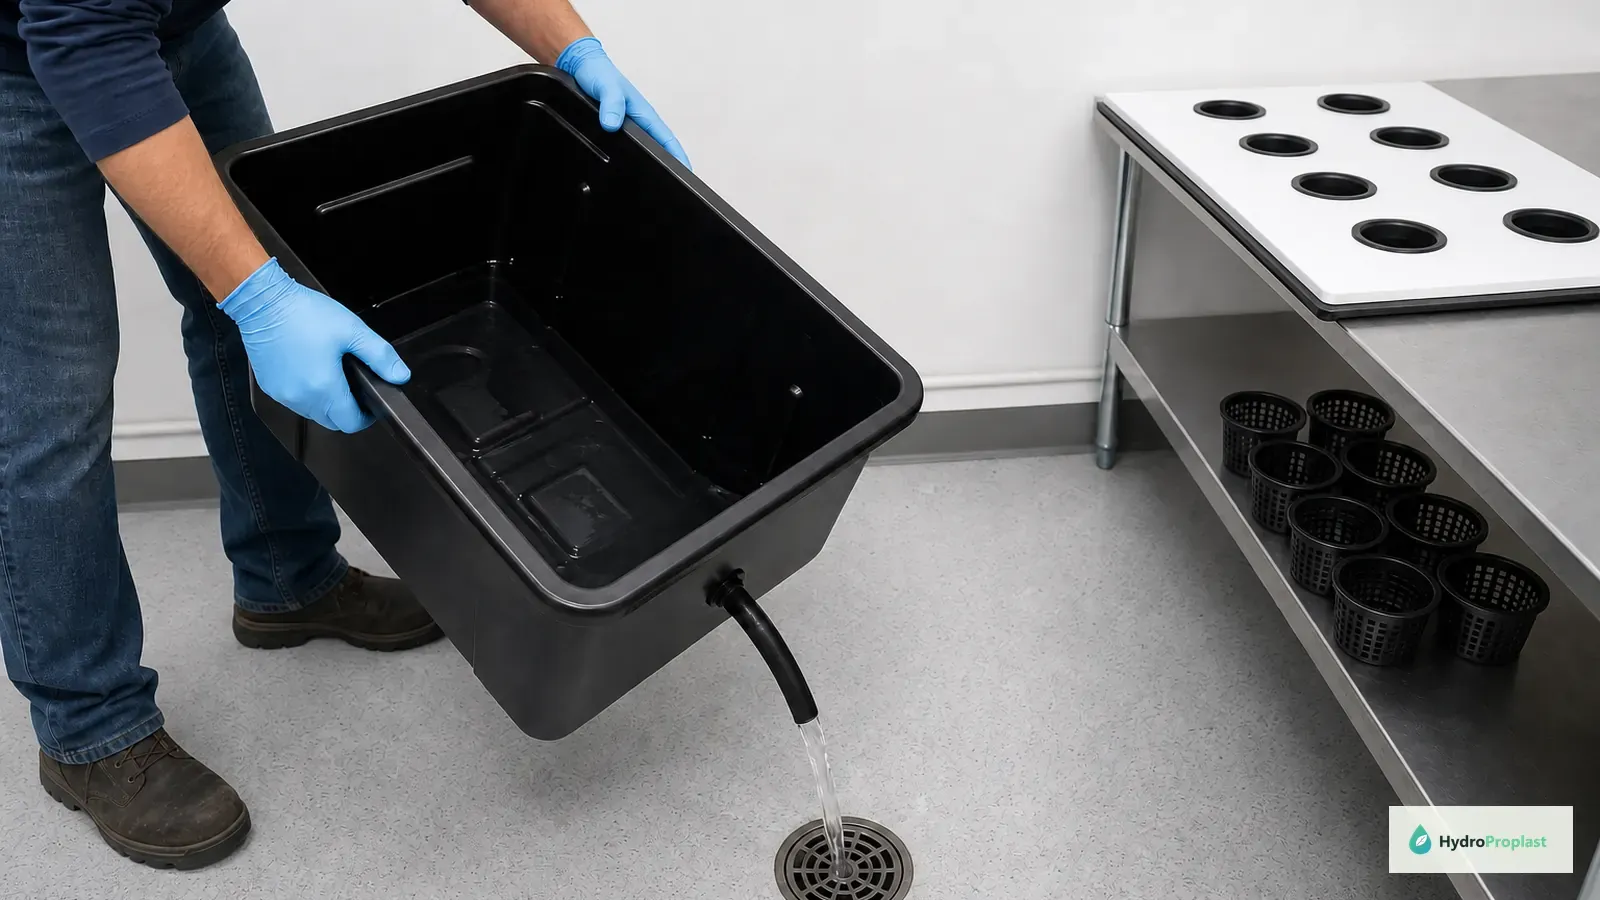
Dispose of used nutrient solution according to local requirements and avoid releasing concentrated solution where it could enter waterways. Once empty, photograph the routing of hoses and fittings, then remove lids, net cups, filters, manifolds, emitters, channels, return lines, and accessible pump parts.
Wash before you sanitise
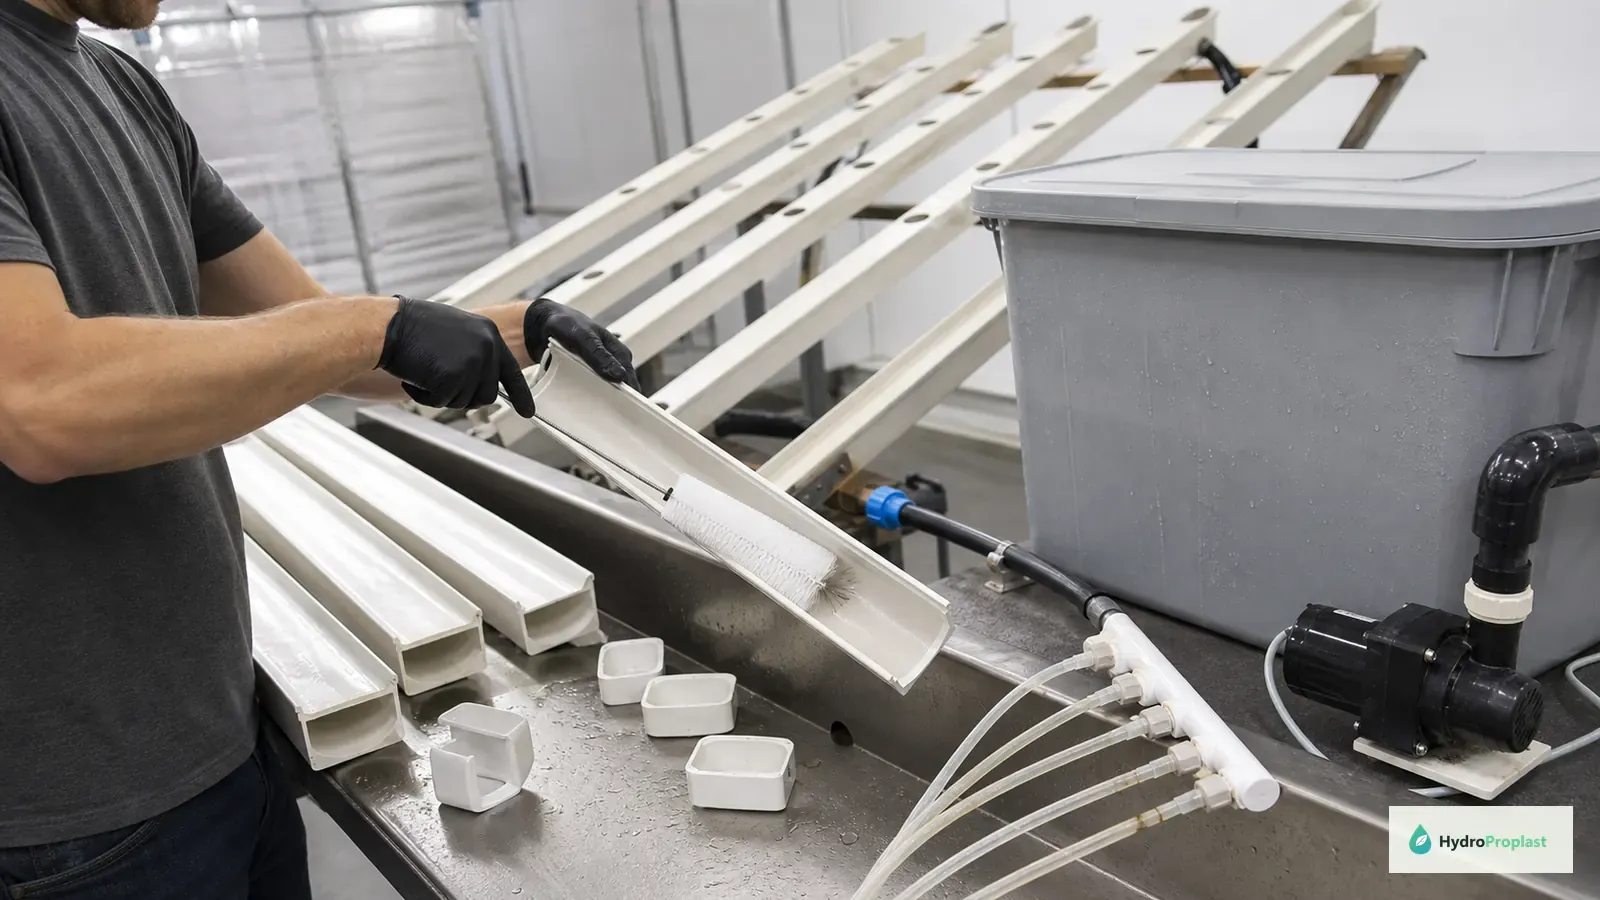
Use clean water and mechanical action to remove root fragments, algae, precipitated salts, and slippery film. Brush corners, seams, undersides of lids, drain fittings, and any surface that remained wet during the crop. A product cannot reliably contact the surface if a layer of residue is still present.
Use brushes soft enough not to scratch plastic. Deep scratches and porous damage trap residue and make future cleaning harder. Avoid abrasive pads on clear meter probes, seals, or pump parts unless the manufacturer approves them.
Clean reservoirs, trays, and channels
Wash from the cleanest upper surfaces toward drains and low points. In NFT and recirculating systems, inspect end caps and returns where roots collect. In deep water culture, check the underside of the lid, air-line openings, and waterline deposits. In ebb-and-flow systems, clean standpipes and confirm the tray drains completely.
Mineral scale may need a material-compatible descaling step separate from sanitation. Do not assume that removing scale also disinfects the surface, and never combine products unless the manufacturer explicitly instructs it.
Clean small and hidden components
Tubing, emitters, pump housings, impellers, filters, net cups, collars, and air stones can carry contamination into a clean reservoir. Pass an appropriate brush through accessible tubing, flush lines in both directions where possible, and open serviceable pump parts according to the manual.
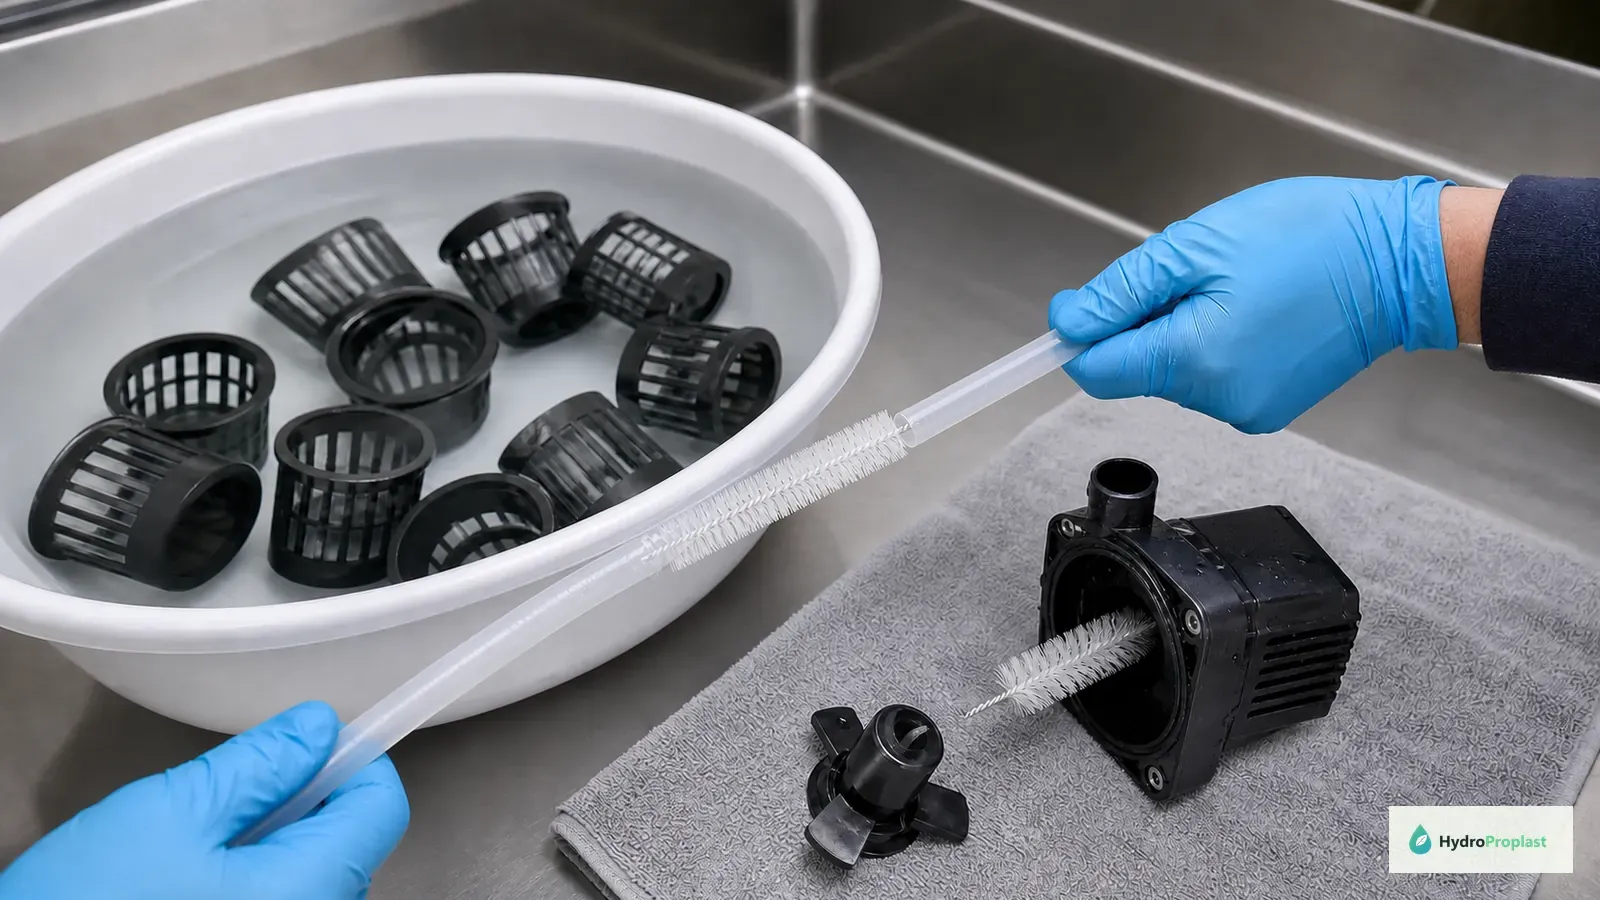
Replace tubing that has permanent internal film, deep staining, cracks, or inaccessible buildup. Replace swollen seals, damaged impellers, brittle fittings, and net cups that cannot be cleaned without breaking. Air stones are porous and may be more practical to replace when clogged or used in a known disease event.
Choose a compatible sanitising method
Use a sanitiser or disinfectant that is approved for the materials, equipment, and intended crop setting. Read the entire label before mixing. The correct dilution, surface wetness, temperature, contact time, ventilation, protective equipment, and rinsing requirement all affect safety and performance.
Never mix bleach, acids, ammonia-containing products, peroxide products, or other cleaners. Dangerous gases, heat, pressure, or damaging reactions can result. More concentrated is not automatically more effective; it can damage plastics, seals, metals, beneficial biology, and the next crop.
Apply contact time correctly
Start the timer only after the cleaned surface is fully wetted as the label directs. Keep surfaces wet for the stated contact period without allowing solution to collect inside electrical equipment. For recirculating sanitation, verify that the chosen product and procedure are approved for pumps, tubing, seals, and every material in the loop.
Measure concentrates with dedicated tools and prepare only what the procedure requires. Record the product, batch or date, dilution, contact time, and operator. This makes the reset repeatable and prevents guesswork on the next crop.
Rinse, dry, and reassemble
Rinse components when the product label requires it, using water suitable for the system. Drain low points and orient tubing so trapped liquid can escape. Allow parts to dry on a sanitary rack or clean non-shedding towels with space for airflow.
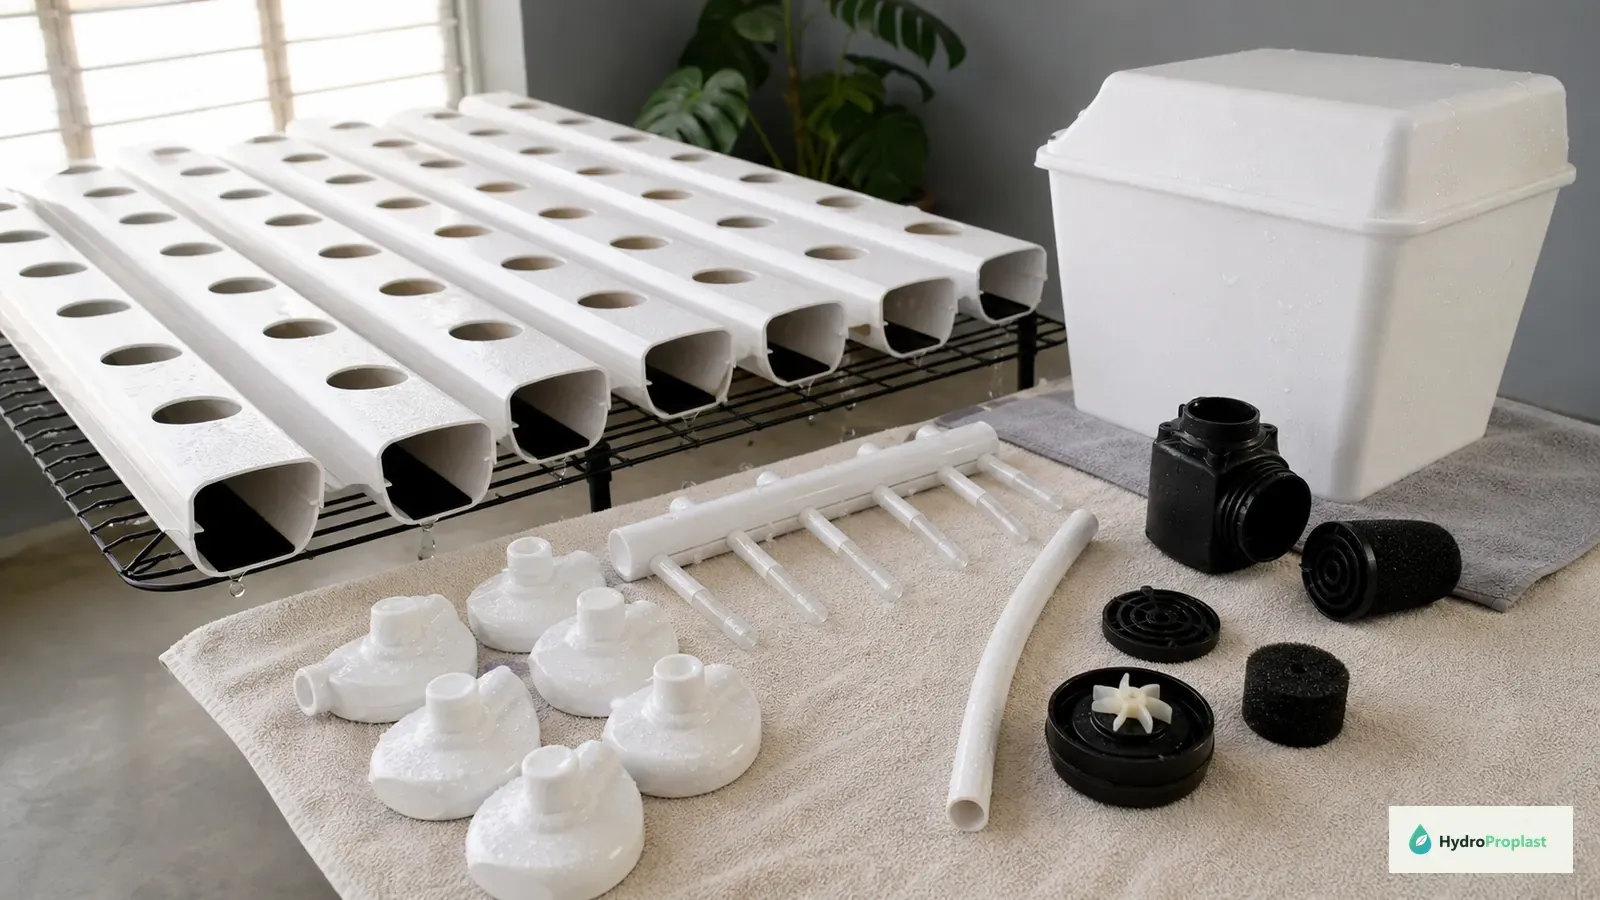
Drying is not a substitute for cleaning or sanitation, but it helps reveal missed film and prevents clean parts from being stored wet. Keep caps and hoses open until dry. Reconnect tubing according to your photographs, confirm clamps and seals are seated, and route electrical connections above and away from water.
Leak-test and flush before planting
Fill the assembled system with clean water and run it before adding plants or nutrients. Check every fitting, end cap, bulkhead, hose, pump, return, and drain. Confirm that flow reaches each channel or emitter and that air delivery is even.
If the cleaning or sanitation instructions require a final flush, complete it and verify that no odor, foam, visible residue, or loose debris remains. Drain the test water, correct leaks, and repeat the test after repairs. Only then prepare fresh nutrient solution and recalibrate meters as needed.
Service meters and accessories separately
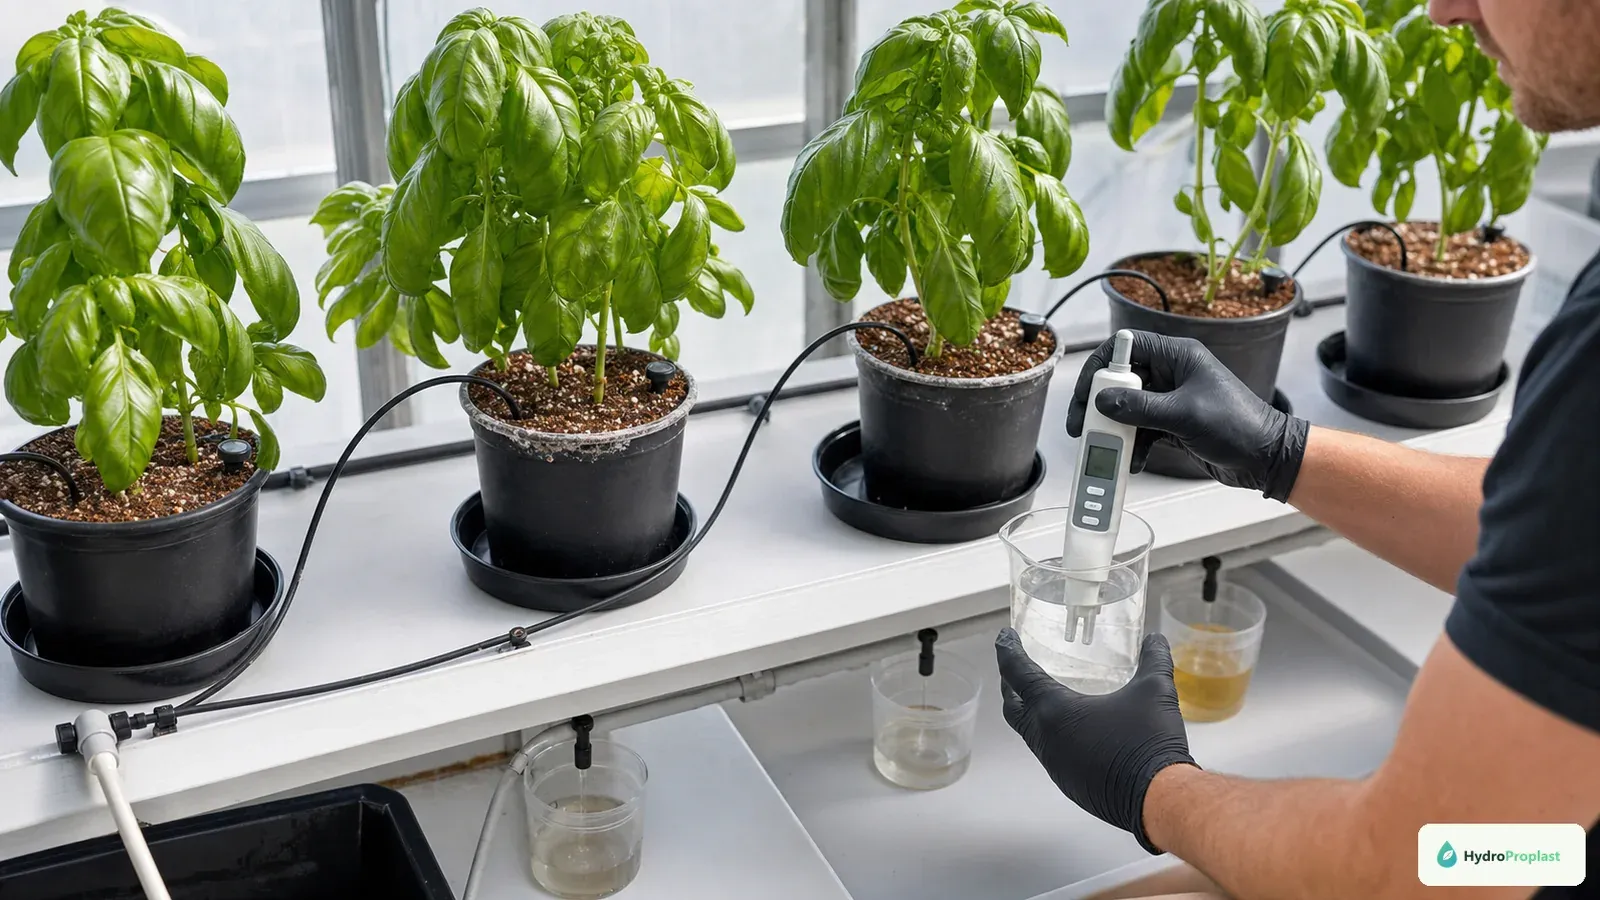
pH and EC meters need manufacturer-specific care. Do not scrub delicate probes or store a pH electrode dry unless its instructions permit it. Clean calibration cups, dosing syringes, measuring jugs, scissors, trellis clips, and reservoir thermometers so they do not reintroduce residue.
Replace calibration and storage solutions on schedule and keep their bottles uncontaminated. A clean system can still be mismanaged if a dirty or drifting meter gives unreliable readings.
Adjust the process by system type
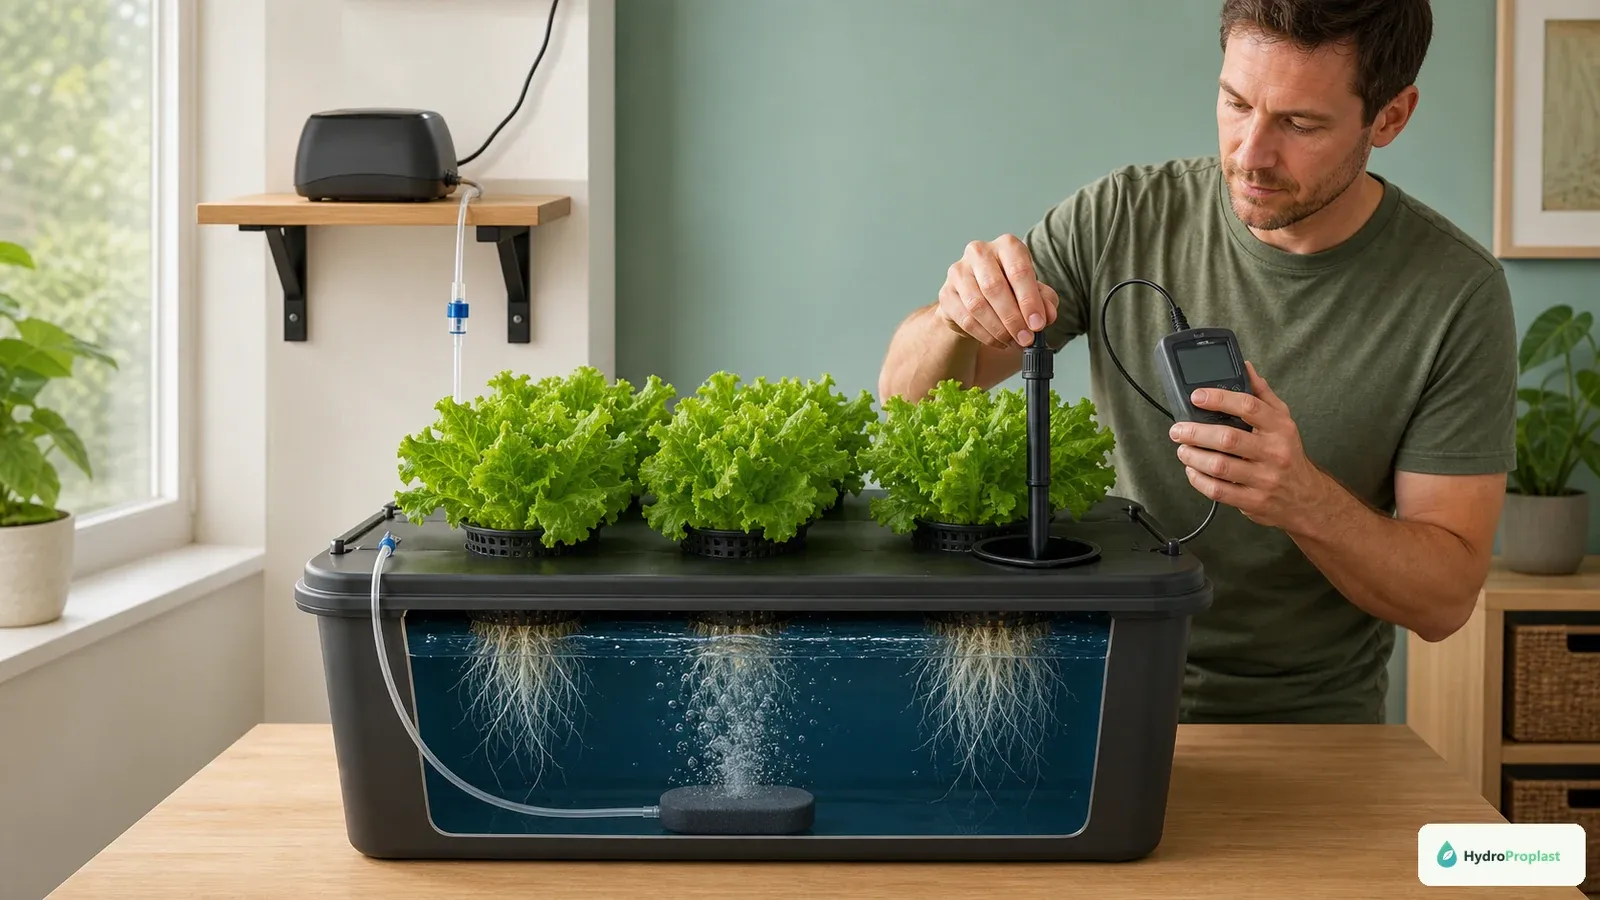
- DWC: clean the lid underside, air lines, air stones, reservoir waterline, and root-filled corners.
- NFT: open end caps, remove roots from channels, brush returns, and confirm the thin film flows evenly after reassembly.
- Drip: flush manifolds and emitters, clean catch trays, and replace blocked or inconsistent drippers.
- Ebb and flow: clean trays, standpipes, drains, and media containers; verify complete drainage.
- Kratky: clean the opaque container and lid, inspect the net cup, and restore a light-tight fit before the next plant.
When a stronger reset is justified
A crop with confirmed root disease, heavy algae, pest contamination, foul odor, or repeated unexplained decline needs a more cautious reset than a healthy finished crop. Isolate questionable plant material, replace porous components when appropriate, and consult the relevant product and equipment guidance rather than increasing chemical strength by intuition.
If the same problem returns after a documented clean reset, investigate design causes such as light leaks, warm solution, undersized reservoirs, inaccessible tubing, poor drainage, low oxygen, or equipment that cannot be serviced.
Common mistakes to avoid
- Sanitising over visible dirt instead of cleaning first
- Leaving roots inside pumps, filters, end caps, or drains
- Using one brush for the system, floor, and household cleaning
- Mixing cleaning chemicals or inventing stronger concentrations
- Soaking motors, plugs, controllers, or unsuitable seals
- Reassembling wet components without inspecting hidden surfaces
- Adding nutrients before the clean-water leak and flow test
- Returning cracked, porous, or permanently contaminated parts to service
Final readiness checklist
- All crop residue and roots removed
- Reservoirs, lids, channels, trays, tubing, and fittings visibly clean
- Pumps, filters, emitters, net cups, and accessories serviced
- Sanitising product used exactly as labelled
- Required rinsing completed and components allowed to drain or dry
- Worn or uncleanable parts replaced
- System reassembled with dry, elevated electrical connections
- Clean-water leak, flow, drainage, and aeration test passed
- Meters cleaned, calibrated, and ready for the next nutrient batch
A between-grow reset is preventive maintenance, not wasted downtime. A clean, tested system gives the next crop a known starting point and makes future pH, EC, flow, and root observations easier to interpret. If you are still learning the system basics, review how hydroponics works before rebuilding the next crop.