Water temperature is a root-zone condition, not a universal setpoint
Hydroponic solution temperature affects root metabolism, dissolved oxygen, nutrient uptake, and biological activity. A useful target depends on crop, growth stage, system, and environment. Many leafy-green systems are managed in a cool-to-moderate range, while warm-season fruiting crops may tolerate different conditions.
Do not adopt one “perfect” temperature for every plant or chase every small daily swing. Choose crop-specific authoritative guidance, measure where roots actually are, and prevent sustained extremes. Rapid heating, warm nights, and a failing pump can be more informative than one afternoon reading.
Cornell’s controlled-environment lettuce handbook treats nutrient-solution temperature, dissolved oxygen, pH, EC, light, and air conditions as connected monitoring parameters. Temperature is one part of the root environment.
Why warm solution holds less oxygen
As water warms, its capacity to hold dissolved oxygen generally decreases. At the same time, plant and microbial respiration can increase. Warm nutrient solution therefore narrows the oxygen margin, especially in DWC with dense roots or a recirculating system with biological load.
An air pump improves gas exchange but does not make overheated solution equivalent to cool solution. More bubbles cannot fully compensate for poor room conditions, blocked flow, or a hot reservoir in direct sun.
Low oxygen can contribute to stressed, discolored roots and create conditions favorable to some root problems. Temperature alone does not diagnose disease; inspect roots, flow, odor, and plant response.
Cold water also creates problems
Very cold solution can slow root activity and nutrient uptake. Sudden cold top-ups can shock roots, while condensation on cold plumbing can create moisture problems outside the system.
Do not warm a reservoir rapidly with unverified heaters or pour hot water onto roots. Address the room, insulate appropriately, and use equipment rated for the volume and application if heating is truly needed.
Crop-specific guidance matters. Lettuce often prefers cooler conditions than cucumber or pepper. Air temperature, root temperature, and leaf temperature can differ, so measuring only the room is insufficient.
Measure the actual daily range
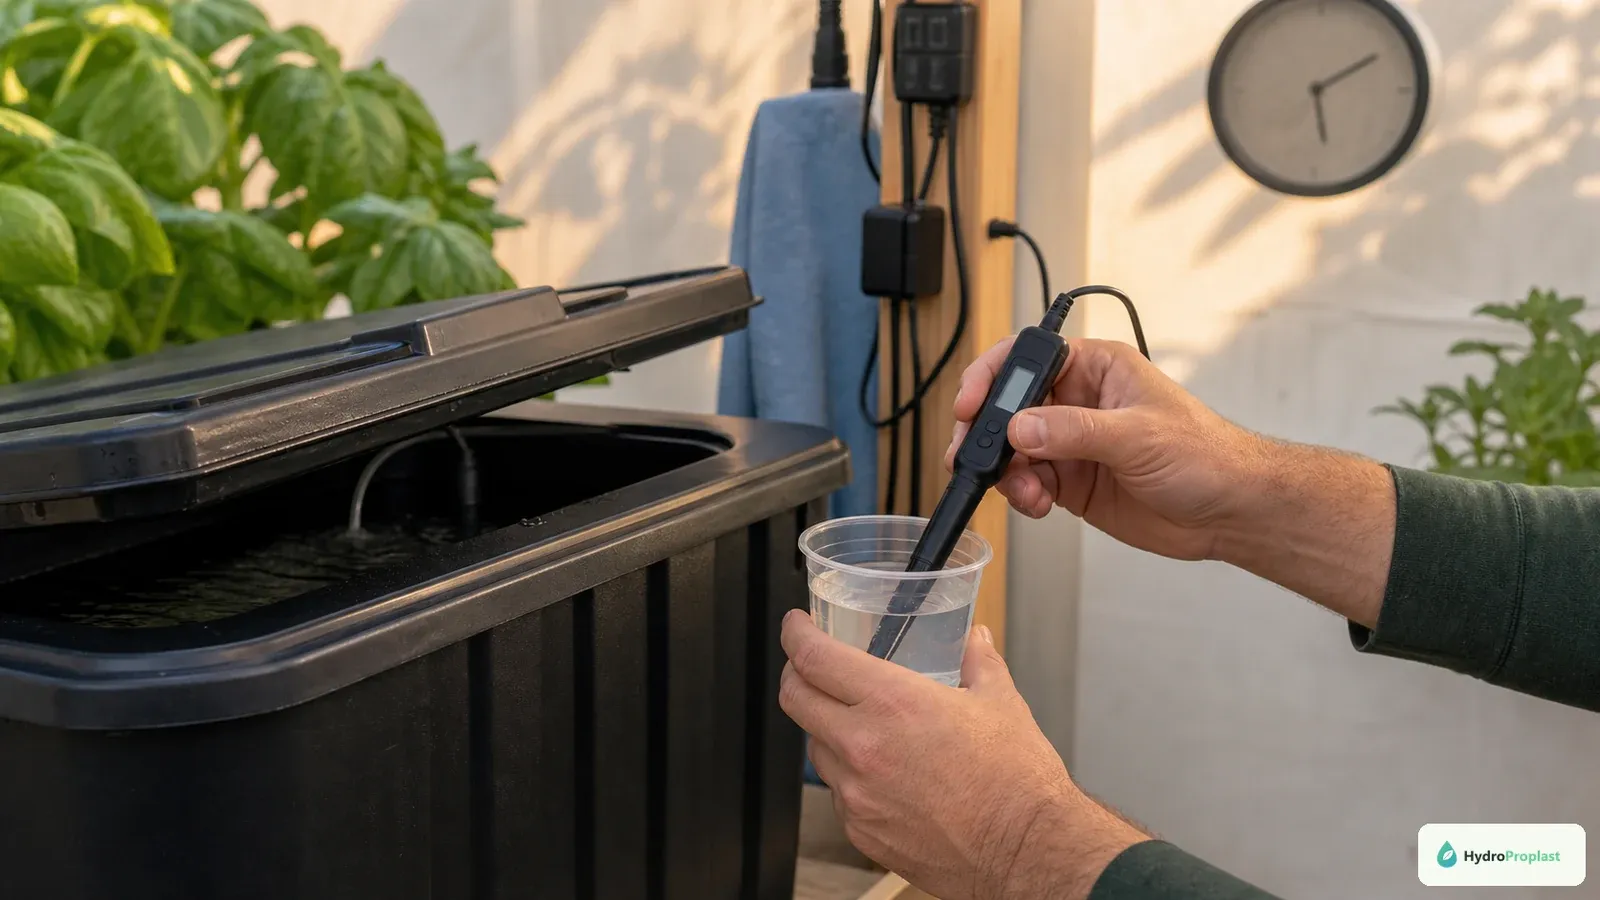
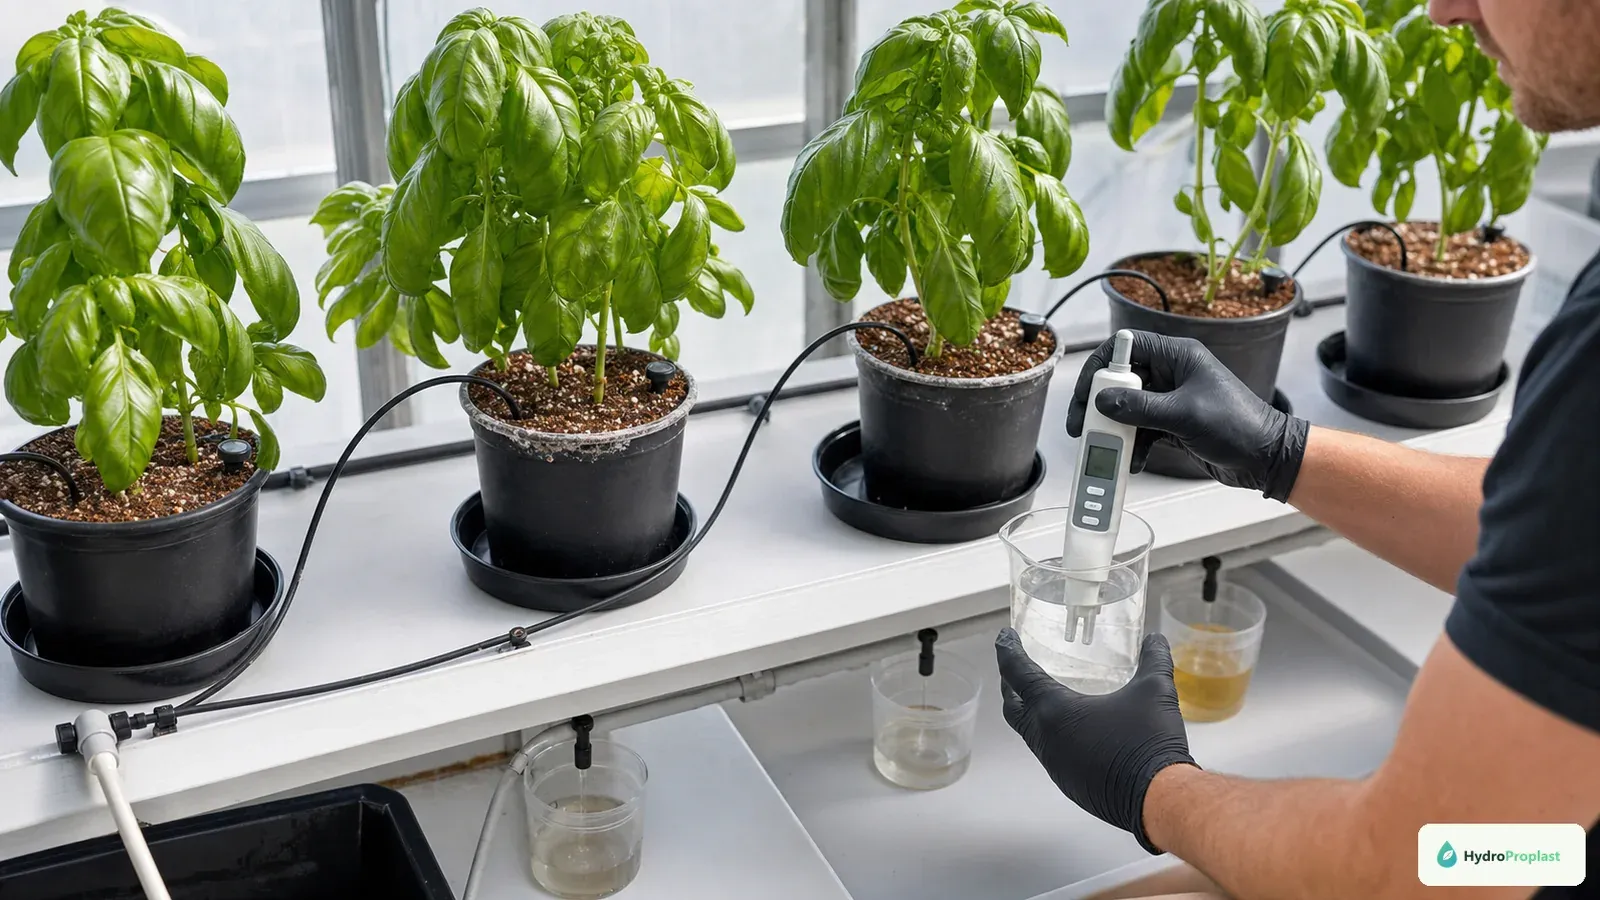
A separate sample keeps the probe clean and makes daily readings repeatable.
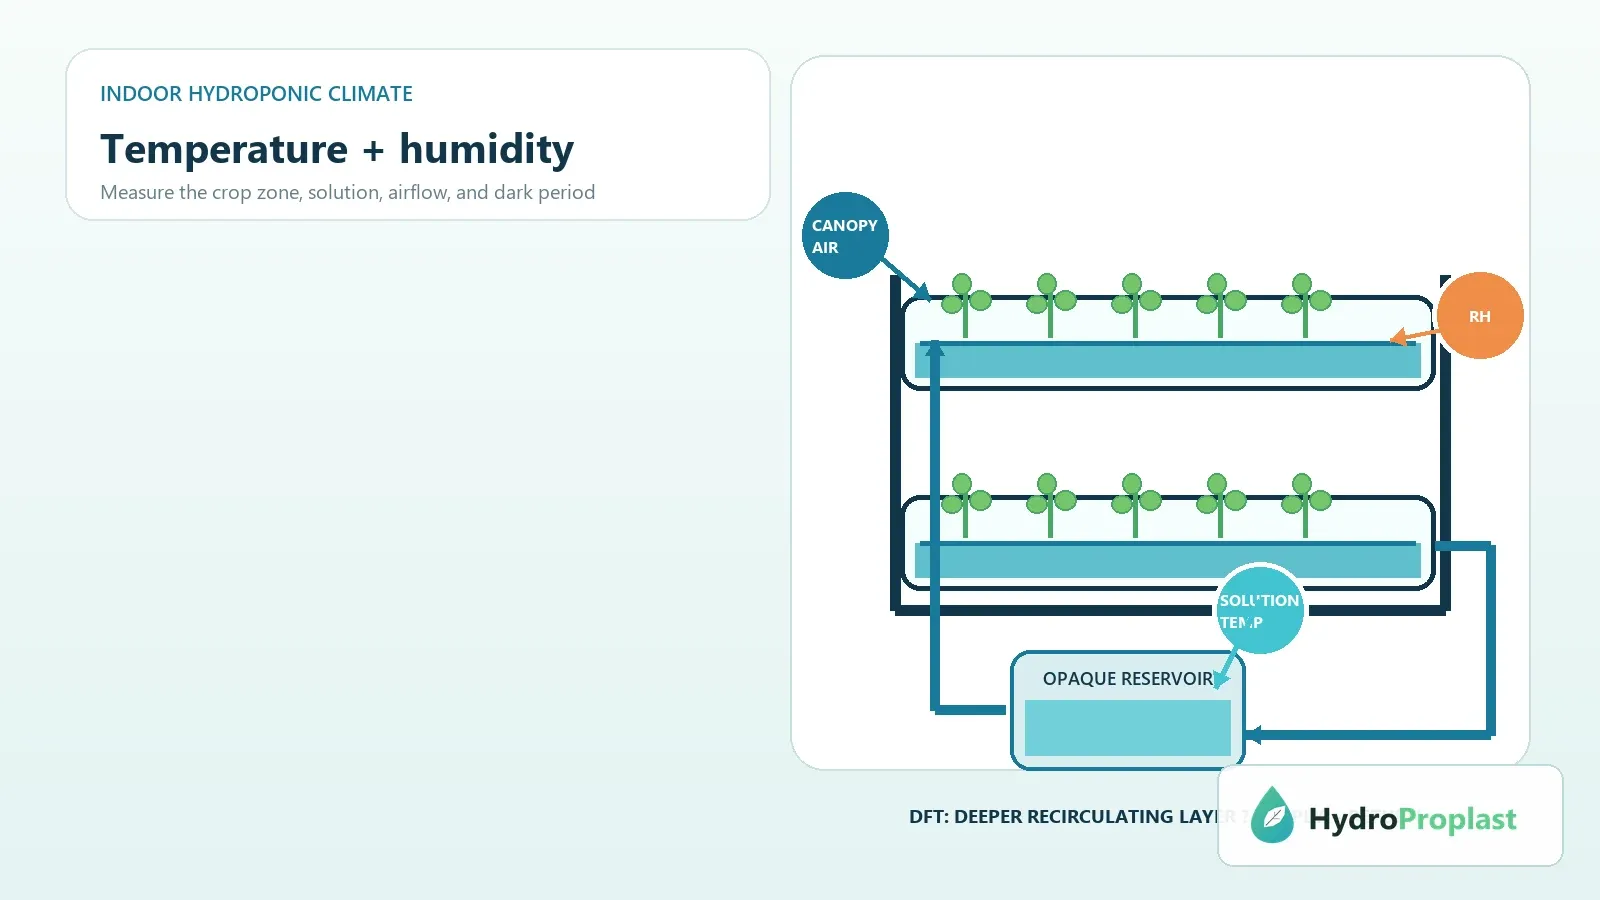
Use a reliable waterproof or protected probe appropriate to nutrient solution. Place it where it represents the mixed root zone, away from a heater, chiller outlet, direct lamp radiation, or stagnant corner.
Record early morning, peak light period, and after major top-ups for several days. A data logger can reveal overnight and pump-cycle behavior, but verify it against a known reference and inspect for probe drift.
Measure at several points during commissioning of long channels, towers, or separate buckets. A shared room does not guarantee identical water temperature. Label readings with location and time.
Heat sources beginners overlook
Grow lights radiate and convect heat toward reservoirs and canopies. Submersible pumps transfer some electrical energy as heat. Direct sunlight through a window heats dark lids and tubing. Enclosed cabinets trap pump and driver heat.
Warm top-up water, hot floors, nearby appliances, and poor room ventilation add load. Dense canopy reduces airflow. A small dark container changes faster than a large shaded reservoir.
Before buying a chiller, map heat sources. Move drivers away where safe, shade or relocate the tank, improve room airflow, separate hot equipment, and adjust light distance without reducing crop-appropriate intensity.
Reservoir size buffers change
Larger water volume generally changes temperature more slowly, which can reduce sharp day-night swings. It is also heavier and may require more energy to cool or warm. Surface area, insulation, room conditions, and circulation affect the result.
The reservoir size guide explains why working volume must also cover pump operation and drain-back. Do not enlarge only for temperature while ignoring structural load and cleaning.
Use an opaque lid and block direct light. Reflective or light-colored outer surfaces may reduce solar gain, but materials must be suitable and must not contaminate the solution.
Passive cooling steps first
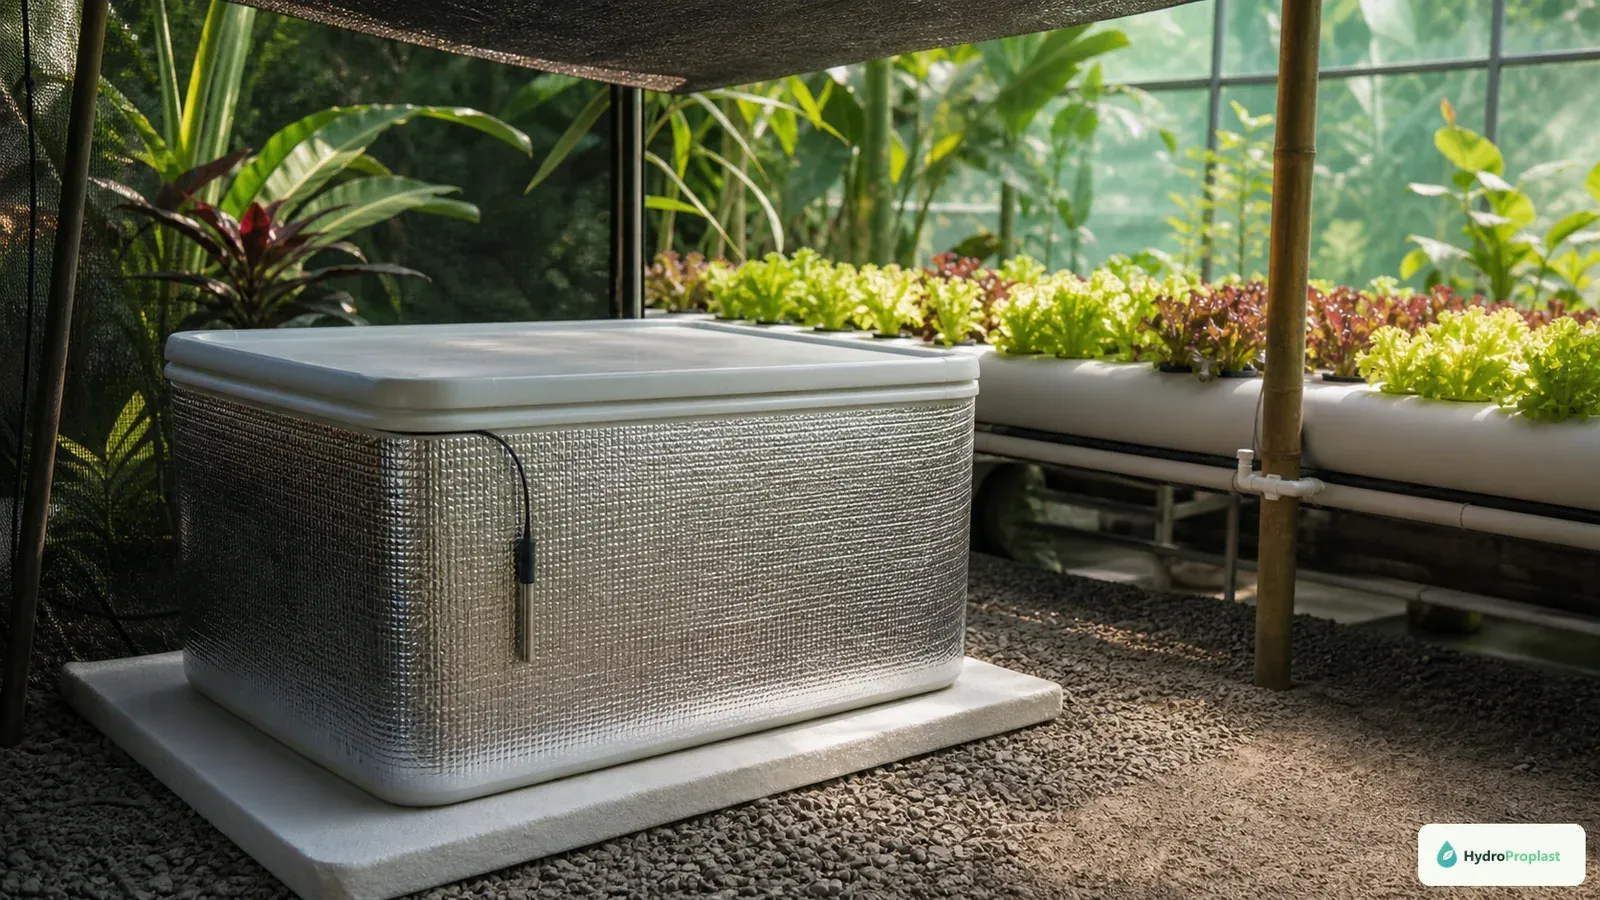
Shade, insulation, airflow, and reservoir placement can reduce heat gain before a chiller is considered.
Relocate the reservoir away from sun and hot lamps. Improve room ventilation and maintain safe distance between lighting equipment and water. Insulate the tank from a hot floor or wall with suitable cleanable material.
Run lights during cooler hours if the crop and household schedule allow. Increase air movement around—not contaminants into—the reservoir. Keep pumps maintained so they do not run inefficiently or transfer unnecessary heat.
Frozen bottles are sometimes suggested for emergency cooling, but they can cause abrupt local swings, introduce contamination on bottle surfaces, and require constant replacement. If used at all, they demand sanitation and gradual monitored application; they are not a stable control plan.
When active cooling is justified
A properly sized aquarium or hydroponic chiller can maintain a controlled reservoir, but selection depends on water volume, heat load, ambient temperature, pump flow, and desired pull-down. Manufacturer capacity claims may assume conditions unlike your room.
Include chiller electricity, heat rejected into the room, tubing, circulation pump, cleaning, noise, and condensation management. A chiller located in the same sealed space can add room heat that other equipment must remove.
Set a reasonable band rather than rapid cycling around one decimal. Protect the controller probe from a misleading inlet location. Keep a high-temperature alarm and failure plan for valuable crops.
Safe warming strategies
Improve room air temperature and insulate before placing a heater in the nutrient solution. If an immersion heater is required, use one rated for the reservoir material and volume, guarded from roots, and controlled by a reliable independent thermostat where appropriate.
Avoid cheap glass heaters where impact or low water level can expose them. Follow minimum submersion, orientation, and electrical safety instructions. Use drip loops and keep connections dry.
Warm replacement solution near operating conditions before a full change. Do not use kitchen appliances or add boiling water to a planted system.
System-specific temperature risks
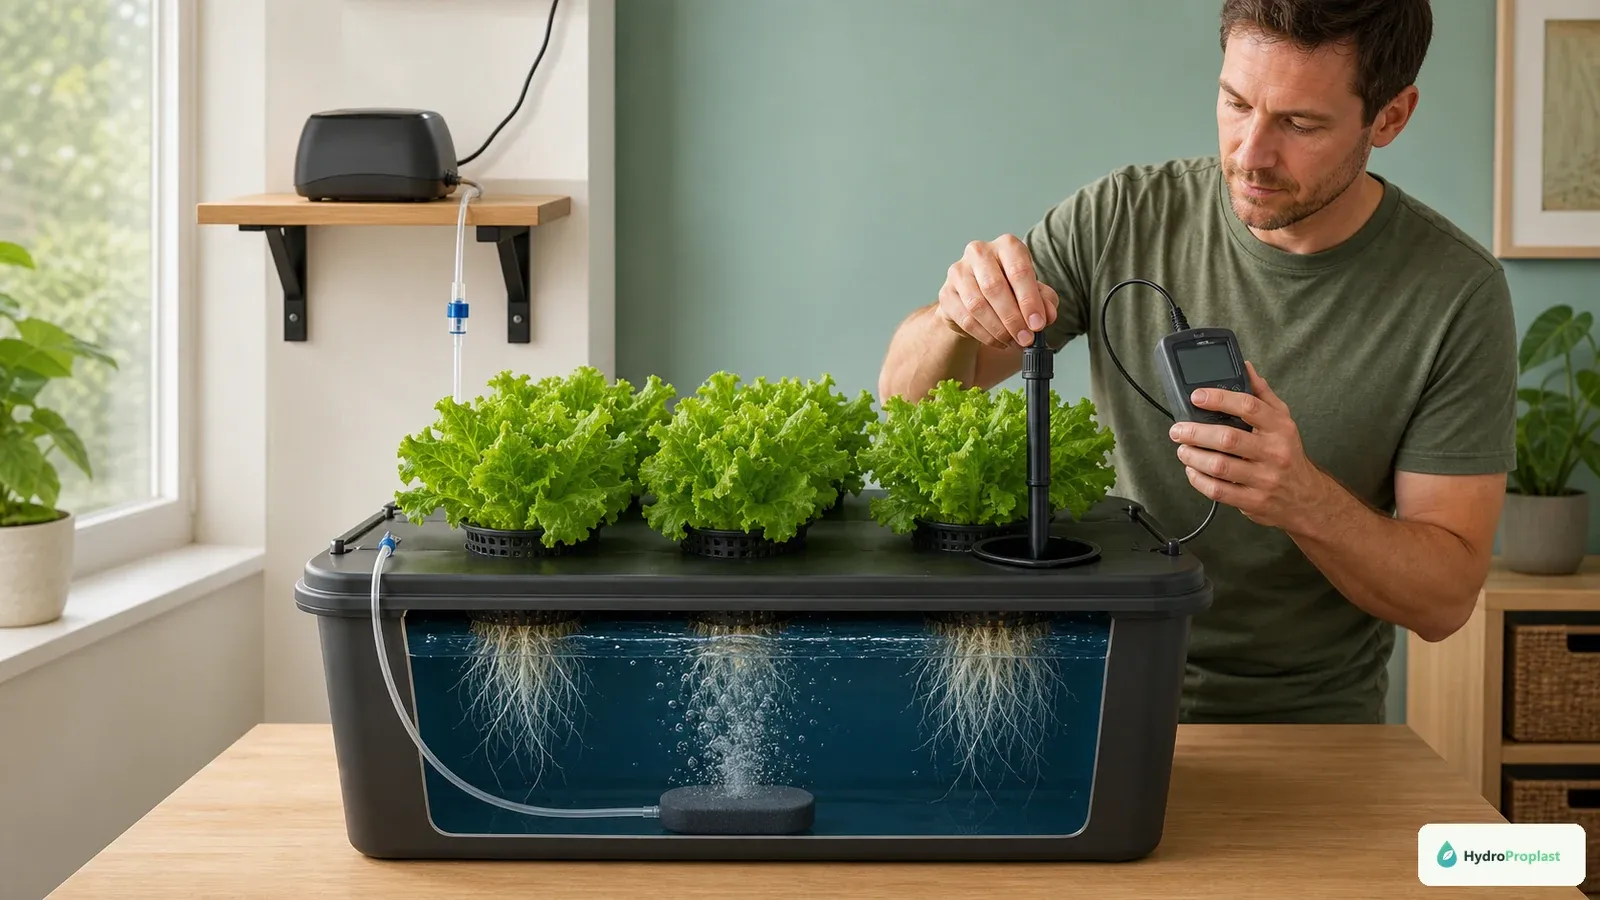
DWC keeps roots submerged, so water temperature and aeration are directly connected. Check air stones and pump output, particularly as roots fill the tank.
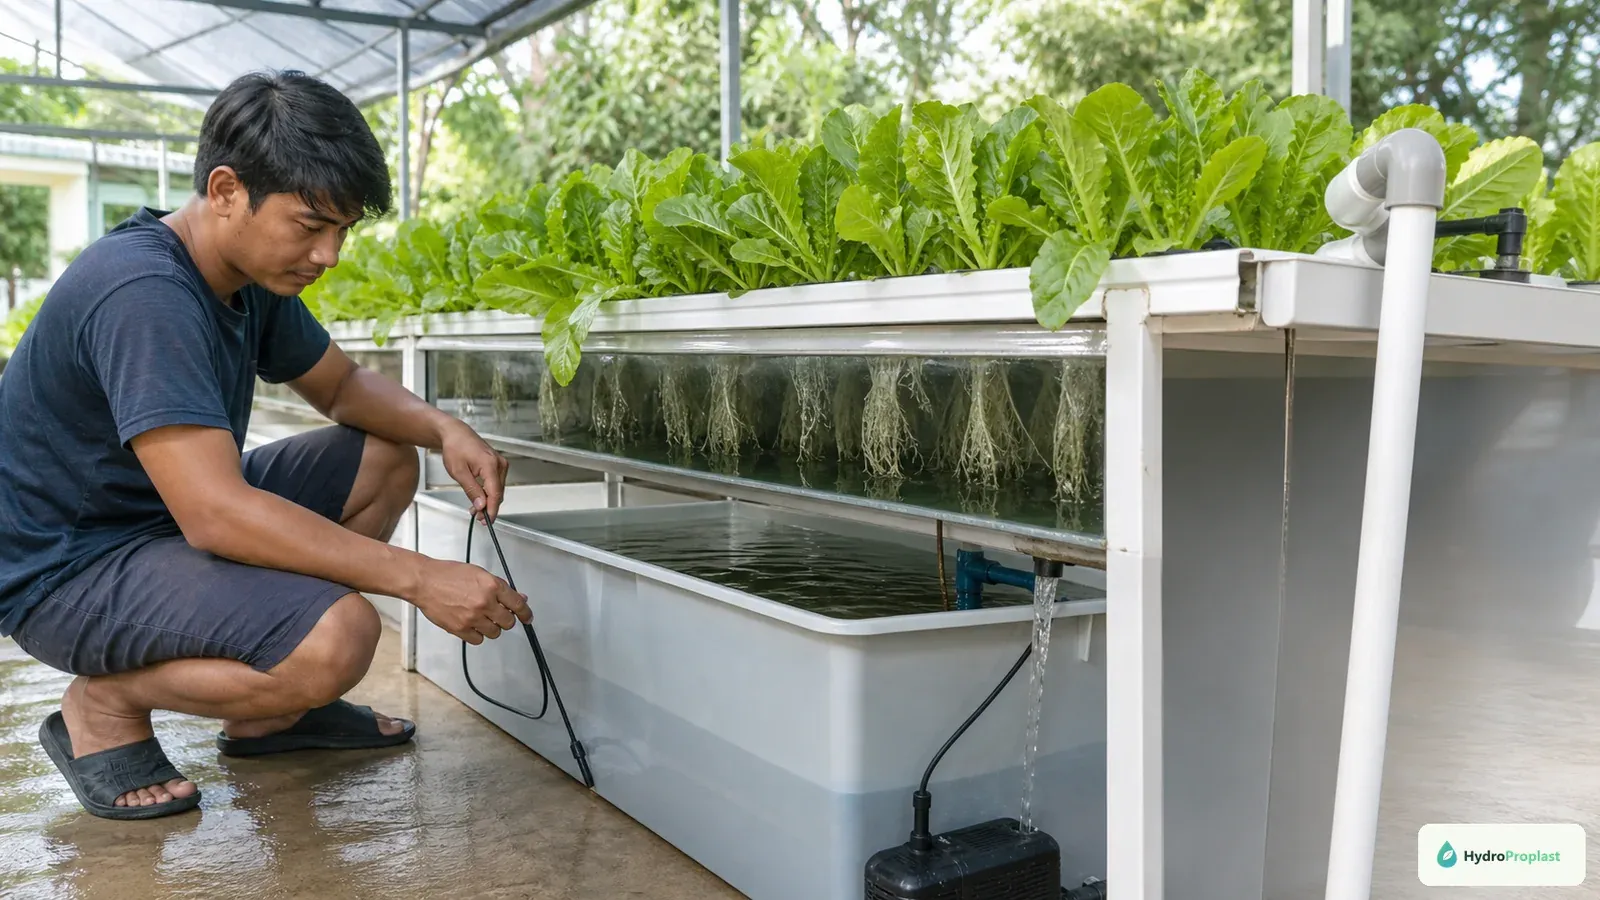
NFT channels hold a thin moving film that can exchange heat rapidly with room air, lamps, or greenhouse surfaces. Long exposed runs may return warmer than the reservoir. Measure return and inlet during hot periods.
Vertical towers can stratify by height and light exposure. Drip media buffers roots differently but warm return solution still affects a recirculating tank. Kratky lacks pump heat but small containers can warm quickly.
The USDA Economic Research Service’s hydroponic system overview shows how delivery methods differ; temperature assessment should follow the water path.
Connect temperature with aeration and flow
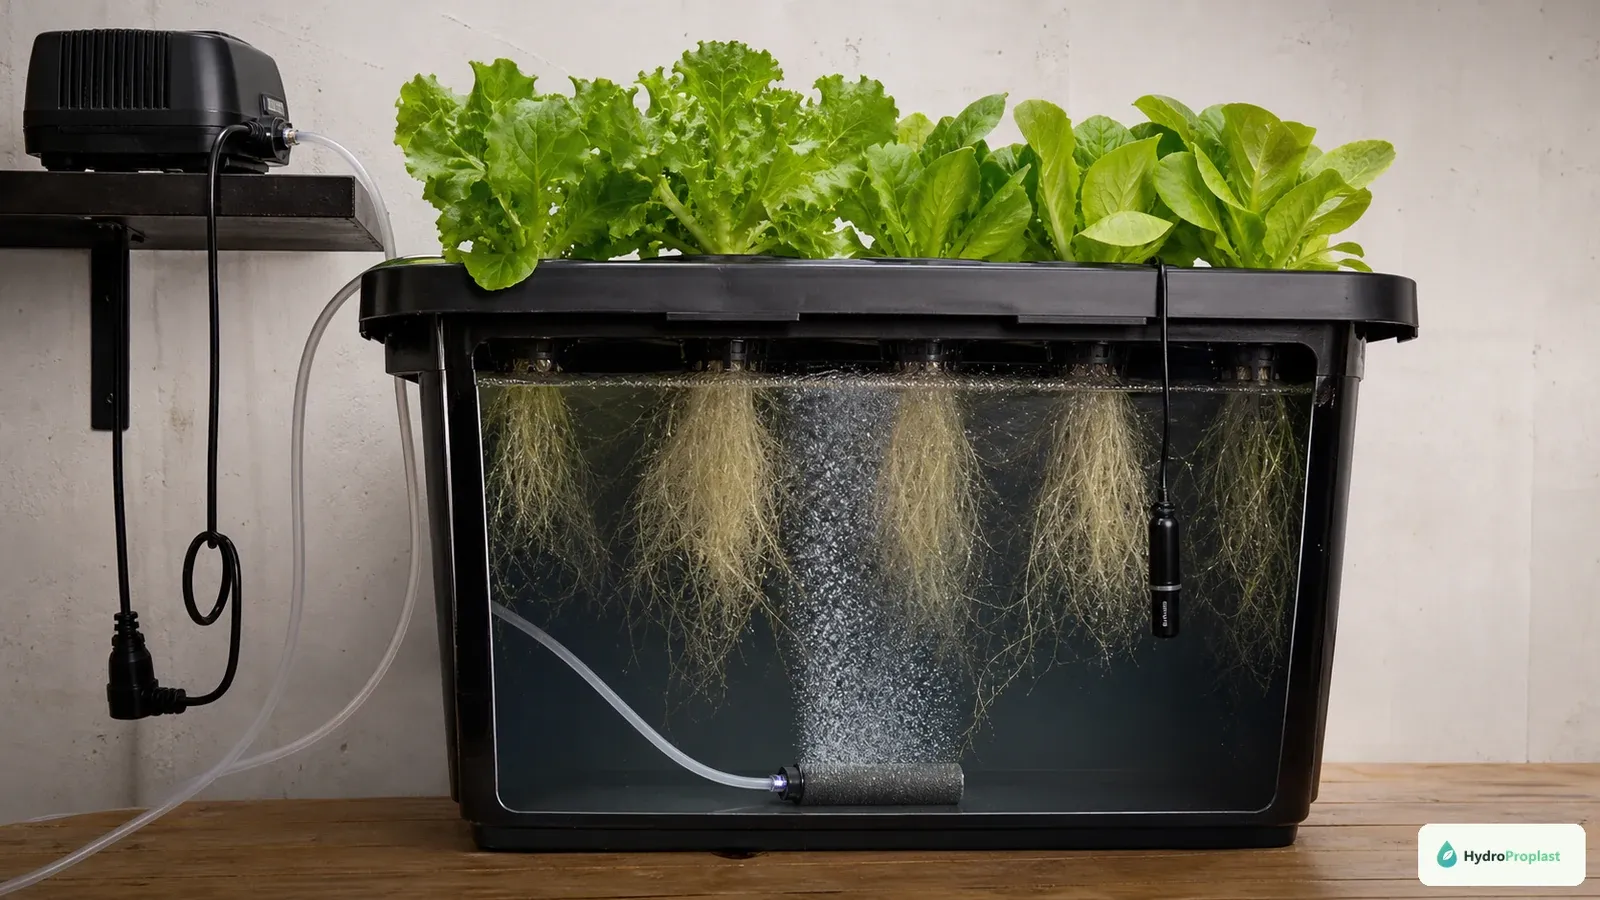
Warm nutrient solution needs reliable aeration and circulation because dissolved oxygen falls as temperature rises.
An air pump moves gas into solution; a water pump transports liquid. DWC usually needs deliberate aeration, while NFT and drip depend on liquid flow. A circulation pump may improve mixing but is not automatically an adequate substitute for an air system.
Inspect actual bubbles, flow, returns, and roots. A noisy pump can run while a kinked line delivers nothing. Warm conditions increase the importance of detecting failure quickly.
Read Air Pump vs Water Pump before changing equipment. Adding a stronger pump can itself add heat or damage plumbing without solving the root cause.
Recognize heat-related warning patterns:
Look for a temperature rise that coincides with light hours, falling dissolved-oxygen margin, widespread wilt despite water, root discoloration, odor, or increased pH instability. These signs are not exclusive to heat, so verify temperature and equipment.
If one plant suffers, inspect its local delivery and roots. If every connected plant changes after a hot day or pump interruption, the shared reservoir deserves priority.
Do not add nutrient to treat heat wilt without checking EC. Water loss can already concentrate salts. Restore environment and root-zone function before making formula changes.
Root disease requires more than cooling
Cooling can improve root conditions but does not remove infected tissue, biofilm, algae, or contamination. Investigate sanitation, light exclusion, dead roots, flow, and source material.
Do not improvise peroxide, bleach, fungicide, or biological treatment doses in a food-crop reservoir. Use diagnosed, labeled, and locally appropriate guidance. Clean between crops and isolate suspect plants where feasible.
Our hydroponic root-rot guide separates prevention, symptoms, and response.
Commission the system through a heat cycle
Run the full pumps and lights with plain water for several days before planting. Measure reservoir, inlet, and return temperatures at morning and peak heat. Test a pump stop and controller restart. Observe whether drain-back exposes a temperature probe or heater.
Add nutrient and repeat before valuable plants depend on the system. Nutrient solution and root mass may change behavior, so continue logging during the first crop.
Set action thresholds from crop guidance: one for increased observation, one for corrective action, and one emergency equipment check. This prevents panic from normal small movement.
Build a stable root environment
Choose crop-appropriate temperature guidance, monitor the daily range, remove avoidable heat, maintain flow and aeration, and use active equipment only after calculating the load. Pair temperature with pH, EC, water level, and roots.
The goal is not the coldest possible reservoir. It is a stable range that supports the crop without excessive energy, condensation, or abrupt correction. A week of measured behavior under final lights is more useful than one perfect reading taken after adding cold water.
Build a simple heat budget before purchasing active equipment. Record ambient temperature, lamp input power and schedule, submersible pump power, reservoir volume, and the observed rise from morning to peak. Turn one heat source off only when plants are not at risk and compare the curve. This identifies whether lights, pumps, sun, or room air dominate.
Test passive changes one at a time: shading the reservoir, moving the driver, opening cabinet ventilation, insulating from a hot floor, or shifting the light period. Keep crop light needs unchanged while evaluating root-zone improvements. A cooler reservoir achieved by starving the canopy of light is not a successful correction.
For active cooling or heating, measure cycling behavior over several days. Excessive short cycling can indicate poor controller placement or oversized equipment. Check the farthest root zone, not only the outlet. Confirm that condensation cannot drip onto plugs or create mold around structures.
Create a response plan for forecast heat or cold. Mark observation and action thresholds from crop-specific guidance, verify pump and air delivery, prepare safe top-up water, and check alarms before the event. Do not wait for wilt to discover that a chiller filter is blocked.
After the event, inspect new roots and growth rather than assuming a returned temperature erased the stress. Log the duration outside the range; duration helps explain outcomes better than the single highest or lowest number.
Compare root-zone temperature with plant timing. If the peak occurs after lights turn off, stored room or equipment heat may be continuing to warm the tank. If morning temperature remains high, night ventilation or reservoir placement deserves attention. A daily minimum that never returns to the crop’s preferred band can matter more than a short peak.
Check meter placement after roots grow. Dense roots can isolate a probe in a low-flow pocket or press it against a warm pump. Move only to another representative secured location and document the change so the chart remains interpretable.
When using multiple buckets, measure more than one. The container nearest a wall, window, fan, or light driver may behave differently. Correct the local heat source where possible rather than chilling every reservoir to compensate for one hot position.
Finally, include temperature in every pH and EC troubleshooting record. A nutrient correction made during heat stress can create a second problem when uptake and evaporation return to normal.