Indoor hydroponic climate is not one thermostat setting. Leaves experience air temperature, humidity, radiation, and airflow, while roots experience nutrient-solution temperature and oxygen. A room can feel comfortable to a person yet contain hot canopy tops, cold floor-level air, stagnant humid pockets, or an overheated reservoir.
Measure three environments
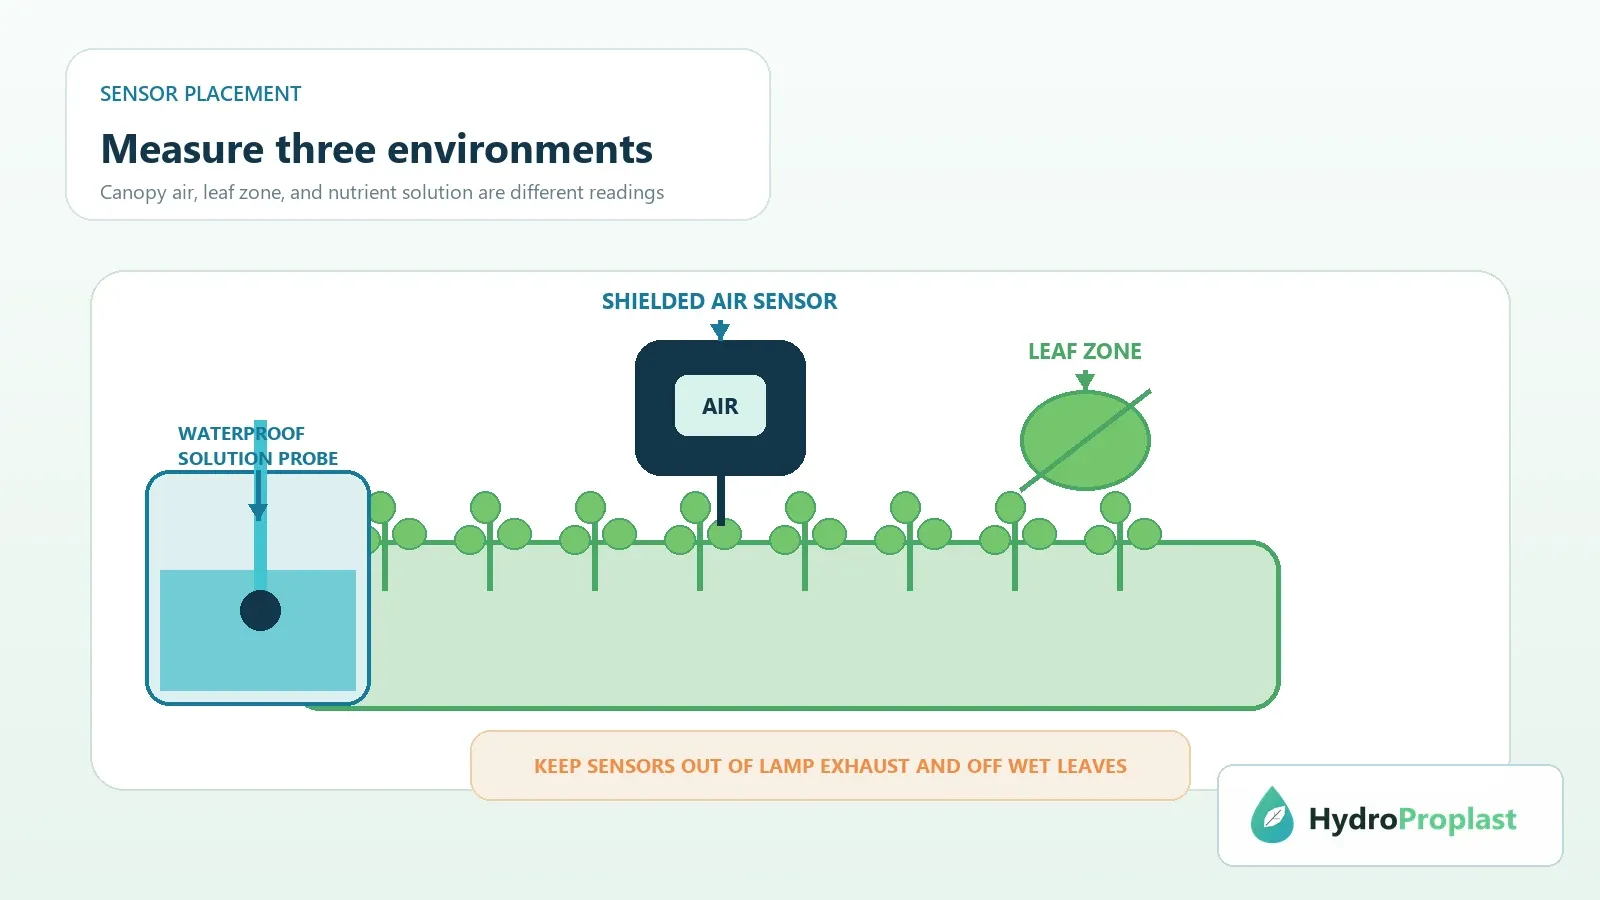
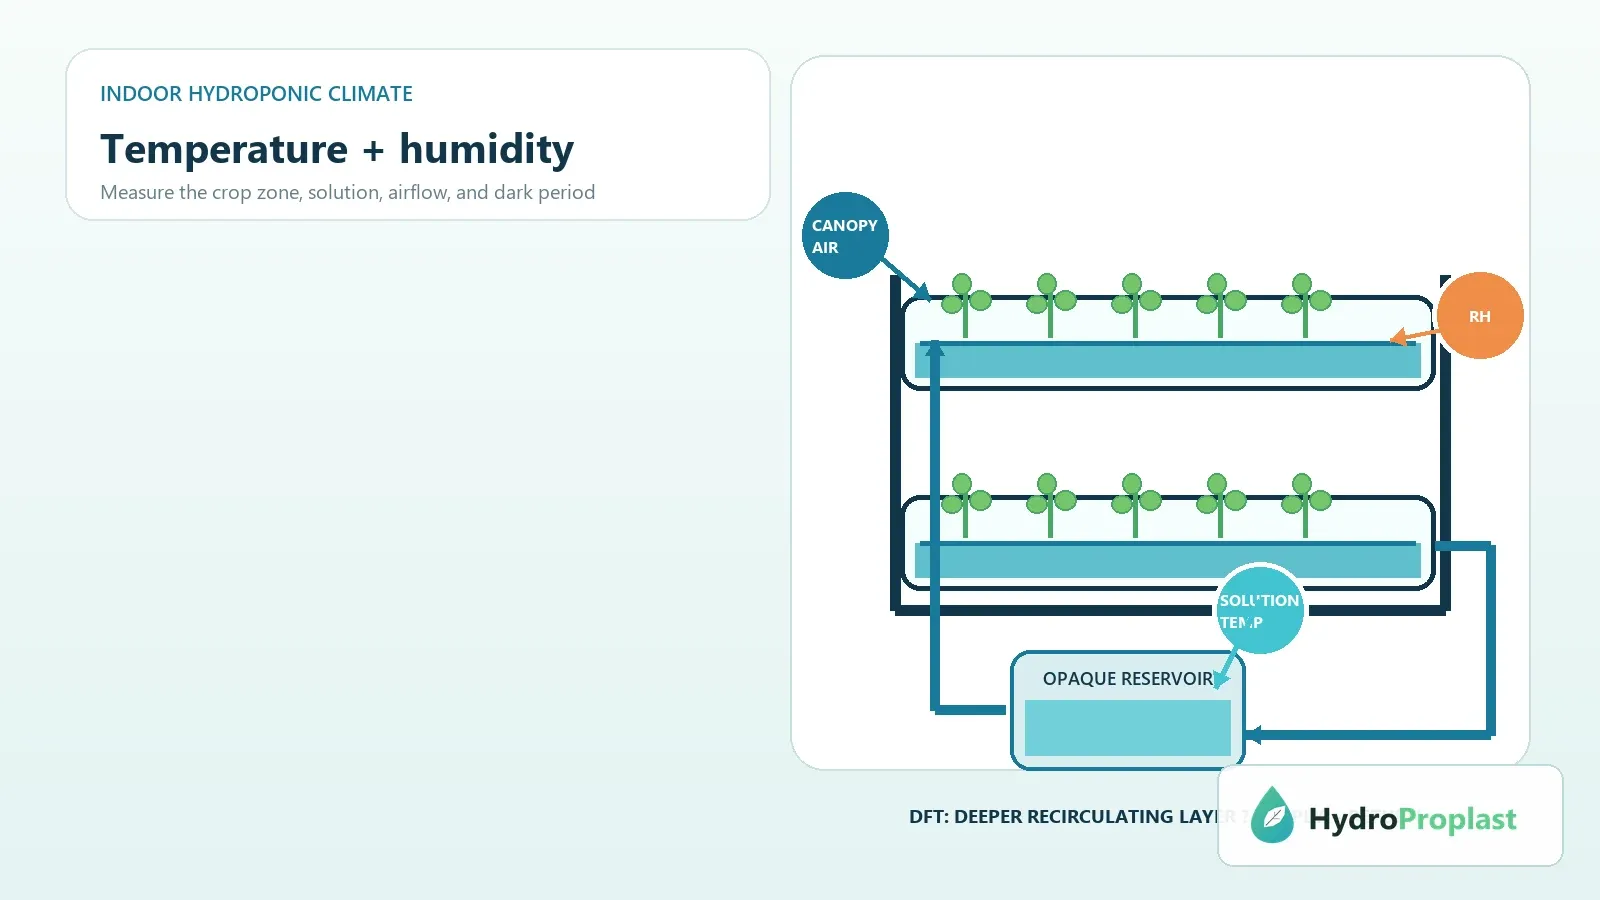
Measure canopy air, leaf-zone conditions and nutrient solution separately.
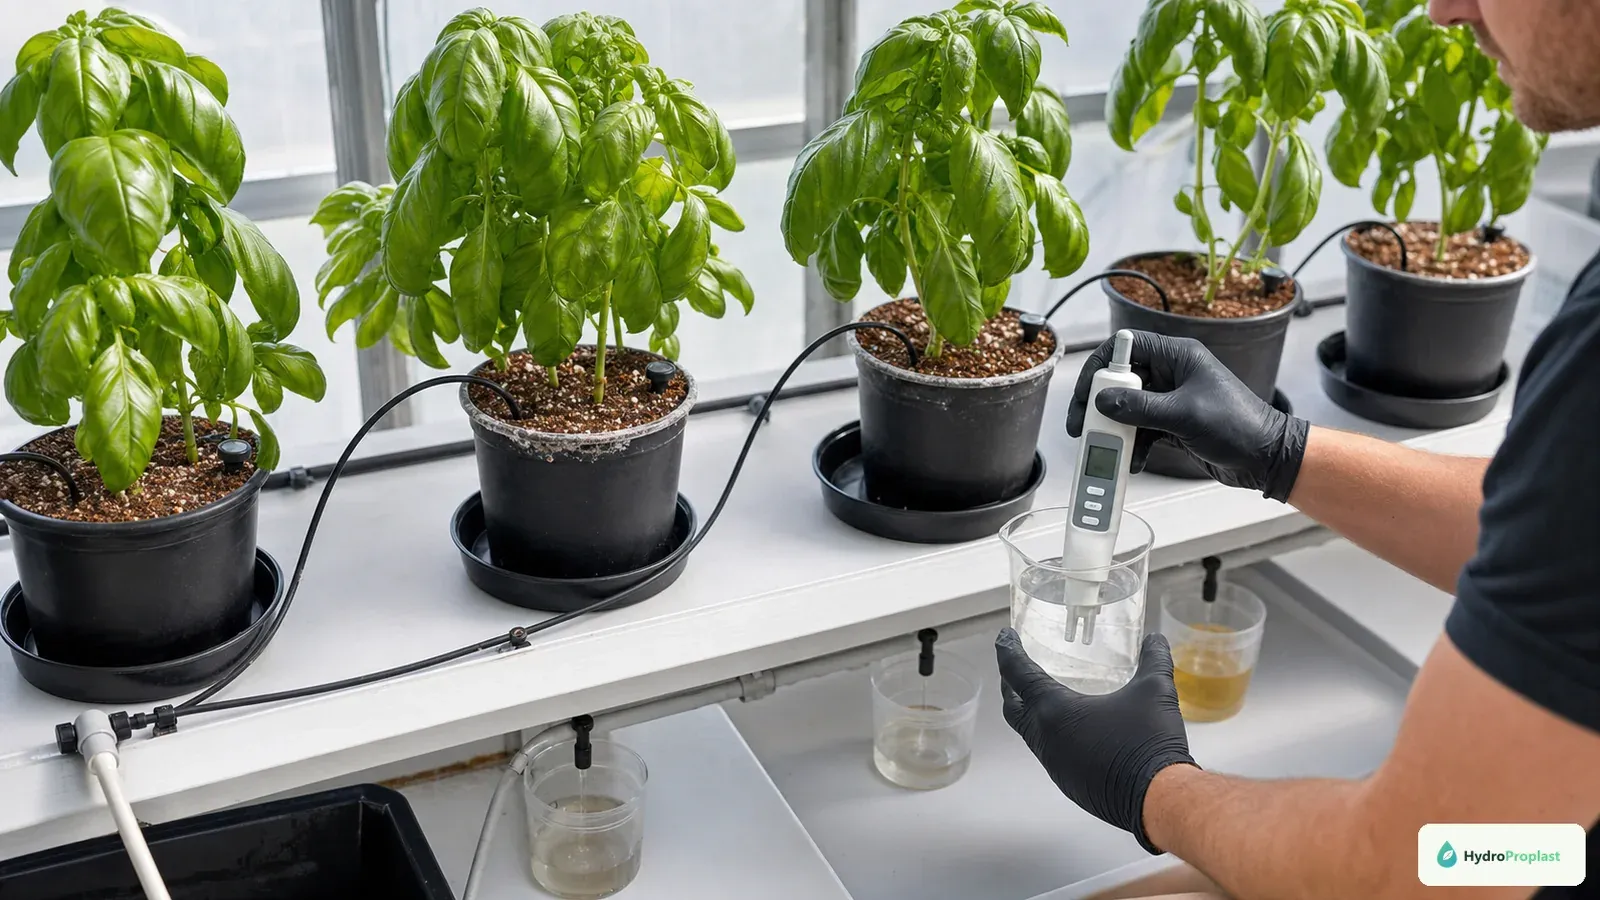
Use separate observations for canopy air, leaf surface where available, and nutrient solution. Place a shielded air sensor near representative leaves without touching wet foliage or sitting in direct lamp exhaust. Put a waterproof probe in a representative reservoir location.
Measure inlet, center, edge, top, and lower canopy when the room is large or vertical. A single wall thermostat often describes HVAC return air rather than the crop.
Interpret relative humidity correctly
Relative humidity states how close air is to saturation at its current temperature. When temperature falls at night, relative humidity can rise even if no moisture is added. This is why condensation frequently appears after lights turn off.
Track temperature and RH together. Dew point describes the temperature at which moisture begins condensing and can help identify cold surfaces at risk.
The National Weather Service explains dew point versus relative humidity.
Use VPD as a supporting tool
Vapor pressure deficit estimates the drying demand between a leaf and surrounding air. It can be more informative than RH alone, but accurate interpretation requires leaf temperature, not only room temperature. Crop and growth stage also matter.
Do not pursue one universal VPD number for seedlings, lettuce, basil, tomatoes, and strawberries. Use crop-specific research and observe water uptake, leaf posture, tip injury, and disease pressure.
Match climate to crop and stage
Cool-season leafy greens and warm-season fruiting crops may not share an ideal room. Seedlings have small roots and tender leaves; mature fruiting plants release much more moisture and create dense microclimates.
Group compatible crops or use separate zones. If one room contains mixed stages, map conditions around each canopy rather than assuming a compromise setpoint serves all equally.
Monitor nutrient temperature
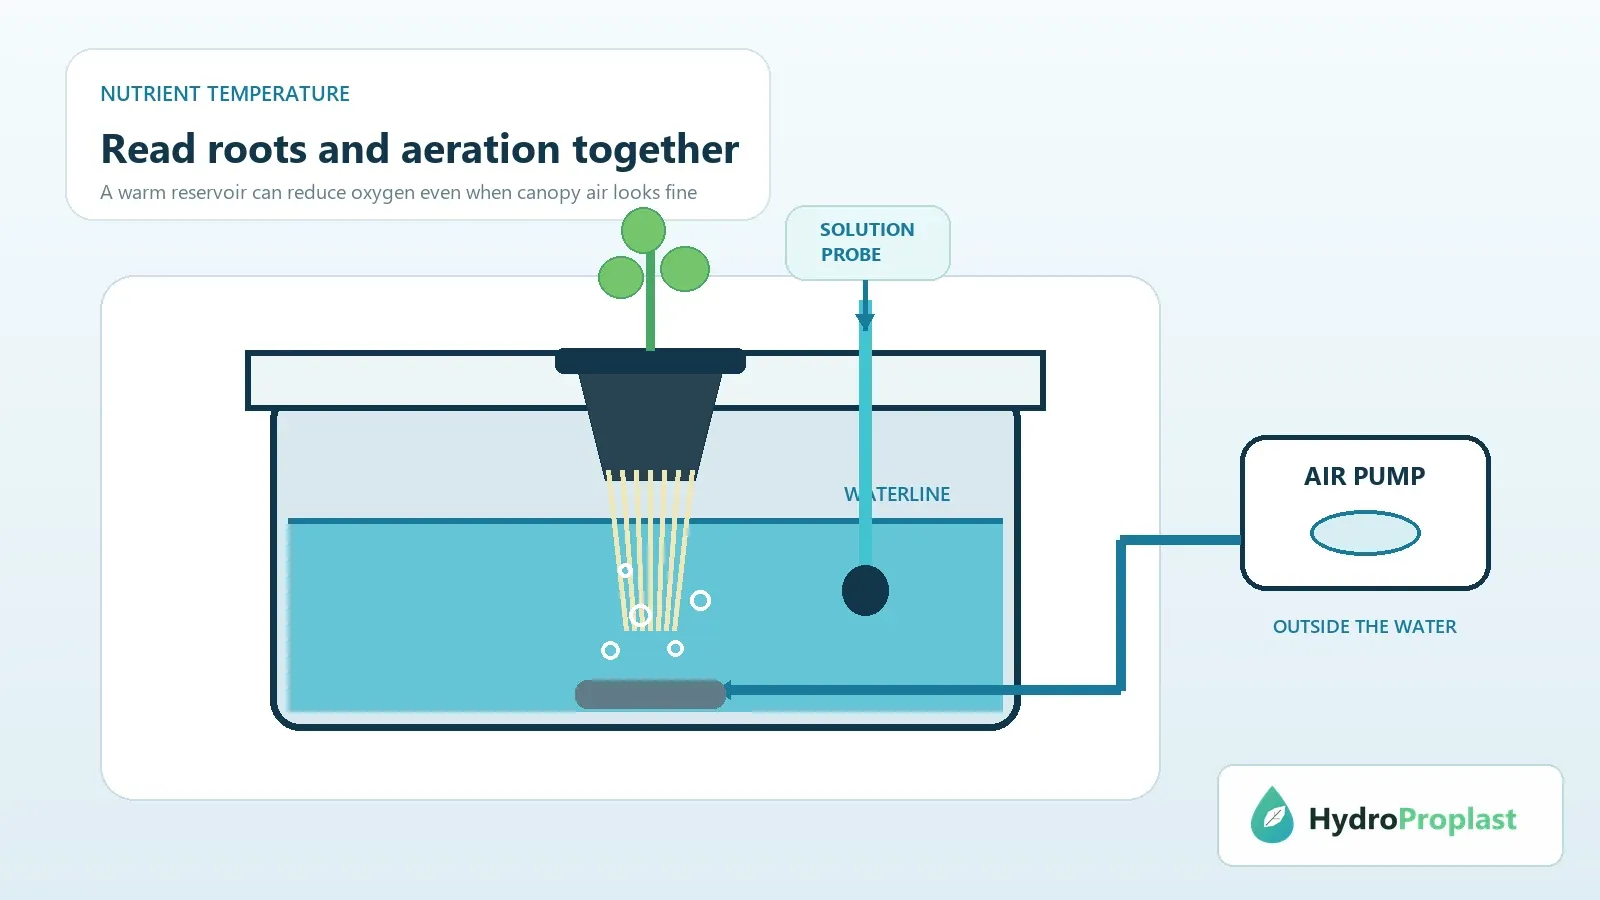
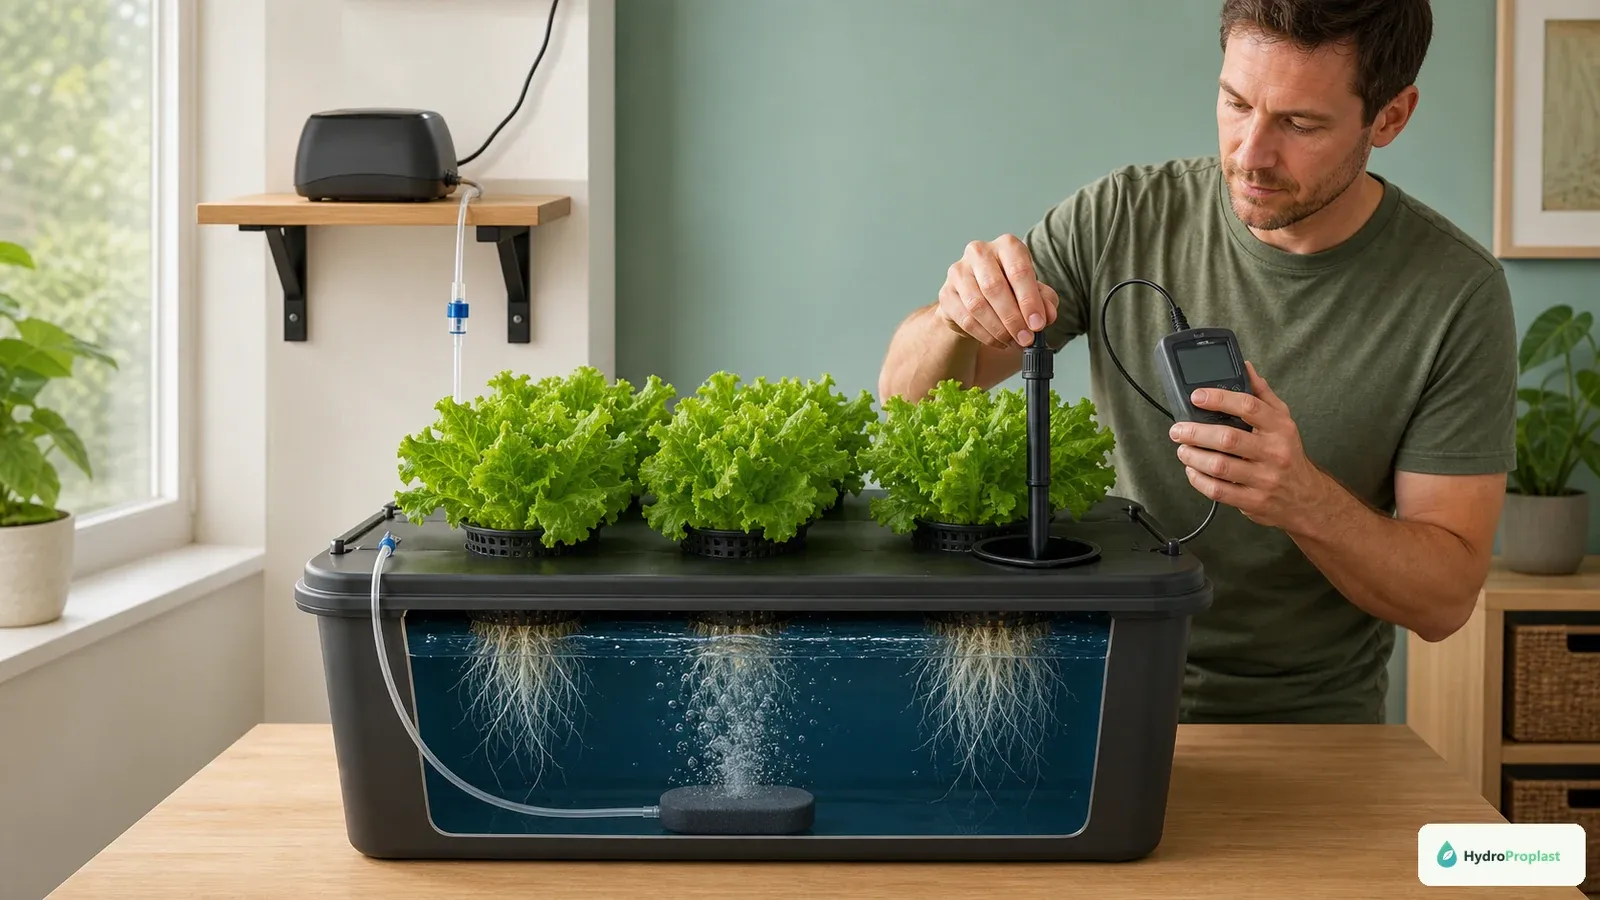
Monitor solution temperature alongside root access and active aeration.
Warm solution holds less dissolved oxygen and can increase root stress. Cold solution can slow growth and shock warm roots. The suitable range varies by crop and system.
Measure through the full light cycle and near pumps, return lines, heaters, and sun-exposed walls. The hydroponic water-temperature guide explains heat sources and control options.
Avoid sudden chilling or unclean frozen bottles in the reservoir.
Place and verify sensors
Mount sensors where air can move around them, away from direct mist, walls, humidifier outlets, dehumidifier exhaust, and lamp radiation unless measuring those zones intentionally. Use aspiration or radiation shielding when accuracy requires it.
Compare sensors side by side periodically. Follow manufacturer calibration or verification procedures. Record model, location, height, and service date so a changed reading is not confused with a moved instrument.
Map the lights-on period
Record conditions before lamps start, one hour after, near the expected thermal peak, and just before shutoff. Fixture heat, drivers, pumps, and plant transpiration can create a rising curve.
Measure canopy tops separately from reservoir level. If upper leaves overheat while root water remains appropriate, adjust fixture, airflow, or HVAC rather than chilling the entire reservoir.
Map the dark period
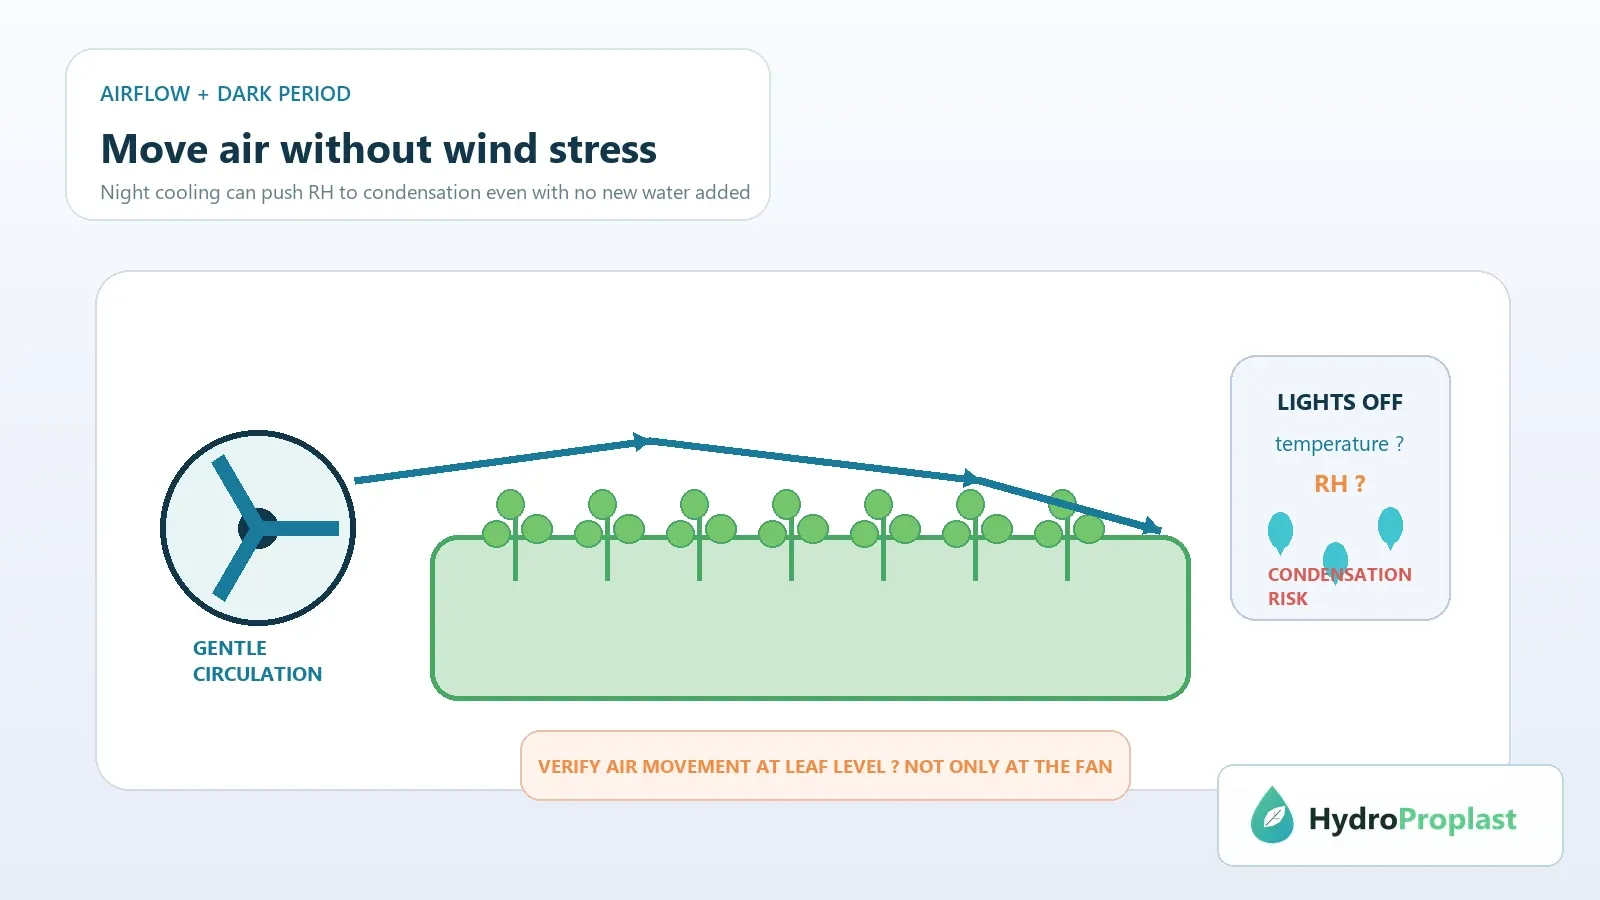
Map airflow and the lights-off period to prevent stagnant humid pockets and condensation.
After lights turn off, air cools and RH may rise rapidly. Transpiration and wet surfaces can continue adding moisture. Check the first hours of darkness and the coldest pre-light period.
Avoid leaving leaves wet overnight. Coordinate irrigation timing, drainage, airflow, and dehumidification with crop guidance. A room that appears dry at midday can still condense each night.
Use airflow without creating wind stress
Gentle circulation reduces stagnant pockets, strengthens some crops, and helps temperatures become uniform. It does not remove moisture from a sealed room; ventilation or dehumidification must carry water away.
Aim fans across and around the canopy rather than blasting one row continuously. Observe leaf movement and compare edge drying. Strong airflow can increase water loss, curl leaves, and worsen marginal injury.
Coordinate ventilation and cooling
Exhaust removes heat and moisture only when incoming air is suitable. In hot humid weather, outside air may add both loads. Air conditioning removes heat and some moisture; dehumidifiers remove moisture but release heat into the room.
Create a control sequence so heating, cooling, humidifying, and dehumidifying do not run against one another. Measure equipment duty cycle and condensate, not only the controller setpoint.
Prevent condensation
Condensation forms when a surface falls below the air’s dew point. Inspect cold water lines, reservoir walls, windows, metal frames, ducts, and leaves near cold supply air.
Insulate appropriate lines, improve air mixing, manage nighttime RH, and eliminate standing water. Keep condensate from electrical equipment and nutrient reservoirs. Clean drain pans and lines according to equipment instructions.
Diagnose climate-related symptoms
Wilting can follow high evaporative demand, failed irrigation, root disease, or excessive heat. Brown margins can involve dry airflow, high EC, or irregular uptake. Pale stretched growth may indicate insufficient light relative to warmth.
Condensation and persistent leaf wetness increase disease risk but do not identify a pathogen. Map symptoms by position and time. The root-rot guide helps separate climate stress from decaying roots.
Control humidity at the source
Cover reservoirs and mixing tanks, repair leaks, remove standing runoff, drain trays correctly, and avoid unnecessary misting. Schedule plant density and pruning so air reaches the canopy.
Plants themselves are the main moisture source in a productive room. As leaf area increases, dehumidification demand changes. Size equipment for mature crop load rather than the empty room.
Build a daily climate log
Record minimum and maximum canopy temperature, RH, dew point if available, solution temperature, lights-on and dark-period timing, water use, HVAC operation, and unusual weather. Continuous logging reveals peaks that manual midday readings miss.
Annotate irrigation, pruning, harvest, equipment changes, and open doors. Compare climate events with symptoms several days later.
Respond to an excursion
First protect people and electrical safety. Restore failed pumps, HVAC, or airflow. Shade or dim excessive light if heat is acute, while preserving enough crop illumination. Correct water access and verify roots.
Change conditions gradually when plants have acclimated to an extreme. Document duration and peak, then monitor new growth and roots. Do not add nutrients because heat-stressed leaves wilt.
Commission the room at mature load
Test controls before planting, then repeat the audit as canopy expands. Use safe heat or moisture simulation only when appropriate; actual plants change airflow and transpiration in ways an empty-room test cannot reproduce.
Cornell’s controlled-environment lettuce handbook illustrates coordinated environmental management. University of Minnesota Extension’s indoor lighting guide connects light, heat, and plant response.
The correct indoor climate is a measured daily pattern that suits the specific crop and stage. It keeps roots functional, leaves free of prolonged condensation, airflow gentle and uniform, and equipment coordinated rather than chasing a single humidity percentage.
Run a sensor-mapping exercise
Place temporary verified sensors at the canopy center, the perimeter nearest the supply air, the warmest upper shelf, and the coolest lower shelf. Keep one reference sensor stationary. Log at short enough intervals to capture lamp startup, irrigation, door opening, HVAC cycling, and lights-off transition.
After several representative days, compare maximum temperature, minimum RH, highest dew point, and the time each event occurred. Averages can hide a one-hour nightly condensation event or a midday hot spot. Move production sensors only after the map identifies representative locations.
Repeat the map after the canopy becomes dense. Leaves redirect airflow and add moisture, so an empty-room test cannot certify mature conditions. Also repeat after moving fixtures, adding shelves, changing exhaust, or sealing the room.
Size climate equipment for peak load
Estimate heat from lighting, drivers, pumps, people, sunlight, and dehumidifiers. Estimate moisture from mature plant transpiration, open water, leaks, and wet cleaning. Equipment should handle realistic peak load without running continuously at its limit.
Oversized equipment can also cycle poorly and create unstable local conditions. Select and commission HVAC or dehumidification with qualified guidance appropriate to the room, electrical service, condensate drainage, and crop value. Portable consumer ratings measured under different conditions may not predict grow-room performance.
Route condensate to an approved drain or clean collection system. Do not return HVAC or dehumidifier condensate to the nutrient reservoir without appropriate water-quality assessment; it can collect metals, dust, microbes, and cleaning residues.
Adjust climate for seedlings
Young seedlings have limited roots and can wilt rapidly in hot, dry moving air. They also develop weak stems and disease when kept crowded, saturated, and stagnant. Use gentle circulation, uniform plug moisture, and prompt light. A humidity dome may support germination for some crops, but remove or ventilate it as seedlings emerge according to crop guidance.
Compare plug temperature with room air when propagation heat mats are used. Control mats with a suitable sensor and avoid heating an already warm root zone. A timer alone cannot hold a stable plug temperature as room conditions change.
Manage the mature canopy
Large leaves and overlapping branches create humid boundary layers. Thin or train plants only according to crop architecture; indiscriminate defoliation reduces photosynthesis and can expose fruit to intense light. Maintain spacing and harvest old leaves before the canopy blocks inspection.
Fruiting plants can release much more moisture than seedlings and may require different day/night controls. Flower pollination and fruit set can be sensitive to thermal and humidity extremes, so record conditions around the actual flower zone rather than at the floor thermostat.
Coordinate climate and irrigation
Water use usually increases with light, leaf area, heat, and drying demand, but a falling reservoir can also indicate a leak. Trend volume with climate and crop stage. Do not raise EC merely because plants drink more during a hot interval.
Irrigation changes alter room humidity. Frequent surface wetting, open runoff, and poorly drained media add evaporation. Correct delivery and drainage at the root zone before purchasing more dehumidification.
Use a dark-period checklist
- Confirm lights actually switch off and drivers cool safely.
- Observe the first temperature drop and RH rise.
- Check leaves, windows, tanks, ducts, and pipes for condensation.
- Verify fans maintain gentle mixing without chilling one row.
- Confirm irrigation does not leave foliage or floors wet.
- Inspect condensate drains and alarms.
Respond to climate excursions
If canopy temperature rises, verify sensor placement, fixtures, airflow, HVAC, and outside conditions. If RH rises without a temperature change, look for increased transpiration, leaks, irrigation, humidifier faults, or ventilation changes. If RH rises as temperature falls, calculate dew point and inspect cold surfaces.
If nutrient water warms while air remains stable, inspect pumps, submerged equipment, sunlight, return lines, and tank location. If only one shelf differs, trace its airflow and lamp load rather than changing the whole room.
Recovery should be gradual unless plants face an immediate safety-threatening extreme. Restore equipment, document the peak and duration, and observe roots and new leaves for delayed effects. Avoid simultaneous nutrient, light, and climate changes.
Run a monthly control review
Export logger data, verify sensor clocks, compare redundant sensors, inspect filters and coils, test alarms, clean condensate components, and review equipment duty cycles. Mark maintenance on the climate graph so later shifts can be explained.
Compare the room’s best and worst canopy positions. If one location repeatedly exceeds the chosen crop range, correct ducting, circulation, fixture placement, or plant density. A stronger average does not compensate for a damaging corner.
Write the final climate specification
Document crop and stage, sensor locations, acceptable day and night ranges from authoritative guidance, solution-temperature range, alarm thresholds, control sequence, dark-period plan, and response to equipment failure. Include seasonal modes when outside conditions change substantially.
The objective is not a perfectly flat graph. It is a controlled pattern without damaging peaks, prolonged leaf wetness, stagnant zones, or root-zone heat. Measurements should show that every occupied position stays suitable often enough to deliver healthy new growth and reliable harvest quality.
When fixture heat contributes to uneven climate, use the LED grow-light guide to review canopy coverage, driver placement, dimming, and electrical installation before altering the room setpoint.