Hydroponic lettuce is a practical first crop because it stays compact, grows quickly compared with fruiting plants, and can succeed in several simple systems. It is not automatic: heat, weak light, poor airflow, wet crowns, unstable solution, and crowded spacing can produce bitter, stretched, or diseased plants. Start with a small repeatable setup and let measurements guide adjustments.
Choose a lettuce type for the goal
Loose-leaf varieties suit repeated outer-leaf harvest and forgiving spacing. Butterhead types form soft heads and need room for their mature canopy. Romaine types become taller and may require stronger support and wider spacing. Crisphead lettuce is usually less convenient for a small beginner system because it needs more time and environmental control.
Read the seed supplier’s description for mature size, heat tolerance, color, disease resistance, and expected harvest style. Compare cultivars under the same conditions rather than assuming every lettuce behaves alike.
Select a beginner-friendly system
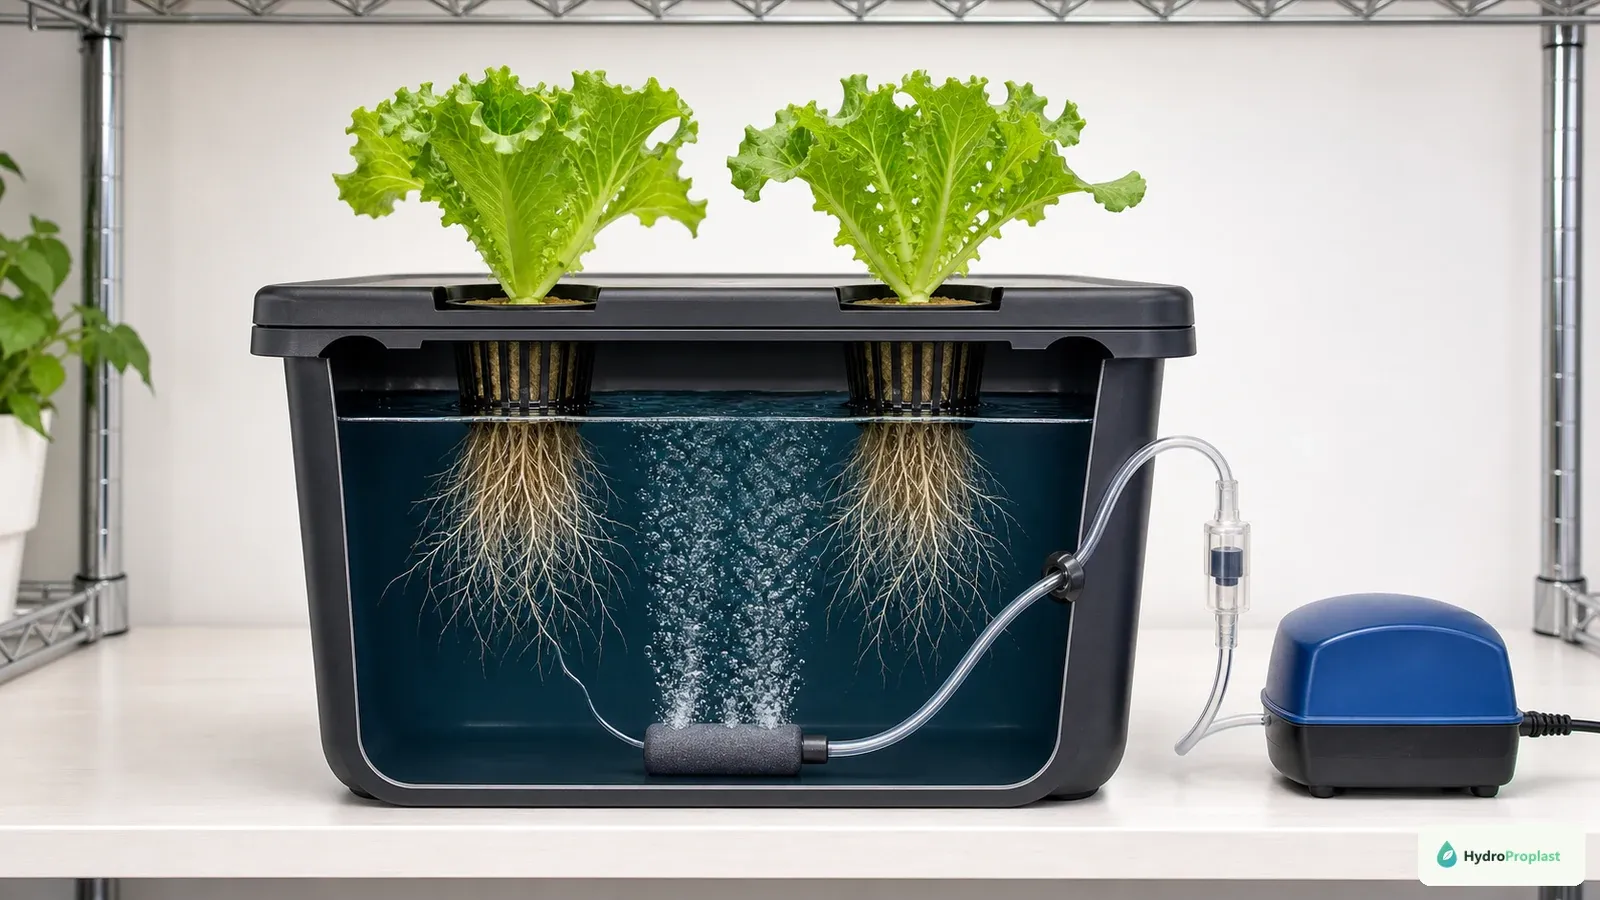
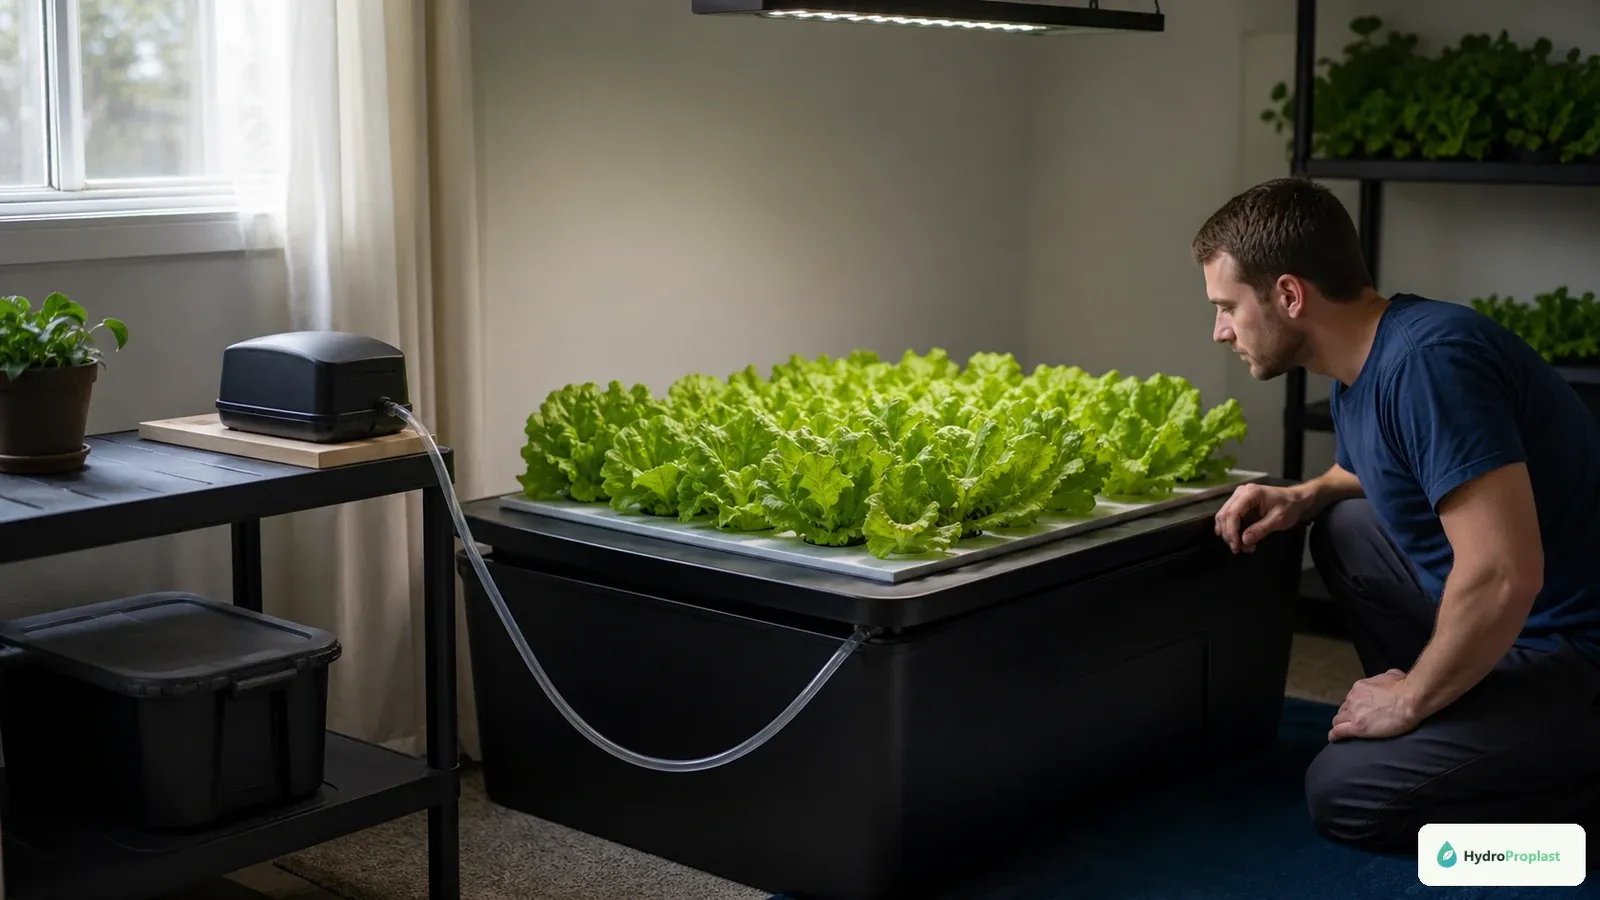
DWC is easy to inspect: an external air pump supplies an air stone while lettuce roots remain in a deep, covered nutrient reservoir.
Deep water culture supports plants in net pots above an aerated reservoir. It is easy to inspect but depends on reliable aeration and temperature control. Kratky is passive and quiet, yet the developing air gap and solution volume must be understood. NFT uses a shallow moving film and scales neatly, but pump or flow failure can dry roots quickly.
The beginner hydroponic system guide compares these tradeoffs. For a first crop, use fewer plants than the lid can physically hold so roots, airflow, and canopy remain accessible.
Gather the essential equipment
Use an opaque food-growing-appropriate reservoir or channel, fitted net pots or collars, clean propagation plugs, a crop-appropriate complete nutrient, and calibrated pH and EC meters. Active systems need correctly sized pumps and safe electrical installation. Indoor crops need a timer and an adjustable grow light with documented coverage.
Also prepare labels, measuring tools dedicated to nutrients, a thermometer, cleaning brushes, spare tubing or an air stone when relevant, and a written log. Avoid buying supplements before the basic environment is stable.
Germinate clean, uniform seedlings
Sow seed at the packet’s depth in a clean evenly moist plug. The plug should be damp, not standing in water. Provide suitable warmth during germination and prompt light after emergence. Label cultivar and sowing date.
Keep the strongest healthy seedling per final position unless the chosen method specifies otherwise. Seedlings that stretch need improved light, not stronger fertilizer. Follow how to germinate seeds for hydroponics for a complete propagation routine.
Transplant at the right stage
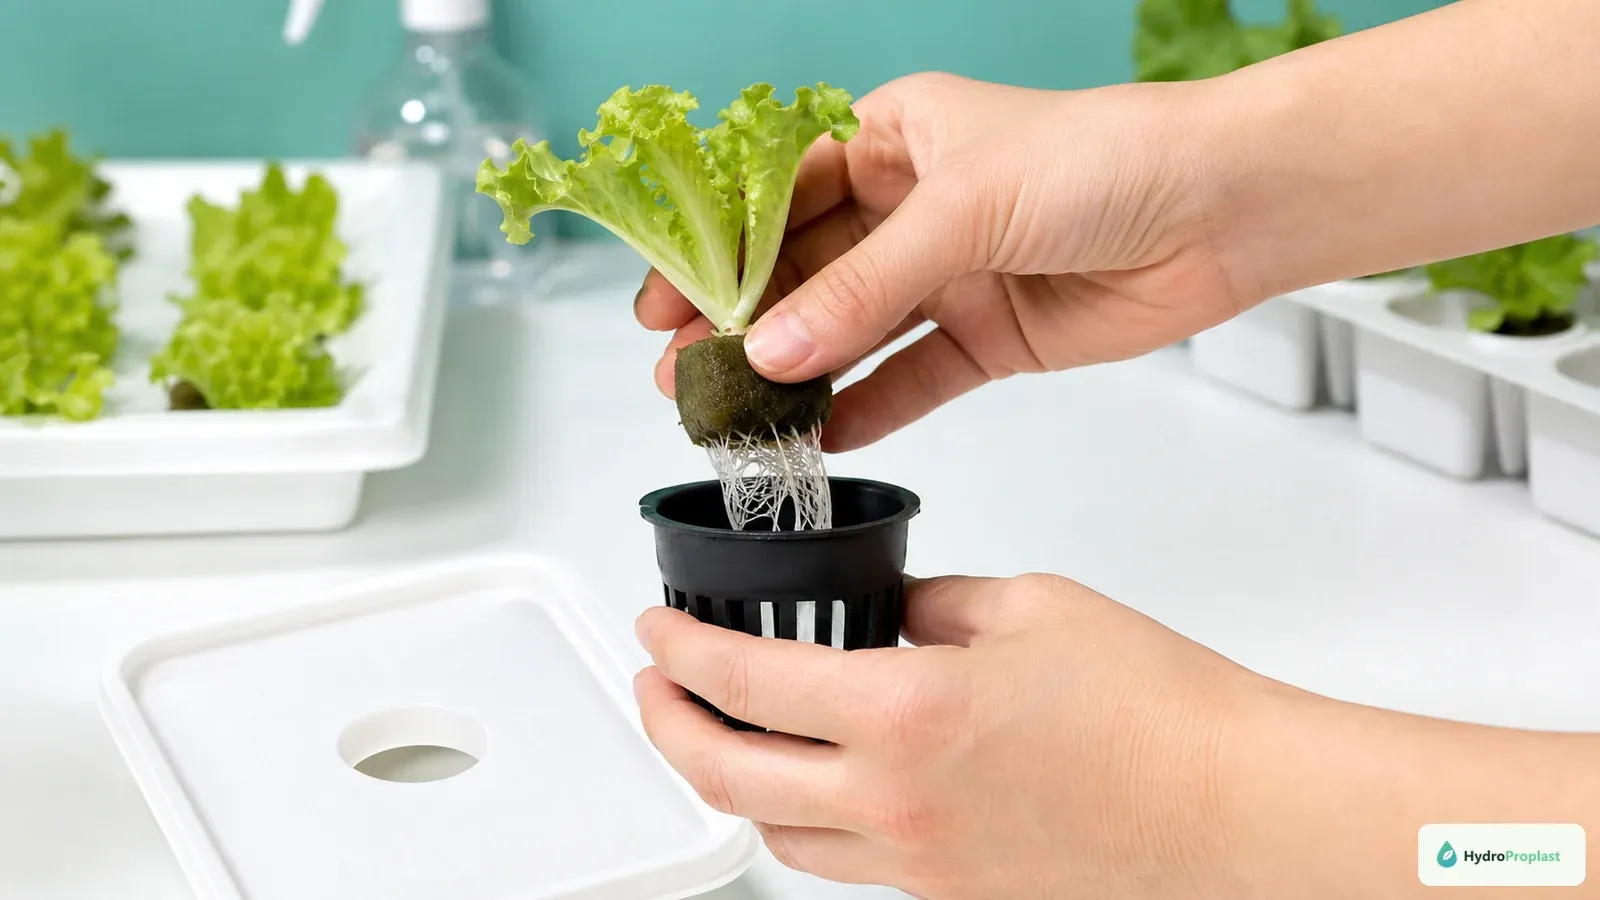
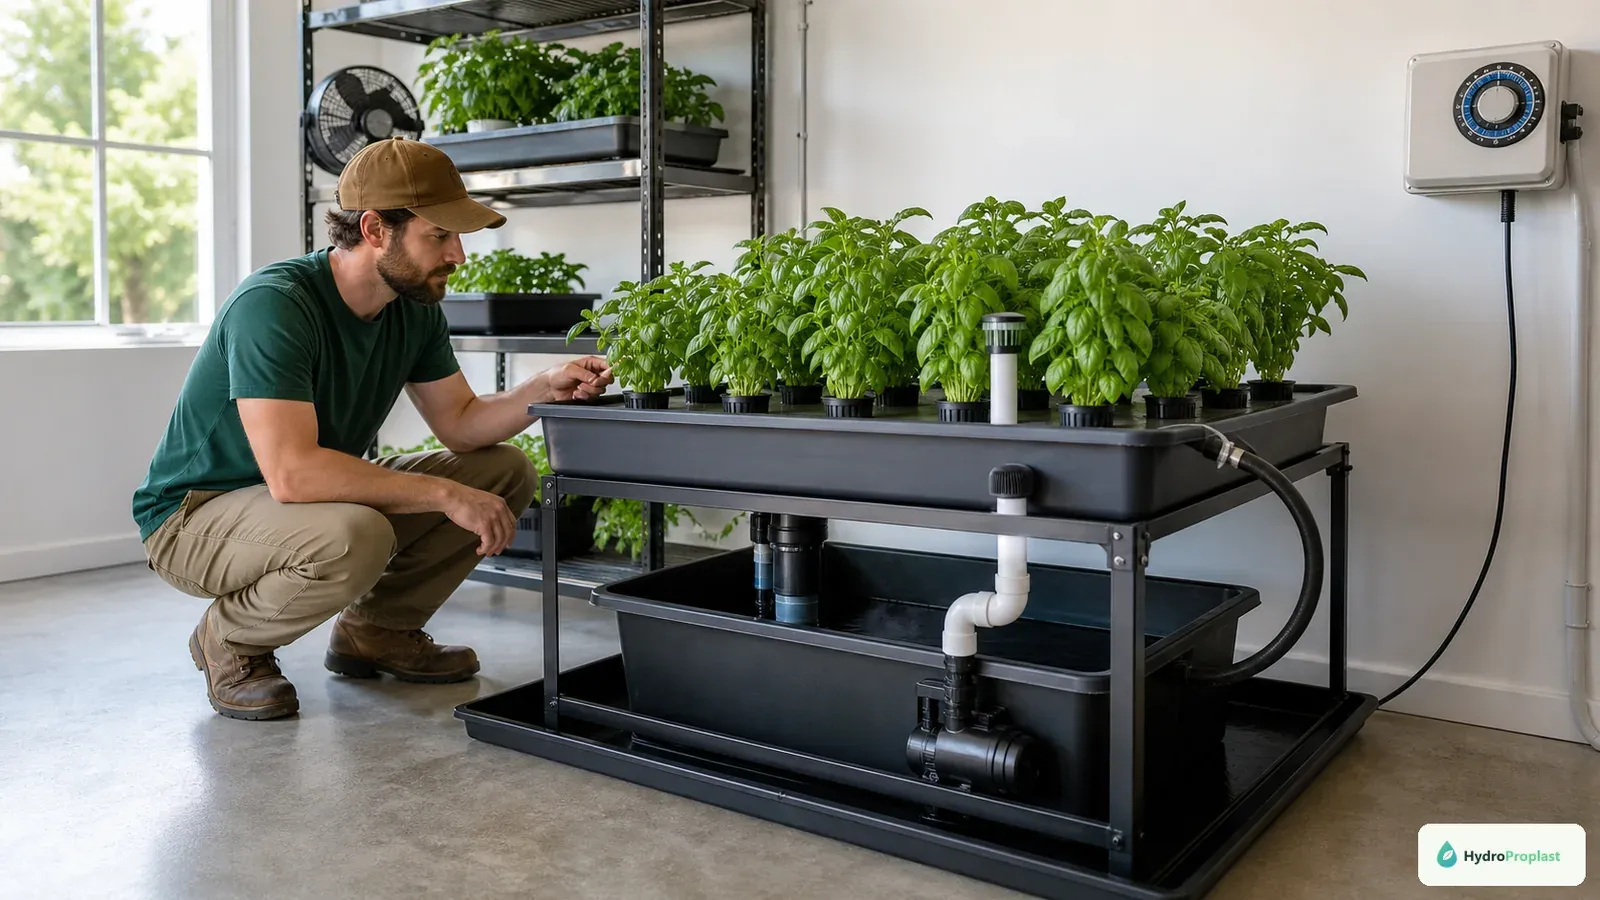
Transplant when the plug holds together and fresh roots are visible; keep the crown above the wet zone and avoid crushing the roots.
Move seedlings when the plug holds together, roots are emerging, and early true leaves are developing. Run the receiving system first, confirm flow or aeration, and use a mild crop-stage-appropriate solution according to the nutrient label.
Position the plug so roots can reach moisture while the crown does not remain submerged. Temporary careful top watering may bridge the gap, but stop once roots establish. Handle the plug rather than pulling the stem.
Manage nutrient solution by trends
Use a complete hydroponic formula intended for leafy crops and mix by measured final volume. Add separate concentrates to water individually as the manufacturer directs. Record source-water EC, final EC, pH, temperature, and every top-up.
EC represents total ions, not individual nutrients. pH and EC should be interpreted with plant stage, water consumption, and root condition. Oklahoma State University Extension’s EC and pH guide provides useful measurement context.
Do not chase small changes with repeated corrections. Verify meters before changing a solution that otherwise appears stable.
Provide uniform light
Lettuce needs enough daily light for compact leaves but can be stressed by excessive intensity and heat. Buy for the mature canopy, not the seedling footprint. Adjust fixture height or dimming so edges are not weak while the center bleaches.
Measure PPFD where possible and calculate daily light from measured delivery and photoperiod. Follow crop and cultivar guidance rather than one universal target. Keep a nightly dark period and verify the timer independently.
The LED grow-light guide explains coverage maps, DLI, efficacy, and safe mounting.
Control heat and airflow
Lettuce generally performs as a cool-season crop. Warm roots and hot leaves can accelerate bolting, bitterness, weak growth, and oxygen stress. Monitor air and solution through the full light cycle and shade reservoirs from sun and lamp heat.
Provide gentle air movement across the canopy without blasting leaves. Airflow helps leaf strength and surface drying, but it does not replace appropriate room humidity or sanitation. Leave space between mature heads.
Space for the mature canopy
Seedlings make close holes look efficient. Mature heads overlap, shade lower leaves, restrict airflow, and hide pests. Use the supplier’s mature size and intended harvest stage to plan centers. Cover unused holes to exclude reservoir light.
Roots also expand. Avoid packing channels until return flow is restricted. Inspect inlet and outlet positions and harvest before root mass becomes a plumbing hazard.
Inspect roots and crowns weekly
Healthy roots are firm and may be white, cream, or nutrient-stained. Slime, odor, tissue breakdown, or wilt despite water suggests root-zone trouble. Check temperature, oxygen, flow, and debris before adding nutrients.
Keep the crown above persistent moisture. Remove fallen leaves before they decompose. The root-rot guide provides a diagnosis-first checklist.
Harvest for quality and regrowth
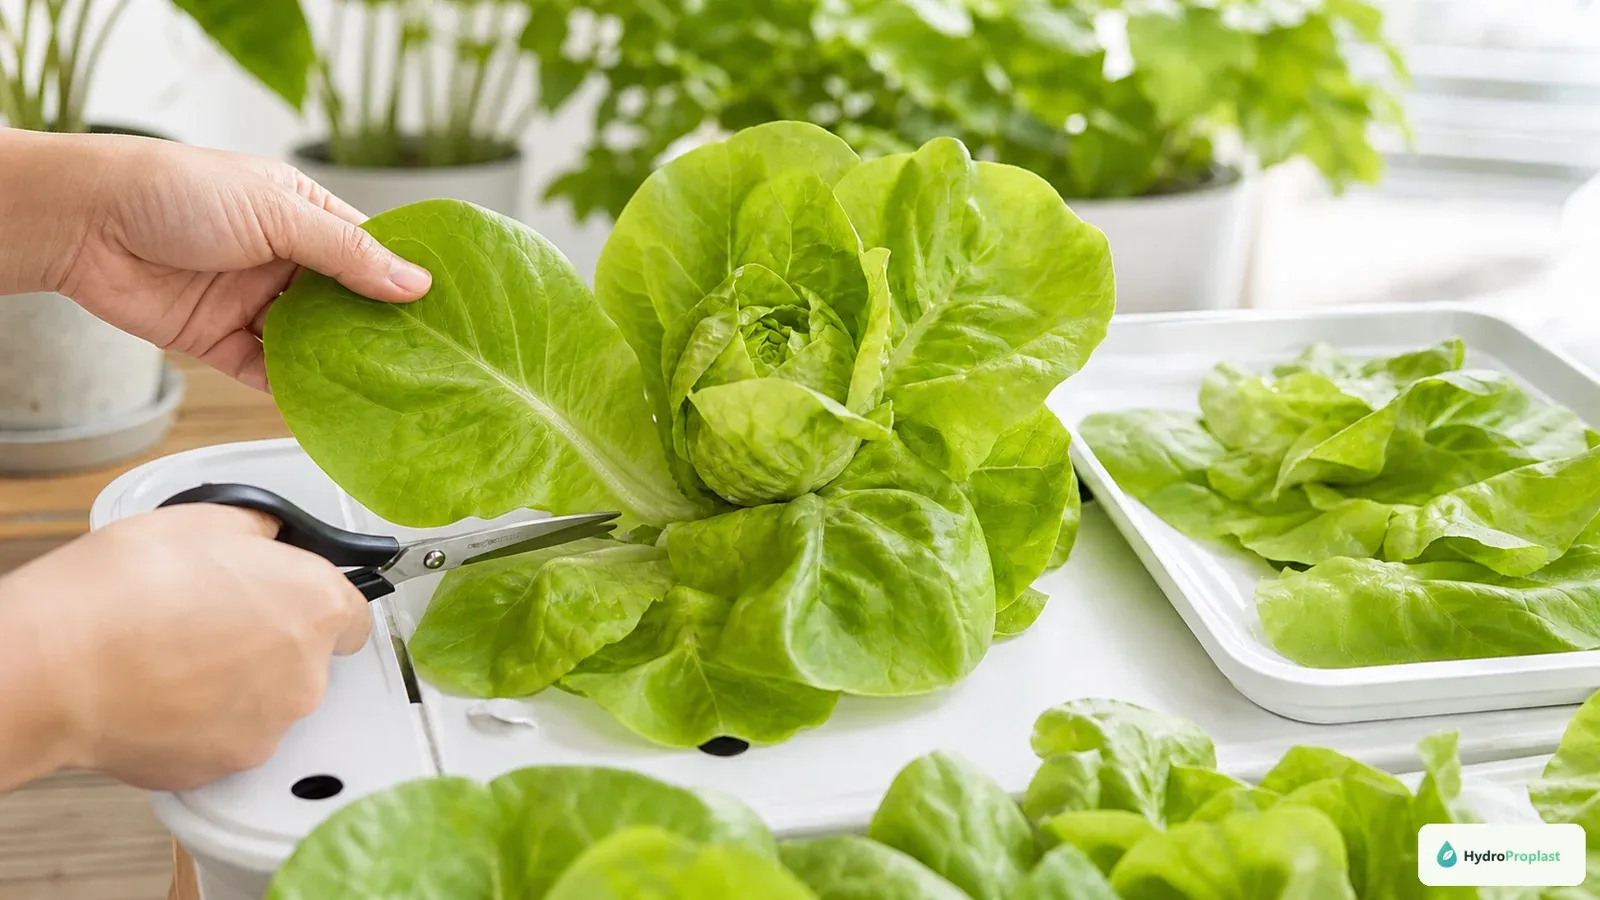
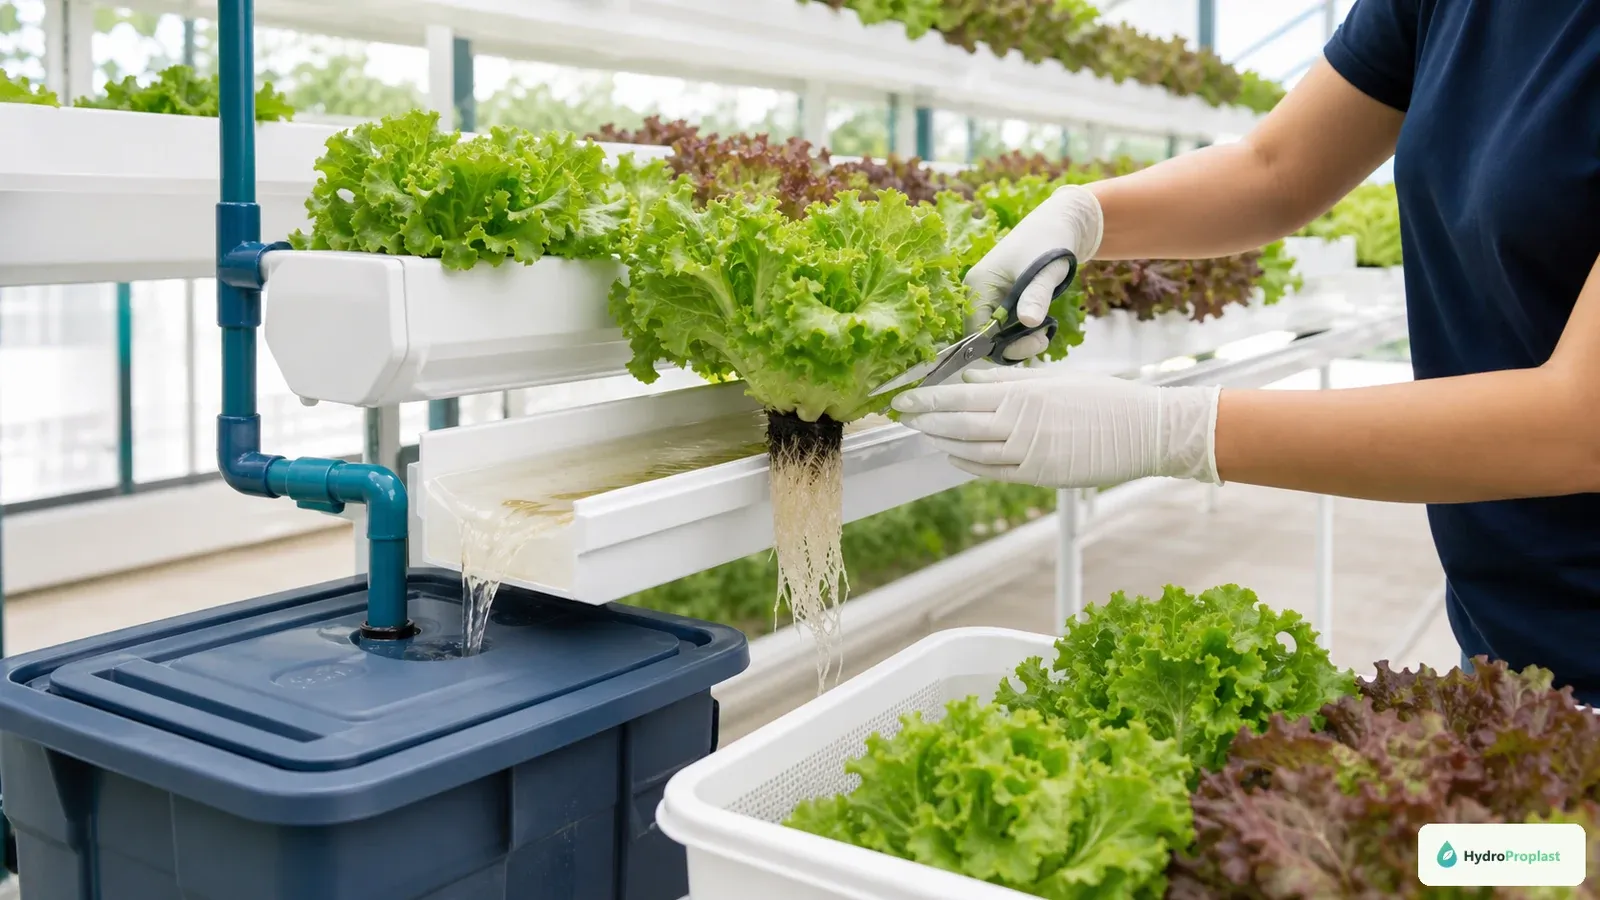
For selective harvest, cut clean outer leaves near their base while leaving the central growing point intact.
For cut-and-come-again harvest, remove clean outer leaves while preserving the growing center. For whole-head harvest, cut above the support or remove the plant without dragging roots across neighboring sites. Use clean tools and containers.
Harvest timing affects texture and flavor. Evaluate leaves at the intended eating stage and record cultivar, days from sowing, environmental events, and yield. Repeated harvest can be convenient, but later leaves may decline as roots age or the crown becomes crowded.
Wash and handle produce using appropriate food-safety practices. Hydroponic does not mean pathogen-free.
Troubleshoot common symptoms
Long stems and small pale leaves suggest insufficient or uneven light; verify the fixture before feeding more. Brown margins can follow concentration stress, heat, irregular water uptake, or cultivar sensitivity. Yellowing requires checking leaf age, roots, pH, EC, and light pattern.
Wilting with solution present points toward hot, damaged, or oxygen-limited roots, blocked flow, or crown trouble. Sudden wilt in one NFT position suggests delivery failure. Bitter flavor or a rapidly elongating center can accompany maturity, heat, or stress.
Inspect both leaf surfaces for pests. Identify a pest before using any product, and use only controls labeled for the edible crop and setting.
Prevent algae and sanitation problems
Keep reservoirs, channels, tubing, and wet media shaded. Cover unused openings and wipe nutrient spills. Algae indicates that light reaches a wet nutrient surface; reducing fertilizer is not the durable solution.
Remove roots and organic debris after harvest, then clean before any label-approved sanitation step. Never mix cleaners. Follow the between-crop cleaning guide.
A weekly operating checklist
Daily during establishment, check pump or air operation, water access, plug moisture, and seedling posture. Once established, inspect water level, temperature, roots, leaves, and flow on a consistent schedule. Measure pH and EC often enough to understand trends in the actual reservoir.
Weekly, compare plant positions, clean filters, check light height, inspect for algae and pests, and review the log. Calibrate meters on the schedule in their manuals. Refill with measured water and nutrients rather than memory.
Plan succession planting
Sow a small new group at regular intervals based on the cultivar’s observed pace and household demand. Keep stages labeled and avoid placing tiny seedlings in a strong solution designed for mature plants when separate management is possible.
A succession log prevents every head from becoming ready at once. It also provides replacements for failed transplants without overcrowding the current crop.
Learn from one controlled crop
For the first run, keep cultivar, nutrient product, system, and light schedule stable. Record sowing, transplant, first harvest, final harvest, pH and EC trends, temperature peaks, and problems. Change one main variable in the next run.
The University of Minnesota Extension’s small-scale hydroponics guide offers home-system context, while the USDA’s controlled-environment agriculture report provides broader background on hydroponic production systems.
A successful home lettuce setup is not defined by maximum plant count. It produces clean, compact leaves through reliable light, cool and oxygenated roots, measured nutrition, adequate spacing, and a repeatable harvest-and-cleaning routine.
Commissioning the first reservoir:
Assemble and test the empty system with plain water before seedlings arrive. Confirm that the lid supports its load, every return drains, air or water delivery reaches all positions, and electrical connections remain protected from splashes. Mark minimum, normal, and maximum safe reservoir levels based on pump operation and drain-back rather than guessing from container capacity.
Mix the first nutrient batch in a clean vessel or reservoir according to the product directions. Record the actual final water volume. Let it circulate, then measure temperature, pH, and EC. Check again after several hours to learn whether the source water and media alter the readings. This baseline makes later drift meaningful.
A crop-position audit:
Number every plant site. Once seedlings establish, compare the first, middle, and last flow positions, plus the center and edge of the light footprint. Photograph from the same angle weekly. Measure representative emitter flow or inspect roots at these locations without damaging them.
If edge plants stretch while the center remains compact, improve light uniformity before feeding more. If plants at the channel end wilt first, investigate flow and root dams. If every plant changes after a top-up, audit the shared reservoir.
Harvest and replacement decisions:
Set a quality rule before the crop begins. It may be head size, number of usable outer leaves, flavor, texture, or a maximum occupancy time. A plant that remains small because of early root damage can consume space and complicate a uniform harvest. Replace it from the succession tray when recovery would delay the whole group.
After final harvest, weigh edible leaves and rejected material separately. Note bitterness, tip damage, pest loss, root condition, and cleaning difficulty. Divide usable yield by crop days and occupied sites for a more useful comparison than the largest individual head.
Food-safety routine:
Keep pets, soil, dirty tools, and untreated outdoor plants away from the production area. Wash hands before handling leaves, use clean food-contact harvest containers, and keep floor-cleaning tools separate from system brushes. Follow local guidance for washing and refrigerating fresh produce.
A simple successful first crop therefore has five checkpoints: uniform seedlings, a verified operating system, a written solution baseline, weekly position comparisons, and a documented final harvest. Those records make the second crop genuinely easier rather than merely familiar.
Final environmental audit:
Measure the canopy at several positions after plants approach harvest size. Record fixture height, dimmer setting, light hours, room temperature, solution temperature, and mature spacing. Compare leaf texture and compactness at the center and edges. This audit reveals whether the next crop needs a fixture adjustment or fewer plants.
Review daily water use over the same period. A sudden change can follow rapid growth, heat, a leak, or root stress. Confirm the explanation before altering nutrients. Mark top-up volumes and always remeasure after complete mixing.
Before starting the next succession, inspect whether roots can be removed cleanly, lids stay opaque, and every plant site remains accessible. Replace brittle airlines, weak lids, or clogged components during turnover. Keep one successful configuration unchanged while testing only one improvement, such as spacing or cultivar.
For household planning, record the usable grams or number of servings from each harvest and how much was stored or discarded. A slightly smaller succession crop that is eaten promptly may be more successful than a crowded single harvest. Match sowing frequency to actual consumption.
Lettuce is ready to become a routine crop when emergence, transplant survival, water use, harvest quality, and cleaning time are predictable enough to schedule. That repeatability—not a single unusually large head—is the strongest sign that the home system works.