The short answer: buy convenience or build flexibility
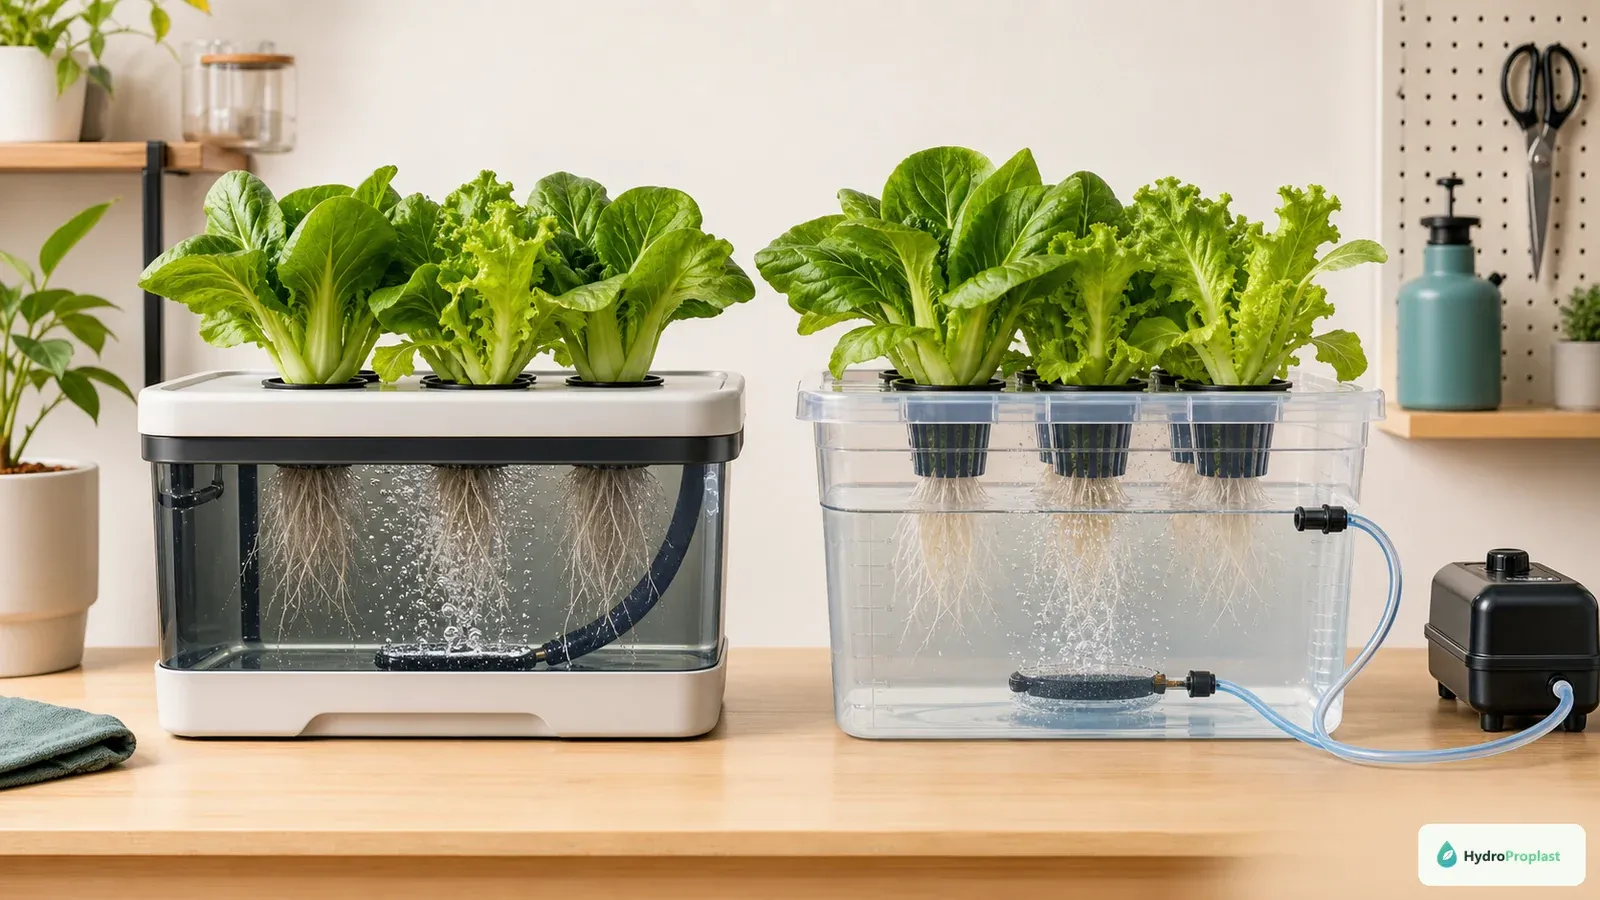
A hydroponic kit is usually the better first choice if you want a tidy, small grow running quickly and do not enjoy selecting compatible parts. A DIY system is usually better if you want to understand every component, adapt the layout to a particular crop, repair it with standard parts, or expand without replacing the whole unit.
Neither route is automatically cheaper or easier. A low-priced kit may need proprietary plugs and a replacement light; a DIY bucket may become expensive after you add a quality lamp, meter, drill bit, fittings, and spill tray. Compare complete systems that can carry the same crop to harvest, not a boxed kit against an unfinished container.
Hydroponics means delivering water and mineral nutrients to roots without soil, sometimes with a supporting medium. The USDA National Agricultural Library notes that systems range from hobby units to commercial production and may use media such as coir or perlite. A kit and a DIY build follow the same plant requirements; packaging does not change the biology.
What “complete” should mean
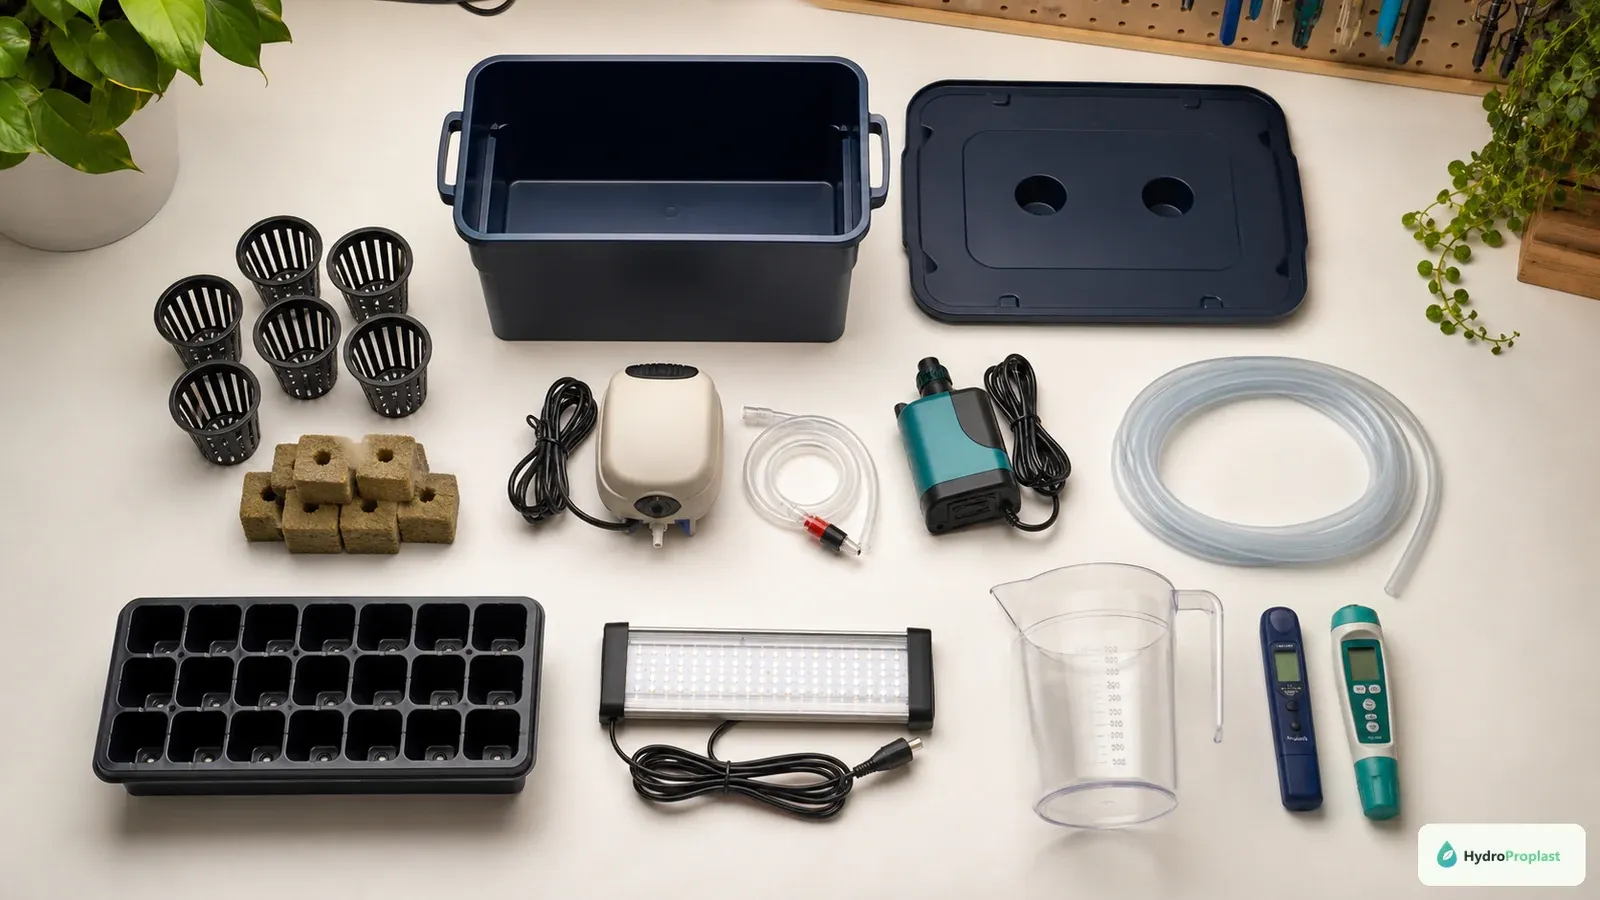
A complete first setup includes crop support, water delivery or aeration, lighting, testing, propagation supplies, safe power routing, and cleaning access.
Many products called complete are only complete enough to start seedlings. A harvest-ready setup must provide adequate root volume, mature plant spacing, light, nutrient delivery, oxygen at the roots, physical support, and safe access for maintenance.
A countertop kit may include a reservoir, molded deck, integrated LED, small pump, timer, baskets, starter plugs, and a sample nutrient. It may not include a pH test, EC meter, trellis, replacement plugs, cleaning brush, or enough nutrient for repeated crops. It may also advertise twelve planting sites even though only a fraction can hold mature basil or lettuce without crowding.
A DIY parts list often begins with a container, net pot, and air pump. Add an opaque lid, airline, check valve, air stone, crop-appropriate light, timer if needed, nutrient, starter medium, measuring tools, and a way to drain safely. If drilling is required, include the correct hole saw and replacement cost for mistakes. If the container is repurposed, confirm it is suitable for the use and can be cleaned.
Make two columns and assign every essential function to a component. If either option lacks a way to provide sufficient light or root oxygen, it is not ready for a fair cost comparison.
Where kits genuinely make the first grow easier
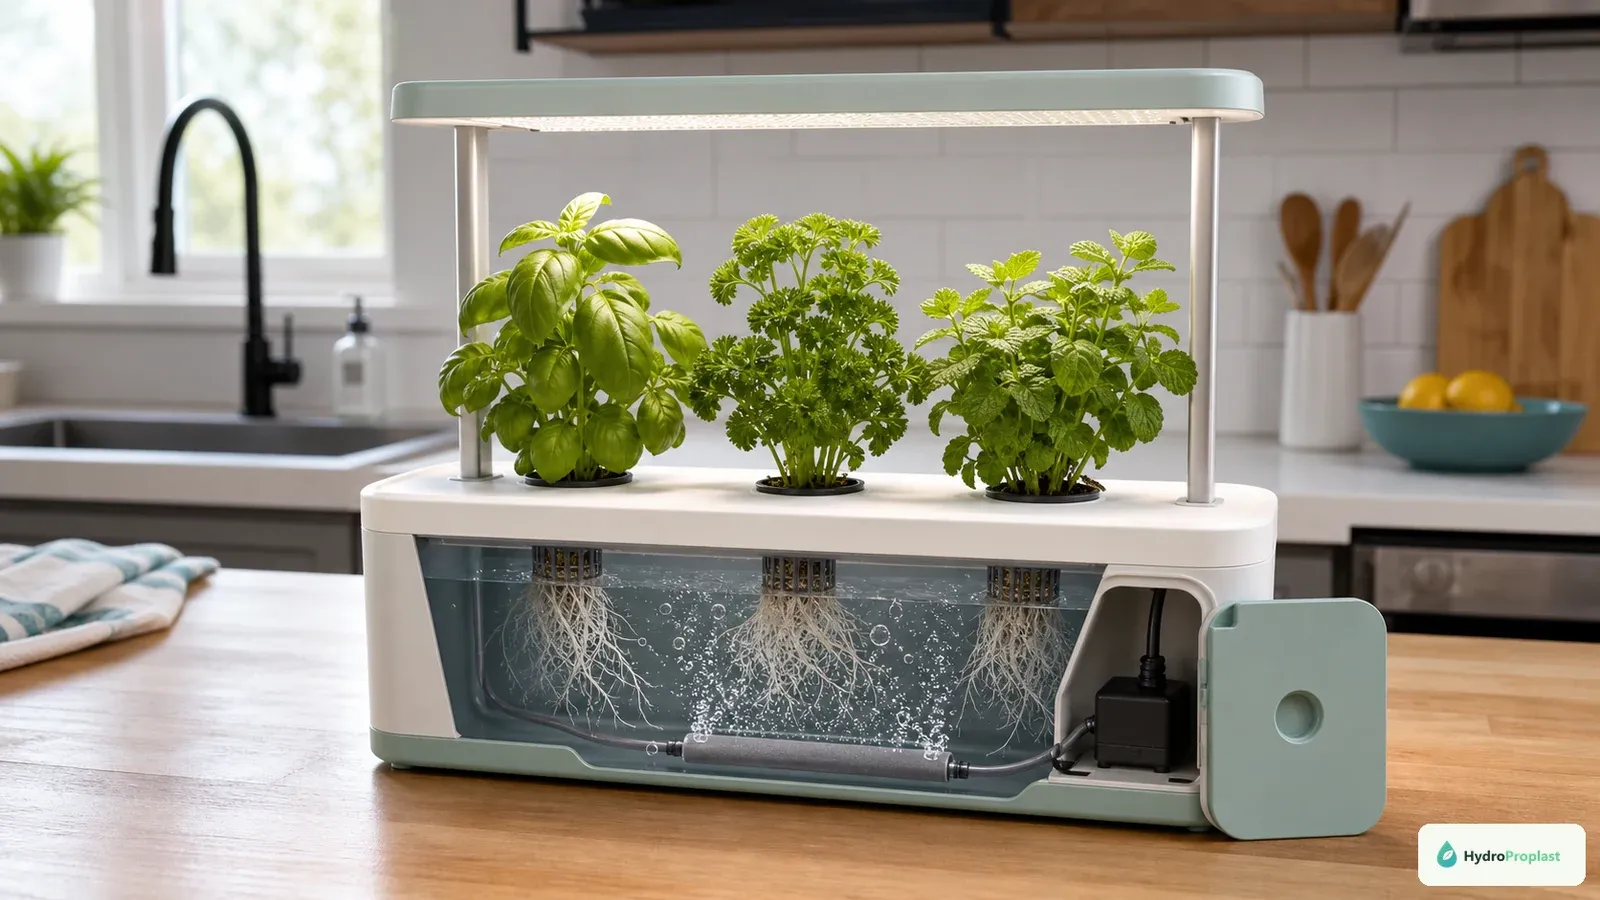
A good kit reduces compatibility decisions but should still provide reservoir access, replaceable service parts, adequate lamp height, and mature plant spacing.
Compatibility is the largest advantage. The manufacturer has chosen a pump that fits the reservoir, a deck that holds its baskets, and a lamp mounted over the planting area. Assembly may involve only adding water, nutrient, and seedlings. Integrated timers reduce the number of plugs and loose cables.
The compact format also works well in a kitchen or apartment. A molded enclosure can control splashes better than an improvised lid. Users who want a handful of herbs may prefer one clean appliance to several visible components. Setup instructions and crop modes, when accurate, provide a starting routine.
Kits can also reduce decision fatigue. A beginner does not need to compare pump flow, tubing diameter, bulkhead sizes, or reflector shapes before seeing a root. That early success has value. The University of Minnesota Extension points out that system size should reflect available indoor space and crop requirements; a well-matched kit can make that boundary clear.
Convenience is most valuable when the intended crop matches the machine. Compact leafy greens and herbs suit many countertop designs. Tall tomatoes, cucumbers, and peppers often exceed their lamp height, spacing, root volume, and support capacity.
The hidden constraints inside a kit
Integrated parts can be difficult to replace. Before buying, search the manufacturer’s official support information for pump, light, basket, plug, and power-adapter availability. A custom pump that clips into a molded chamber is less flexible than standard airline or tubing. A failed integrated lamp can make an otherwise sound reservoir unusable.
Check cleaning access. Can you lift the deck without damaging roots? Can the pump cover, level sensor, and tubing be removed? Are there narrow cavities where roots and biofilm collect? Hydroponic disease has not been eliminated by removing soil; extension guidance warns that disease problems still occur in water-based systems. Easy disassembly is therefore a performance feature, not a cosmetic detail.
Check what the controls actually do. A display may count days and automate light hours but not measure pH, nutrient concentration, water temperature, or dissolved oxygen. A water-level alert does not know whether the solution is too concentrated. Do not confuse automation with sensing.
Finally, consider consumables. Proprietary seed pods can be convenient, but you should know whether generic seed and starter plugs fit. Bundled nutrient may hide its replacement concentration or shipping availability. A durable system should remain usable when the introductory supplies are gone.
Where DIY earns its extra effort
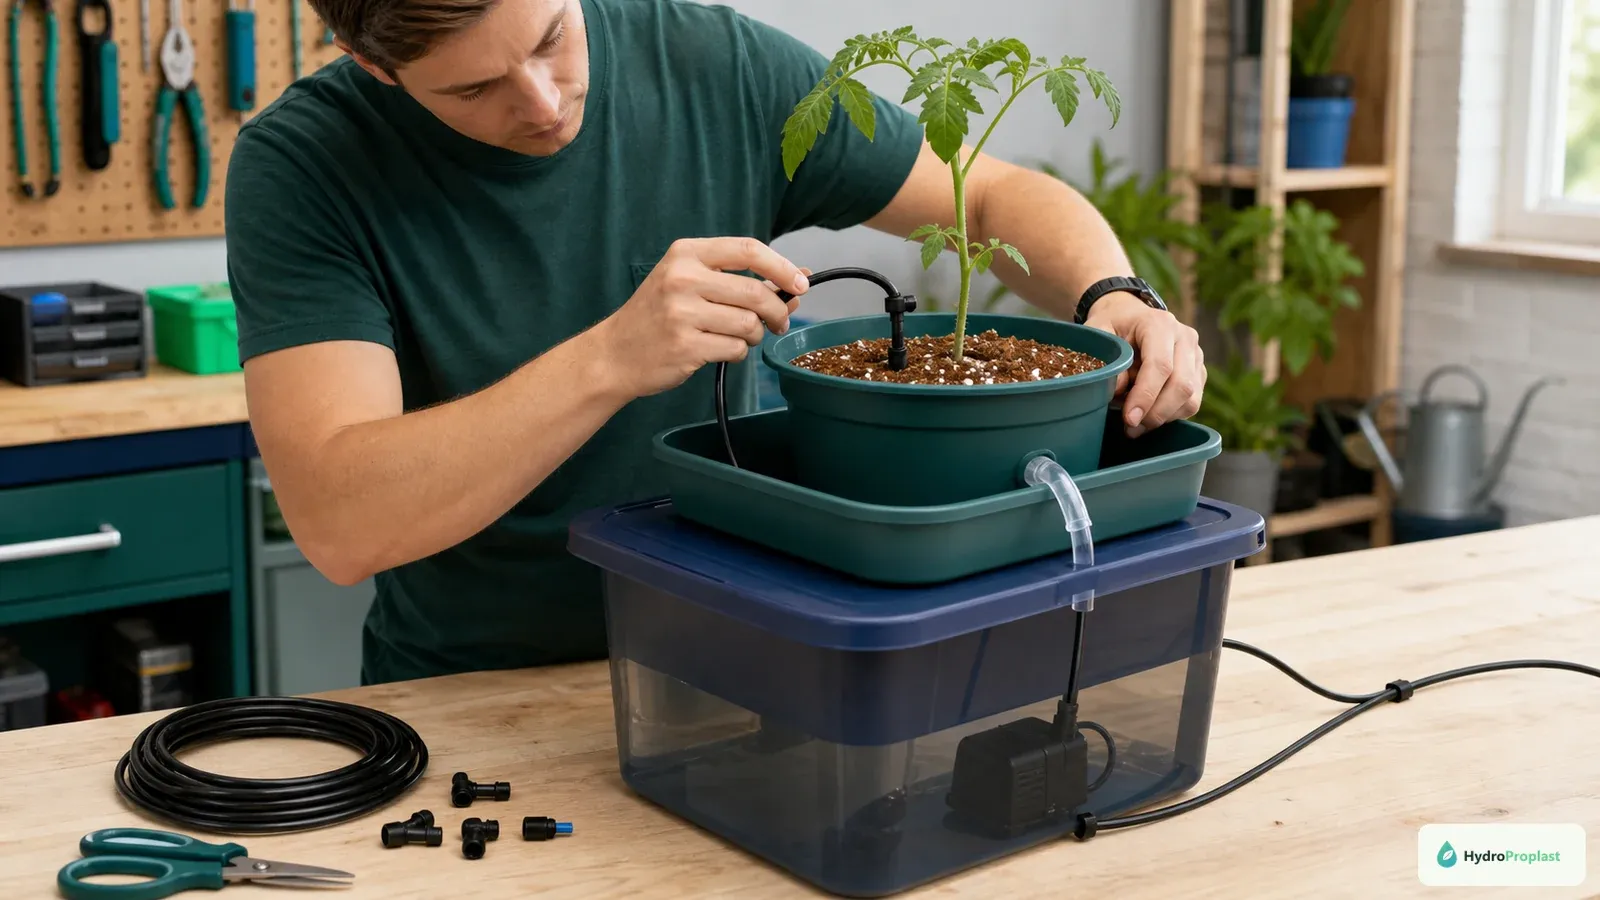
DIY earns its flexibility when standard emitters, tubing, drains, reservoirs, and fittings can be inspected, replaced, and adapted to the crop.
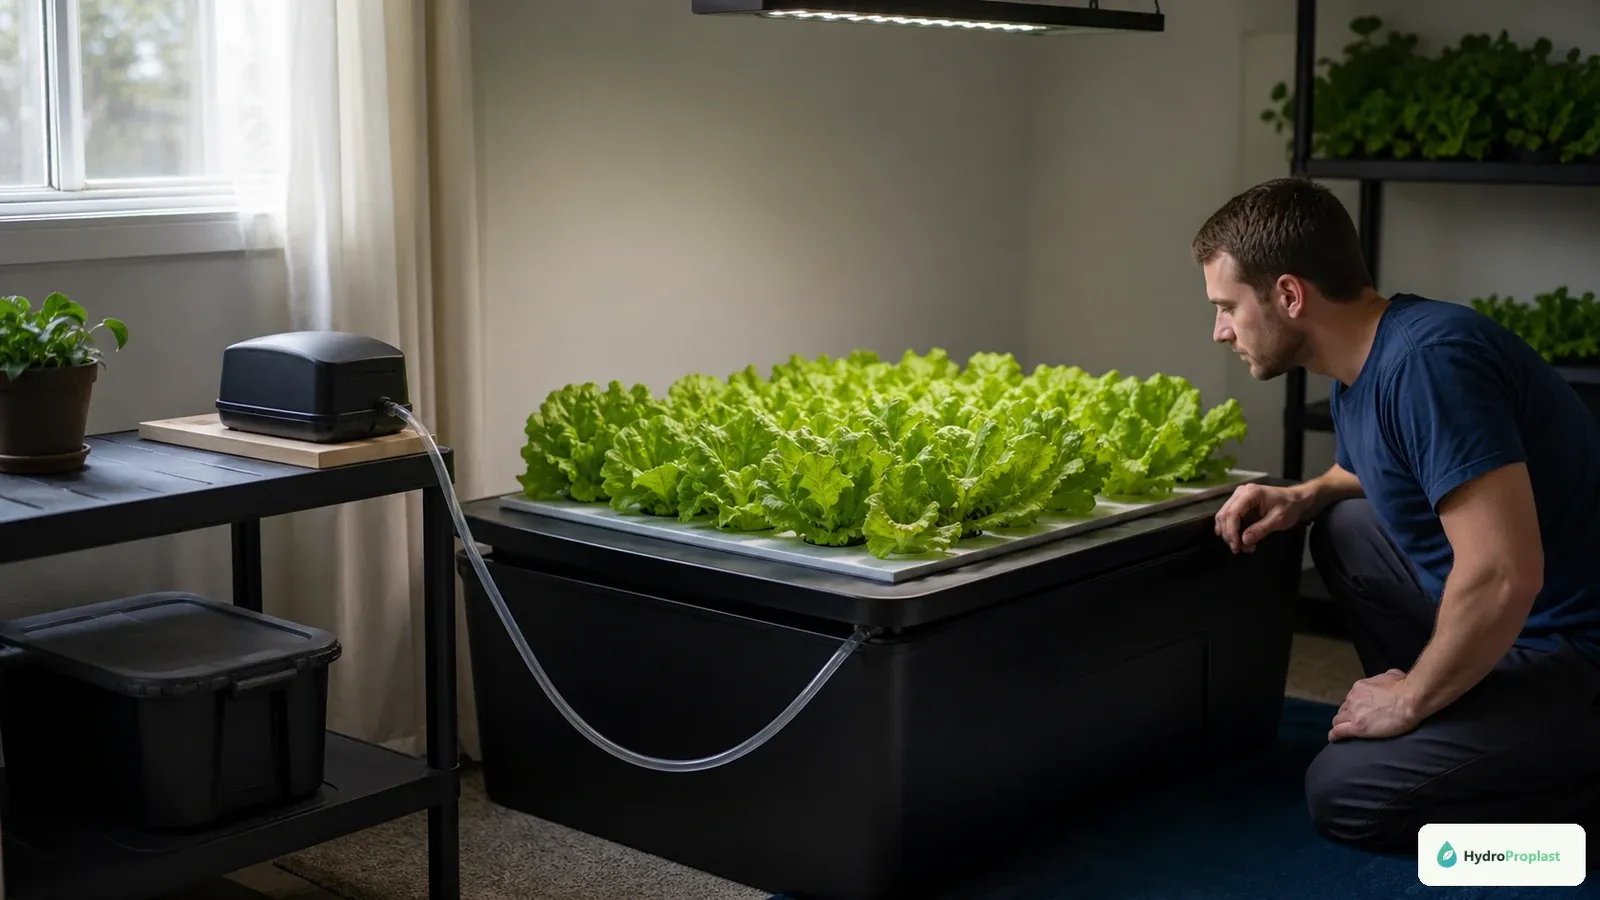
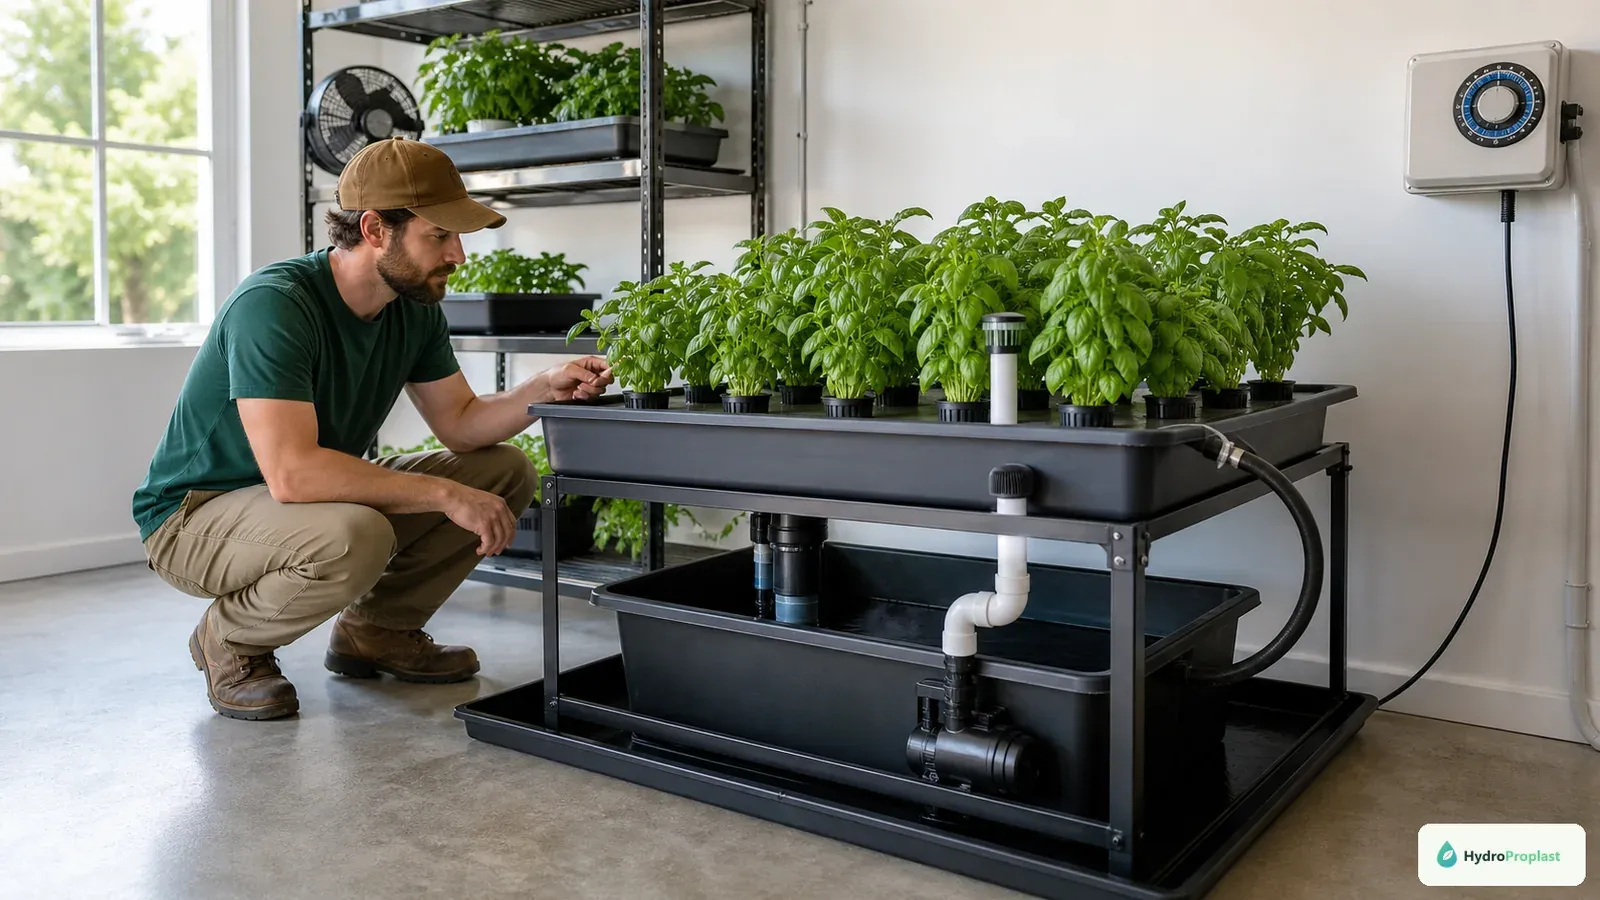
DIY lets the crop determine the design. You can give lettuce a shallow raft, place basil in separate DWC buckets, or build a drip-fed media container with a trellis for a pepper. Reservoir volume, plant spacing, lamp height, and access can be selected deliberately instead of accepted as fixed.
Standard parts also make repairs easier. Airline, air stones, submersible pumps, timers, net pots, and common fittings can often be replaced independently. You can keep a spare pump for a critical system and upgrade the light without discarding the reservoir.
Building exposes how the system works. When a plant wilts, you know the route from reservoir to root because you assembled it. That knowledge can shorten diagnosis. The Oklahoma State University hydroponics guide describes how wick, water culture, ebb and flow, drip, NFT, and aeroponic systems deliver solution differently; DIY gives you direct control over those mechanisms.
The tradeoff is responsibility. You must prevent leaks, provide overflow capacity, protect electrical connections, choose safe materials, and verify that pump flow reaches every plant. A copied parts list may fail when scaled, used with another crop, or placed at a different height. DIY is not permission to improvise around electrical safety or chemical handling.
Compare costs by crop cycle, not checkout total
Create a startup budget and a recurring budget. Startup items include the structure, reservoir, light, pump, timer, meter, tools, and spill containment. Recurring items include electricity, nutrient, pH calibration or test supplies, starter plugs, seeds, water treatment if needed, and worn pumps or air stones.
For a kit, note what must be replaced through the brand and what is standard. For DIY, separate reusable tools from system components. A hole saw increases the first-build cost but may serve later builds. A lamp you already own should still be evaluated for crop coverage and power draw; “free” equipment that cannot deliver adequate light is not a saving.
Do not use harvest-value promises to justify the purchase. Yield depends on crop, cultivar, environment, spacing, light, nutrition, and skill. Electricity prices and product availability vary by region. Our home hydroponics startup cost guide provides a category-by-category worksheet instead of a misleading universal total.
The financially sensible choice is the lowest complete cost for your actual goal. A kit may win for four kitchen herbs. DIY may win for twelve lettuces under a light you already own. Neither necessarily beats a pot of herbs in a sunny outdoor location.
Crop fit exposes marketing shortcuts
Leaf lettuce and many herbs are forgiving first crops because they remain relatively compact and do not need fruit support. They are good tests for both kits and DWC or Kratky DIY systems. Even then, mature spacing matters: filling every hole can reduce airflow and light penetration.
Basil becomes tall and broad when repeatedly harvested. A short fixed lamp can force pruning earlier than desired. Mint can spread aggressively. Cilantro has different temperature and crop-cycle preferences. “Herb mode” is not a substitute for knowing the plant.
Tomatoes, peppers, cucumbers, and strawberries raise the bar. They require stronger light, longer operation, larger root zones, pollination considerations indoors, and physical support. Their water use can overwhelm a tiny reservoir. A compact kit can start these plants but may not finish them well.
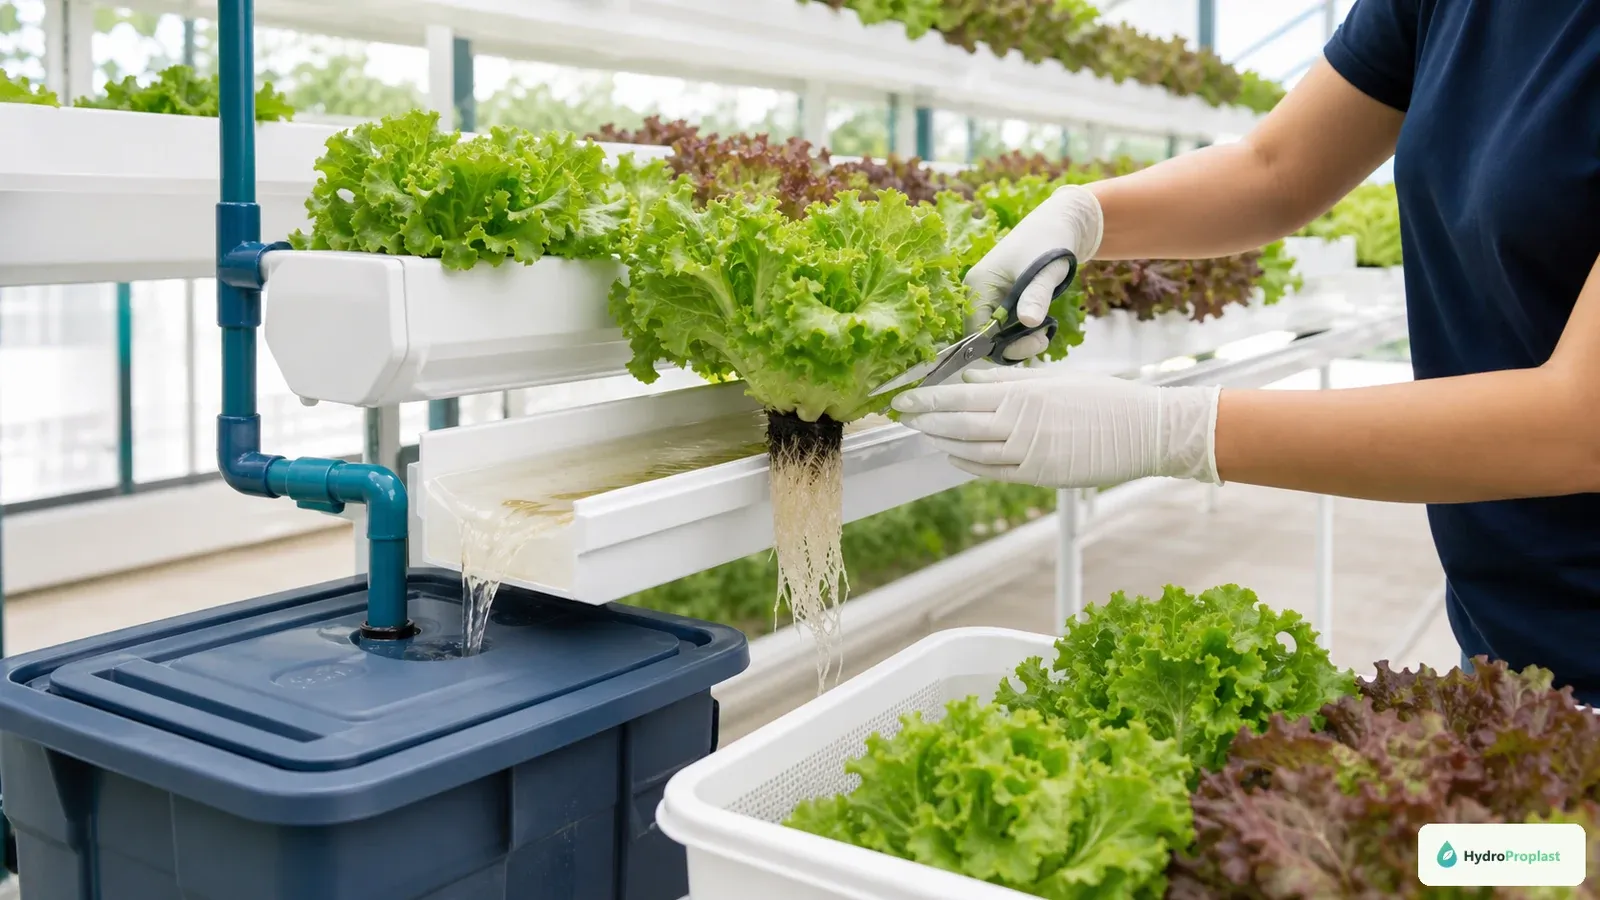
Match the method as well as the size. DWC is a practical teacher for leafy crops. Drip in a suitable substrate can support larger fruiting plants. NFT is commonly used for compact greens but depends on continuous, even flow. The USDA’s controlled-environment agriculture report describes DWC as well suited to leafy greens and herbs and drip as particularly suitable for fruiting crops.
Reliability: count failure points and recovery time
List what can stop water, oxygen, or light. In a passive Kratky container, there is no pump, but a small solution volume, light leak, or incorrect refill can cause problems. In DWC, aeration is critical. In NFT, a pump, blockage, channel slope, or root mat can interrupt flow. A kit may add sensors, software, and custom connectors.
Then ask how quickly the crop is affected and how quickly you can repair it. A standard air pump may be available locally; a proprietary control board may take days to ship. A large reservoir changes slowly but is harder to move. A small reservoir is easy to clean but can lose water quickly under mature plants.
Recovery planning favors visible, accessible parts. Keep manuals, replacement specifications, and a photograph of the clean plumbing. For active systems, know how plants will be protected during a power or pump interruption. Never bypass a safe power supply with an unverified adapter.
Maintenance decides whether the system remains enjoyable
Weekly work may include checking water level, pH, nutrient concentration, roots, leaves, light position, airflow, and pump operation. Between crops, remove roots and debris, clean wet surfaces, flush tubing, and inspect seals. The exact schedule depends on crop, reservoir, temperature, and system design.
A kit can make daily checks convenient but deep cleaning awkward. DIY can make every part removable, or it can create a maze of glued fittings. Evaluate the actual path from “plants harvested” to “system clean and dry.” If the process is too difficult, maintenance will be postponed.
Access matters during the crop too. A tiny fill port may work until roots occupy the deck. A DIY lid that requires removing a mature plant to measure water is a design flaw. Add a service opening, drain, or external level tube only if it can be made leak-resistant and light-proof.
A fair buying checklist
For a kit, verify mature growing area rather than hole count, lamp coverage and adjustable height, reservoir volume, pump and replacement-part availability, cleaning access, noise, warranty terms from the seller or manufacturer, and compatibility with non-proprietary seeds and plugs. Ignore unverified yield claims and review-style statements that do not identify crop, duration, or test conditions.
For DIY, verify container opacity and suitability, structural strength after holes are cut, plant spacing, maximum filled weight, pump head and flow requirements, overflow and drainage capacity, electrical separation, replacement parts, and a cleaning plan. Build and leak-test with plain water before adding plants or nutrients.
For either path, buy a complete hydroponic nutrient rather than guessing with general garden fertilizer, use an appropriate pH test method, and budget for light. If you are still uncertain about the method, use Best Hydroponic System for Beginners to select the delivery system before selecting a product.
Choose the kind of learning you want
Choose a kit when your priority is growing, not building; your crop fits the supplied space and light; replacement supplies are acceptable; and the unit can be cleaned and repaired. The premium pays for integration and presentation.
Choose DIY when configuring and maintaining the system is part of the project; crop-specific sizing matters; you want standard replaceable components; or expansion is likely. Begin with a proven, small design rather than inventing a complex recirculating network.
A hybrid route often works best: buy a dependable independent grow light and meter, then use a simple DIY DWC or Kratky reservoir; or buy a kit but replace branded seed pods with compatible generic starter materials. The boundary is not ideological.
Write down the crop, mature plant count, location, light source, inspection frequency, and maximum complete budget. Score each option against those facts. The better system is the one whose limitations you understand before the seedlings go in—not the one that looks most complete in the box.
If you are still deciding whether a water-based system fits your space and routine at all, compare the broader tradeoffs in Hydroponics vs Soil Growing before committing to either a kit or a build.